GPS Module Interfacing With Arduino UNO
Interfaced GPS receiver module with Arduino UNO and display the Time, Latitude, Longitude, and Altitude info on the Serial window. Arduino read the data serially from GPS receiver using USART communication with 9600 Baud rate.
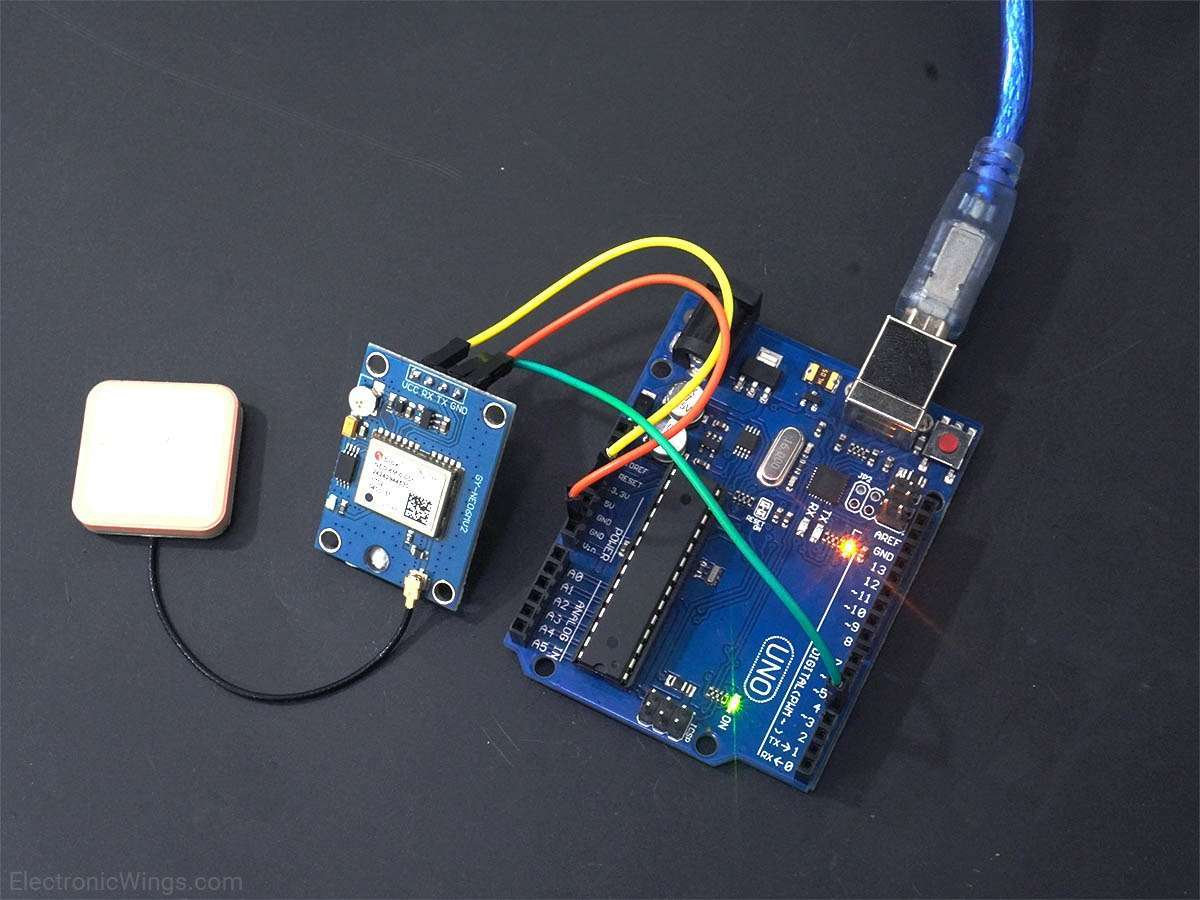
Overview of GPS
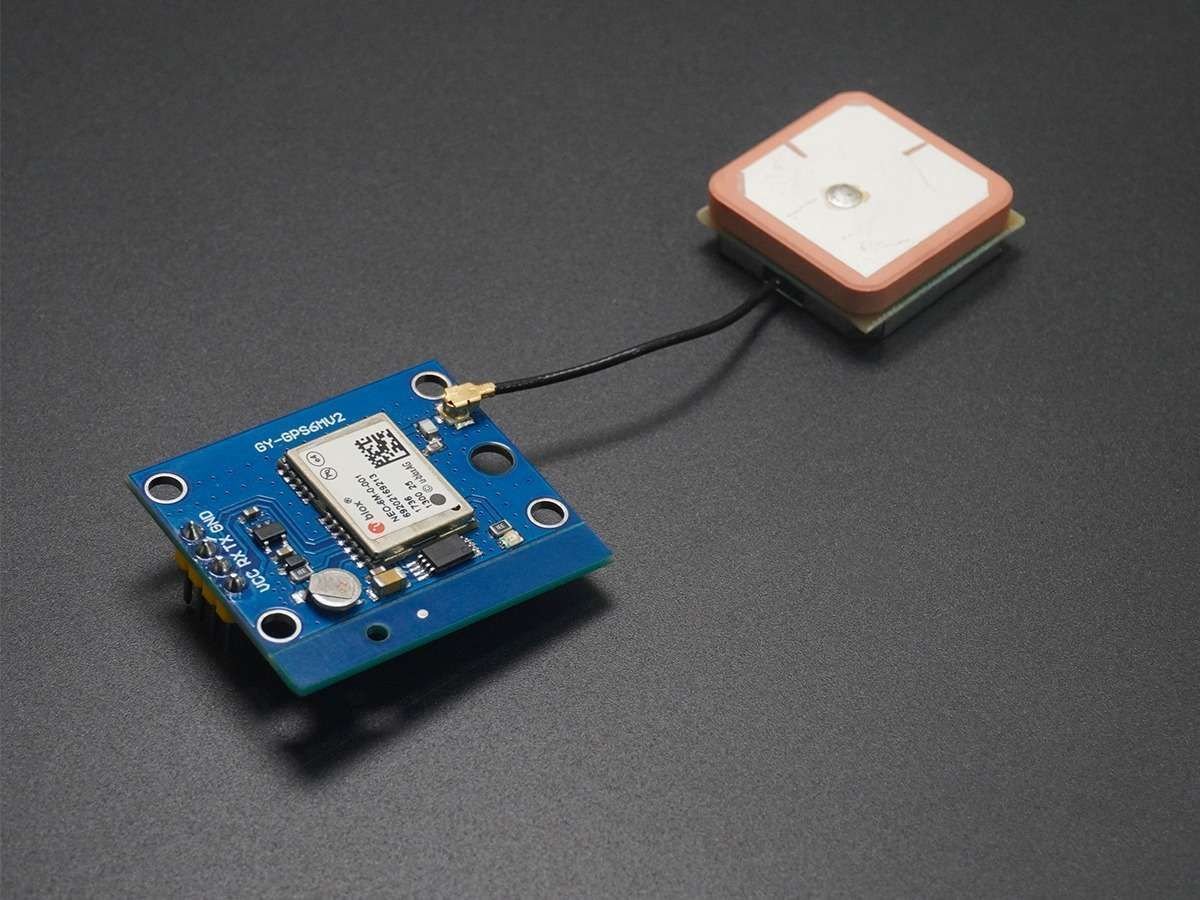
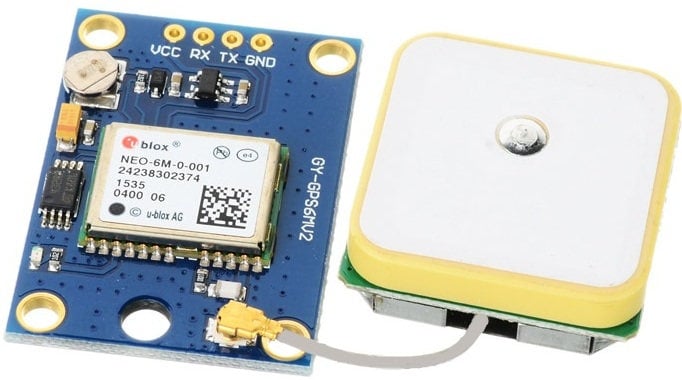
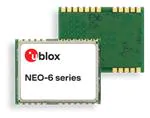
NEO-6M GPS Receiver Module
- Global Positioning System (GPS) makes use of signals sent by satellites in space and ground stations on Earth to accurately determine its position on Earth.
- The NEO-6M GPS receiver module uses USART communication to communicate with microcontroller or PC terminal.
- It receives information like latitude, longitude, altitude, UTC time, etc. from the satellites in the form of NMEA string. This string needs to be parsed to extract the information that we want to use.
For more information about GPS and how to use it, refer the topic GPS Receiver Module in the sensors and modules section.
Connection Diagram of GPS Module with Arduino Uno
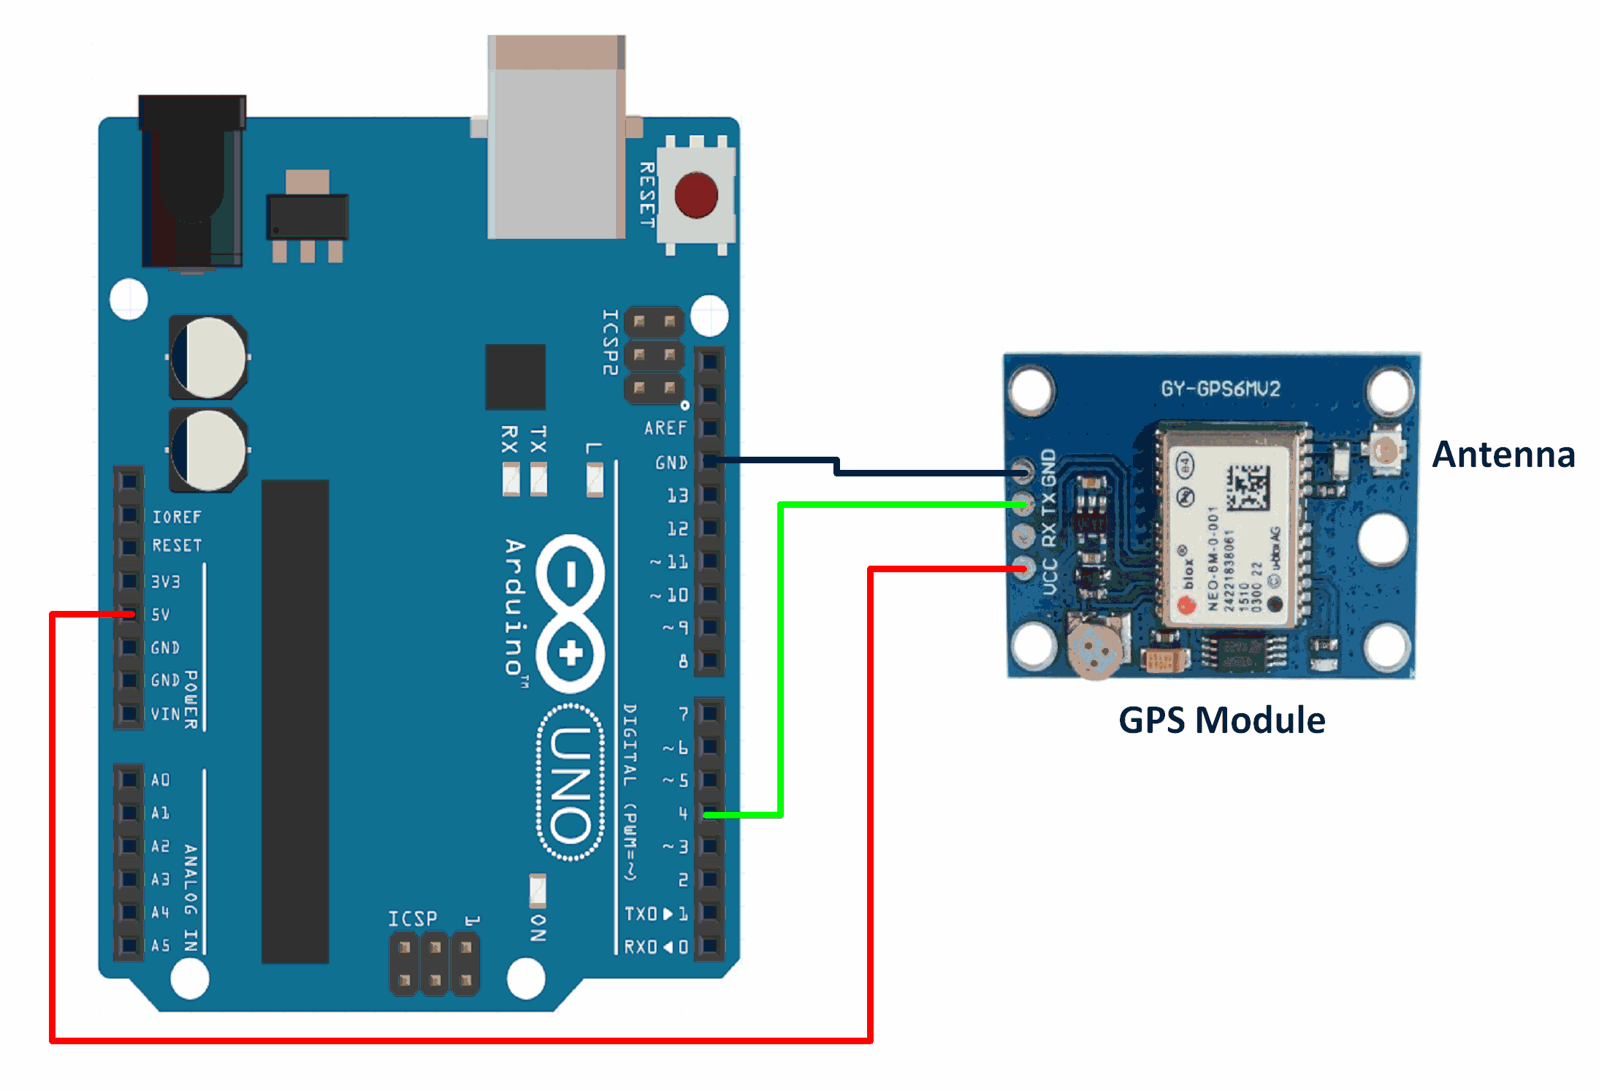
Get latitude, longitude, altitude and time using Arduino Uno
We are going to display data(latitude, longitude, altitude and time) received by the GPS receiver module on the serial monitor of Arduino.
Here, we will be using Mikal Hart’s TinyGPSPlus library from GitHub.
Download this library from here.
Extract the library and add it to the libraries folder path of Arduino IDE.
For information about how to add a custom library to the Arduino IDE and use examples from it, refer Adding Library To Arduino IDE in the Basics section.
Here, we have created a simplified sketch using the functions and header file provided by the Author of this library.
Note: If you see most of the data in ***** format, take the GPS connected to Arduino in an open space (balcony for example). The GPS may require some time to lock on to satellites. Give it around 20-30 seconds so that it can start giving you correct data. It usually takes no more than 5 seconds to lock on to satellites if you are in an open space, but occasionally it may take more time (for example if 3 or more satellites are not visible to the GPS receiver).
GPS Code for Arduino Uno
#include <TinyGPS++.h>
#include <SoftwareSerial.h>
/* Create object named bt of the class SoftwareSerial */
SoftwareSerial GPS_SoftSerial(4, 3);/* (Rx, Tx) */
/* Create an object named gps of the class TinyGPSPlus */
TinyGPSPlus gps;

volatile float minutes, seconds;
volatile int degree, secs, mins;

void setup() {
  Serial.begin(9600);	/* Define baud rate for serial communication */
  GPS_SoftSerial.begin(9600);	/* Define baud rate for software serial communication */
}

void loop() {
        smartDelay(1000);	/* Generate precise delay of 1ms */
        unsigned long start;
        double lat_val, lng_val, alt_m_val;
        uint8_t hr_val, min_val, sec_val;
        bool loc_valid, alt_valid, time_valid;
        lat_val = gps.location.lat();	/* Get latitude data */
        loc_valid = gps.location.isValid();	/* Check if valid location data is available */
        lng_val = gps.location.lng();	/* Get longtitude data */
        alt_m_val = gps.altitude.meters();	/* Get altitude data in meters */
        alt_valid = gps.altitude.isValid();	/* Check if valid altitude data is available */
        hr_val = gps.time.hour();	/* Get hour */
        min_val = gps.time.minute(); 	/* Get minutes */
        sec_val = gps.time.second();	/* Get seconds */
        time_valid = gps.time.isValid();	/* Check if valid time data is available */
        if (!loc_valid)
        {
          Serial.print("Latitude : ");
          Serial.println("*****");
          Serial.print("Longitude : ");
          Serial.println("*****");
        }
        else
        {
          DegMinSec(lat_val);
          Serial.print("Latitude in Decimal Degrees : ");
          Serial.println(lat_val, 6);
          Serial.print("Latitude in Degrees Minutes Seconds : ");
          Serial.print(degree);
          Serial.print("\t");
          Serial.print(mins);
          Serial.print("\t");
          Serial.println(secs);
          DegMinSec(lng_val);	/* Convert the decimal degree value into degrees minutes seconds form */
          Serial.print("Longitude in Decimal Degrees : ");
          Serial.println(lng_val, 6);
          Serial.print("Longitude in Degrees Minutes Seconds : ");
          Serial.print(degree);
          Serial.print("\t");
          Serial.print(mins);
          Serial.print("\t");
          Serial.println(secs);
        }
        if (!alt_valid)
        {
          Serial.print("Altitude : ");
          Serial.println("*****");
        }
        else
        {
          Serial.print("Altitude : ");
          Serial.println(alt_m_val, 6);
        }
        if (!time_valid)
        {
          Serial.print("Time : ");
          Serial.println("*****");
        }
        else
        {
          char time_string[32];
          sprintf(time_string, "Time : %02d/%02d/%02d \n", hr_val, min_val, sec_val);
          Serial.print(time_string);
        }
}

static void smartDelay(unsigned long ms)
{
  unsigned long start = millis();
  do
  {
    while (GPS_SoftSerial.available())	/* Encode data read from GPS while data is available on serial port */
      gps.encode(GPS_SoftSerial.read());
/* Encode basically is used to parse the string received by the GPS and to store it in a buffer so that information can be extracted from it */
  } while (millis() - start < ms);
}

void DegMinSec( double tot_val)		/* Convert data in decimal degrees into degrees minutes seconds form */
{
  degree = (int)tot_val;
  minutes = tot_val - degree;
  seconds = 60 * minutes;
  minutes = (int)seconds;
  mins = (int)minutes;
  seconds = seconds - minutes;
  seconds = 60 * seconds;
  secs = (int)seconds;
}
Components Used
Powered by
Downloads
References
Comments8
Join the discussion — share a question or tip.
- AT
Thank you very much,...
- NI
How to switch between the outputs from GPS to GLONASS, Galileo etc.?
- RA
Facing problem with serial monitoring of lat and long when interfacing with Aurdino uno http://bigbelectronics.in/product.php?product=waves-gps-module-neo-6m-gps-u-blox-neo-6m-gps-module-eprom-mwc-small-ceramic-antenna
- SH
i'm using gps v3 neo 6m with arduino uno. since more than 5 mins im getting the data in astric format as specified in the above note section. can anyone help me for this
- AB
Replying to @lokeshc
I did the same, but still am getting the same astric format as specified in note section.
- NI
Replying to @abhishekkotta
Hi I have also faced this issue but i found what was the reason for Asterisk(******) Follow this steps,as this may help you. Step 1 : Let GPS placed in open space to get good signal.If there is good signal you can see Blue led blinking in GPS module. Step 2 : In given code, 3rd line the string has (SoftwareSerial GPS_SoftSerial(4, 3);/* (Rx, Tx) */) . Here RX is given as 4th pin of Arduino & TX as 3 rd Pin of arduino but while giving connections with arduino it is vice versa, you have to give GPS module RX to 3rd pin of Arduino & GPS module TX as 4th pin of Arduino. (It has common logic , whatever it receives it should transmit) I hope this will help you to get gps data. Step 3 : If step 1 & 2 fails , Get new GPS antenna & GPS module and then check.