Easy way to Build Home Automation using Raspberry Pi and NodeRed

Components Used
Powered by
 × 1
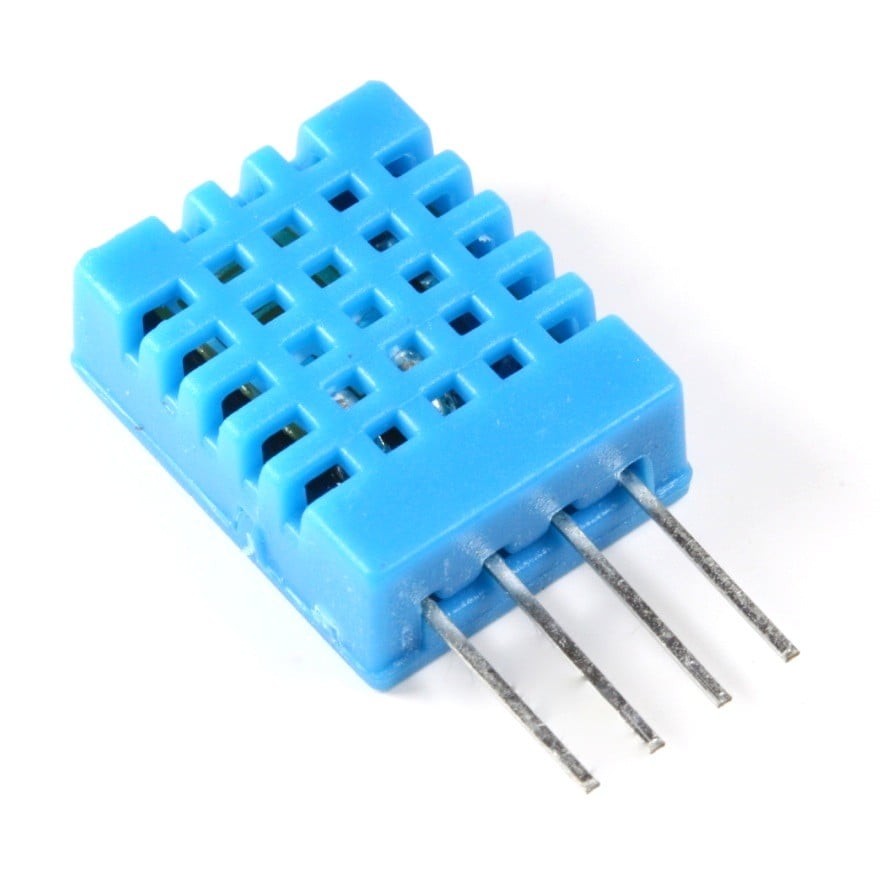
× 1DHT11 is a single wire digital humidity and temperature sensor, which gives relative humidity in percentage and temperature in degree Celsius.
485-386
Introduction
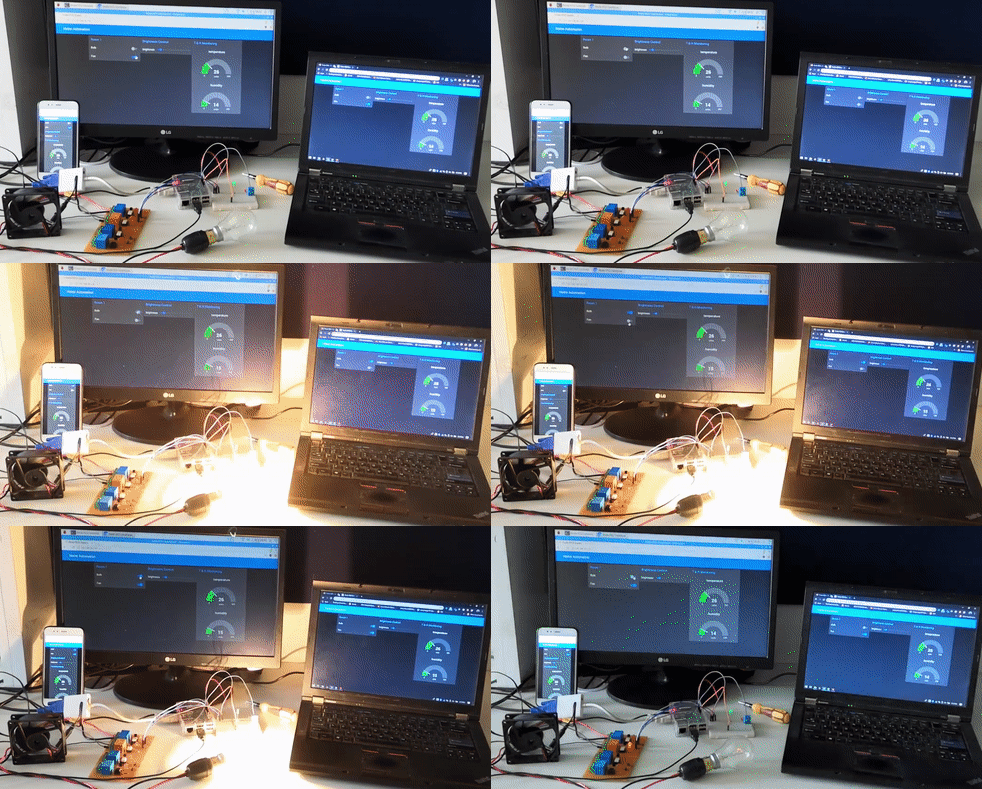
I have developed an application for controlling home appliances like Bulb, fan, led brightness, etc. It also monitors the Room’s temperature & humidity.
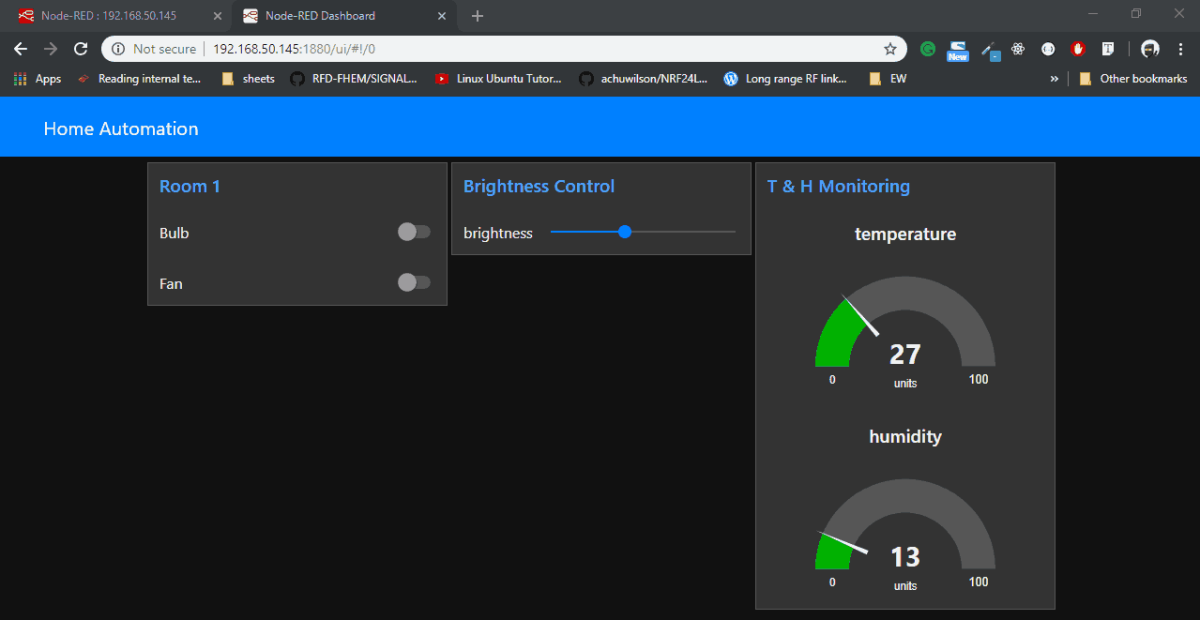
For controlling & monitoring, I created an awesome user interface Dashboard which is locally hosted on Raspberry Pi using Node-Red. One can access Home Automation Dashboard on his mobile locally.
Using Raspberry Pi & Node-Red, I built Home Automation Application which can control light, fan & led brightness using dashboard & can monitor temperature & humidity graphically on guage created on Dashboard.
Anyone can build this application within few minutes (if you have required hardware).
So, let’s see how to build such simple & useful application.
Step 1 - NodeRed Installation/Upgradation
First, we need to install or upgrade Node-Red on our Raspberry Pi. Before installation you may need to run
sudo apt-get install build-essentialNow, you can install or upgrade using the Node-RED upgrade script command,
bash <(curl -sL https://raw.githubusercontent.com/node-red/raspbian-deb-package/master/resources/update-nodejs-and-nodered)
Note: I got error in between while installing Node-Red. So, I reboot my Pi & again enter the above command in my terminal & this time it installed perfectly.
When you complete your installation, reboot the system.
Step 2 - Open NodeRed
To open Node-Red,
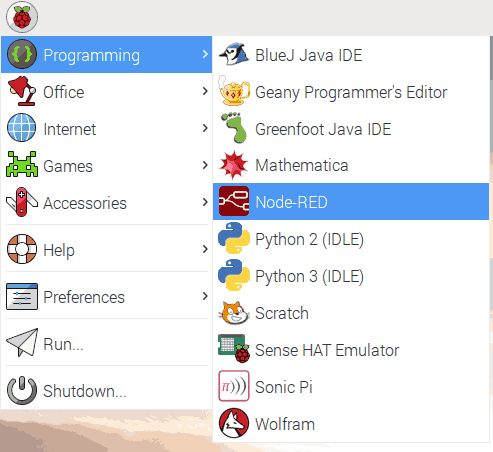
Or we can start using following command, node-red-start
To stop node-red, node-red-stop
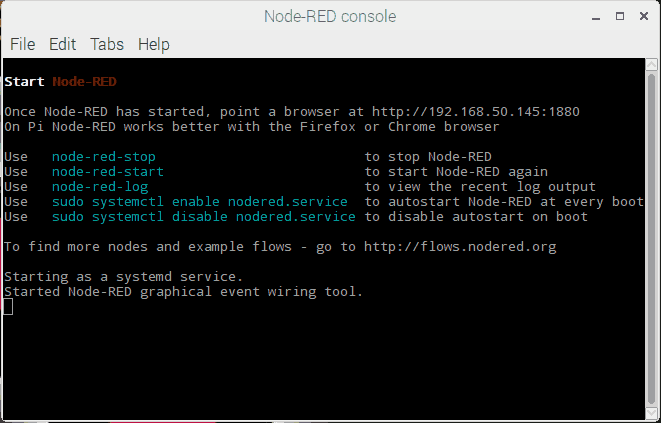
After starting or opening Node-Red, we will get a console window which indicate our local server on raspberry pi is started.
Step 3 - Enter IP in Browser
Now, just open your browser on raspberry pi & enter your IP address (shown below).
.png)
After entering IP address in your browser, you will a get interface as shown below,
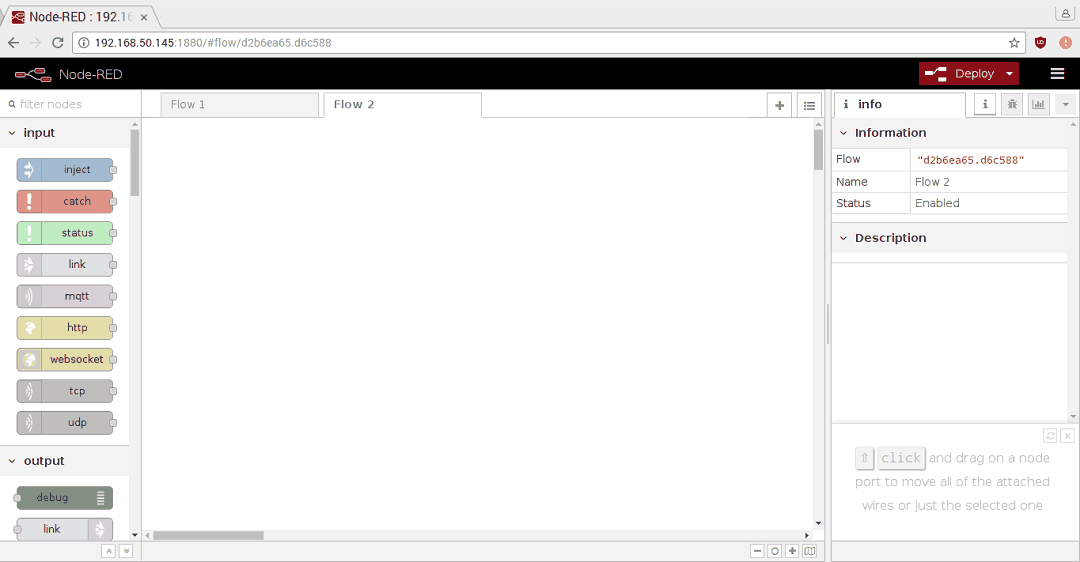
Now, we are ready to build our own dashboard on Node-Red for Home Automation.
Step 4 - Pre-requisite for Dashboard Building
Before starting with Dashboard building, install BCM2835 which is required for DHT sensor later.
To install it,
Download BCM2835 zip file & extract it.
Now, install it.
cd (directory extraction path)/bcm2835-1.xx
./configure
make
sudo make check
sudo make install
Now, restart Node-Red & start building dashboard.
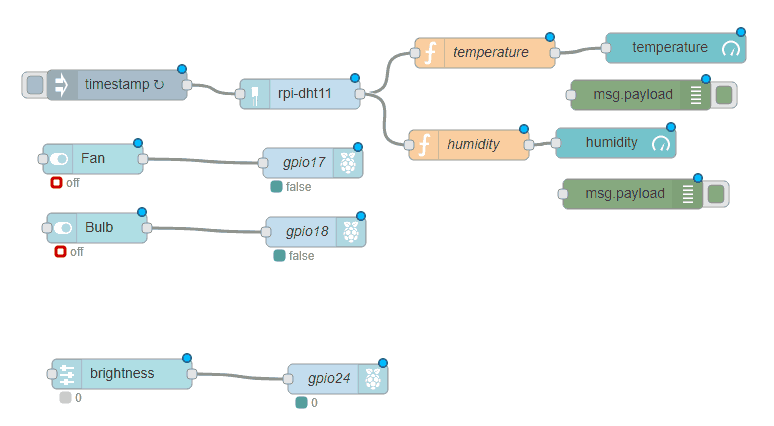
Step 5 - Dashboard Building on Node-Red
Circuit Diagram
.png)
Hardware Connections
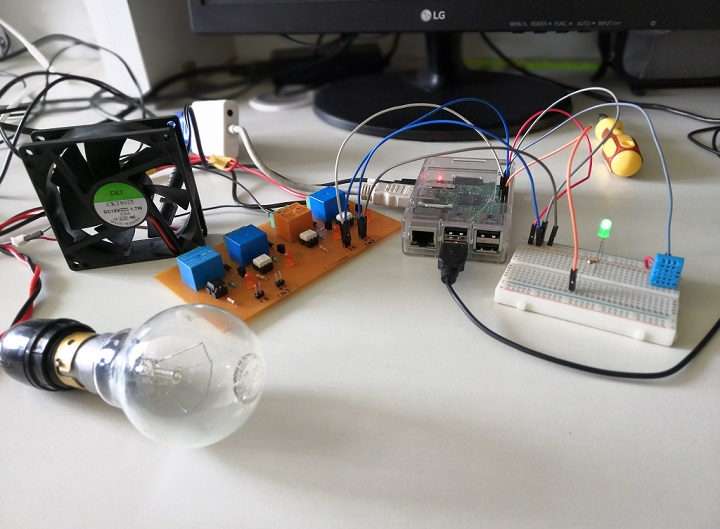
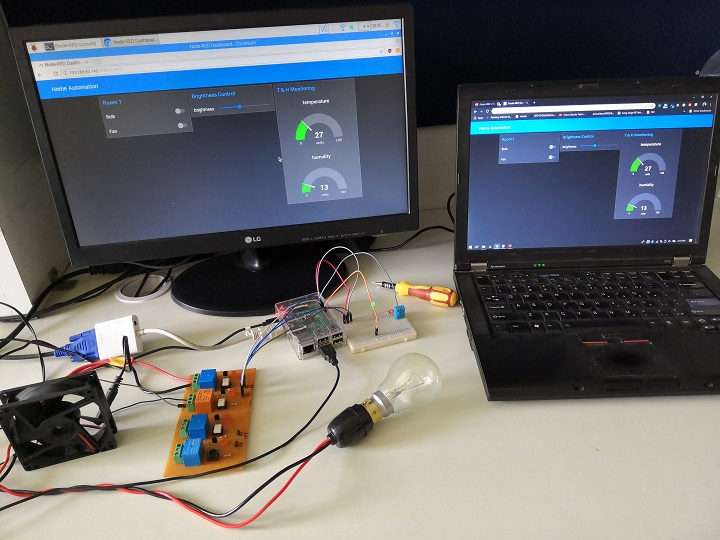
Dashboard Flow Diagram
Home Automation Dashboard
Video
Credits
Built by 1 contributor
Comments3
Join the discussion — share a question or tip.
How can I make a good UI design Application ( android & IOS ) for my home automation control?
how can i run the node-red & how can i design dashboard i am using this first time can u please help me ?
nice project I also used blynk application for home automation https://www.startupjobsportal.com/ startup jobs