Connect your Car to the Cloud for Engine Diagnosis via IoT


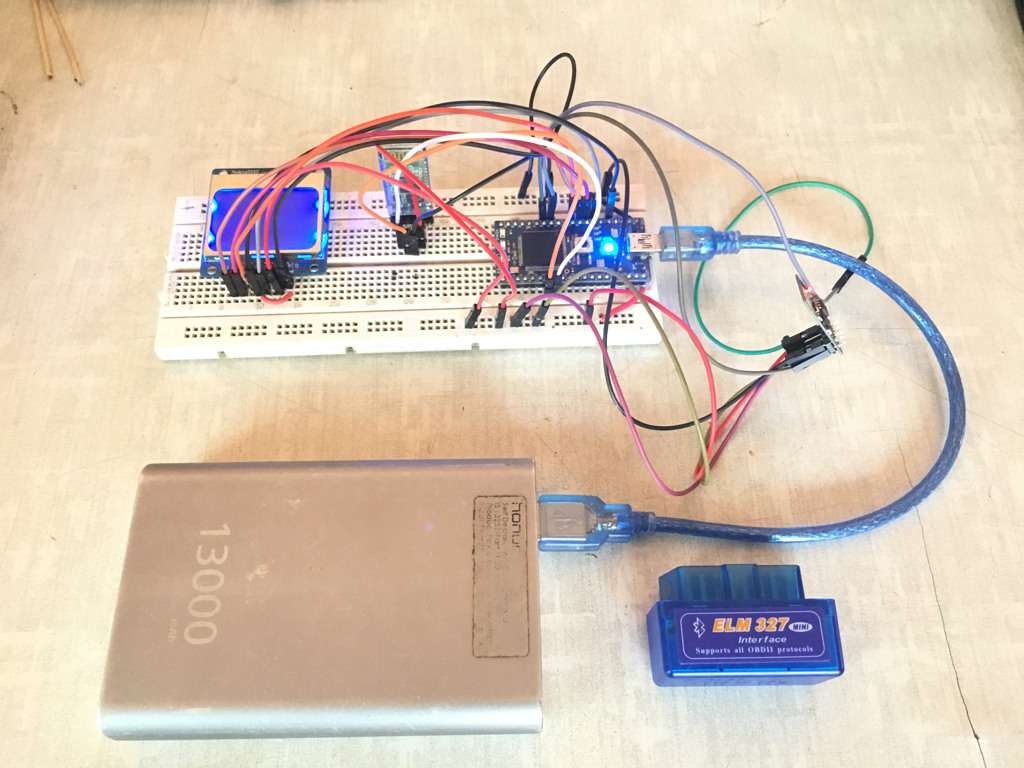
Components Used
Powered by
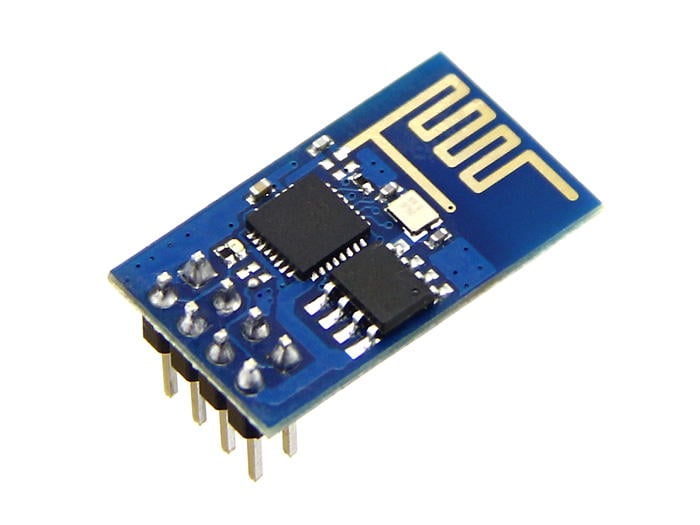
ESP8266 is a system on chip (SoC) which provides WIFI capability for embedded applications. This enables internet connectivity to embedded applications. ESP8266 modules are mostly used in Internet of Things(IoT) applications.
909-MOD-WIFI-ESP8266
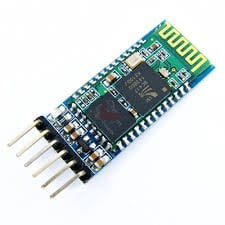
Bluetooth is a wireless communication protocol used to communicate over short distances. It is used for low power, low cost wireless data transmission applications over 2.4 – 2.485 GHz (unlicensed) frequency band.
713-113020008
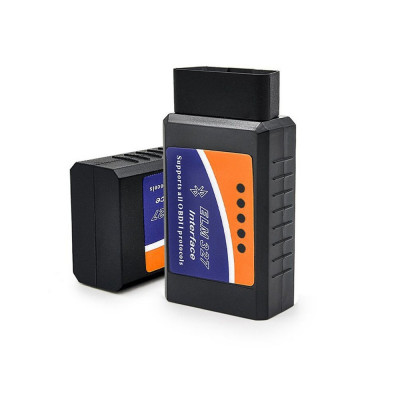
ELM327 OBD2 V2.1 Bluetooth Interface Auto Car Diagnostic Scanner
909-ELM327
Introduction
I connected my car to the cloud server via IoT for engine parameter monitoring.
Device collects data from OBD-II port and send it to the cloud.
This IoT based engine parameter monitoring system fetch the speed, RPM, temperature parameters from OBD PORT of vehicle using Bluetooth based ELM327 interpreter.
Bluetooth module HC-05 used to communicate with ELM327. This system send these engine parameters i.e speed, RPM, temperature of vehicle to the Adafruit IO Cloud server.
ESP8266 wifi module is used to connect system to the internet. Using wi-fi module data is send to adafruit server.
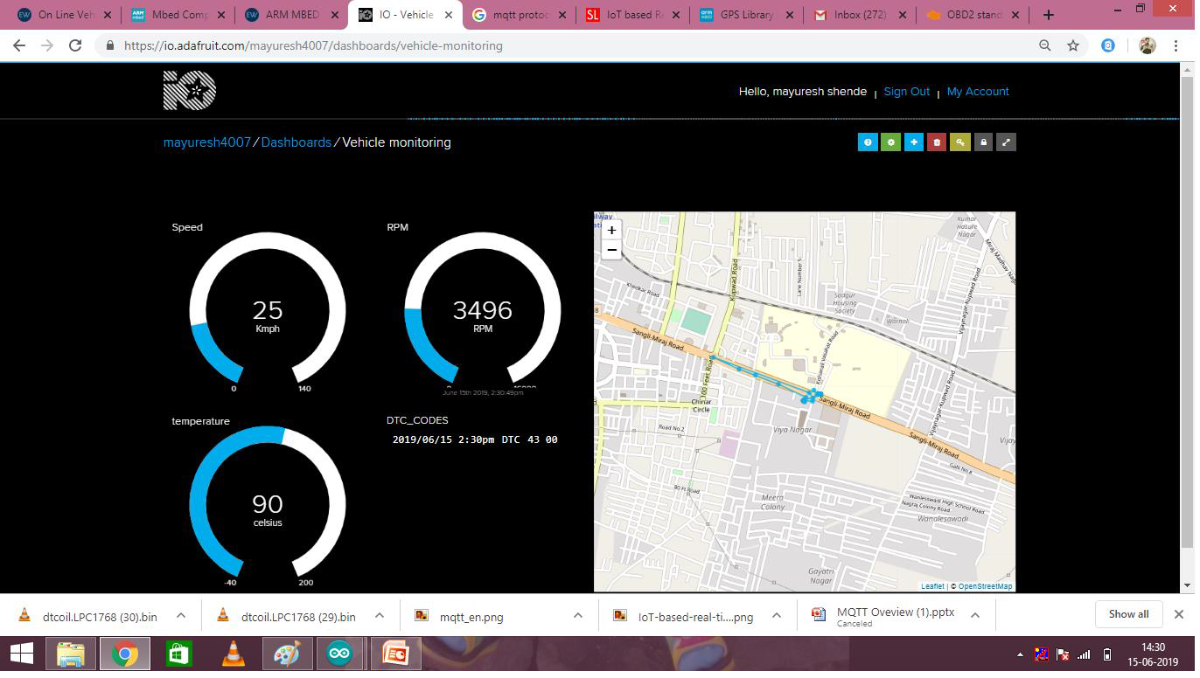
We can design dashboard on io.adafruit.com and can monitor live engine parameters on dashboard.
This engine parameter monitoring over cloud can be used for vehicle diagnosis. From that we can diagnose vehicle's engine health.
Circuit Diagram
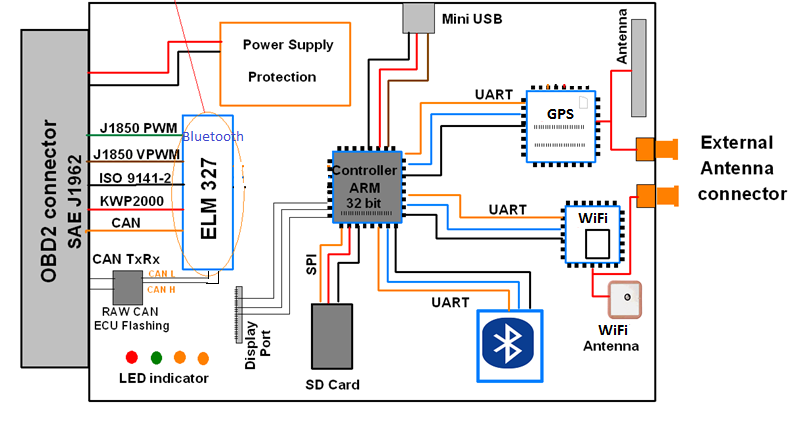
Application Working
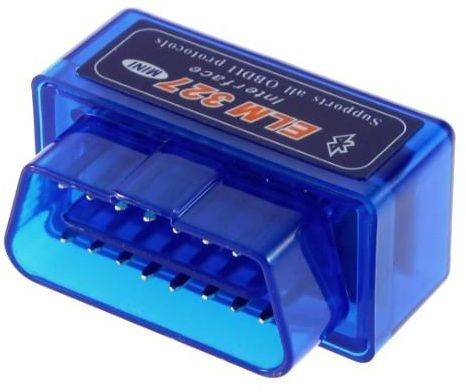
- ELM327 adapter is connected to OBD PORT of vehicle. This adapter communicate with internal ECU through OBD PORT.
- It has Bluetooth communication.
- This adapter can communicates with HC-05 Blutooth module which is connected to LPC1768 ARM processor.
- Using LPC1768 ARM processor I can send the PID request to ELM327 through HC-05 bluetooth module. In response it sends data to processor in DTC code format.
- Then interprete these DTC formatted data and convert them to proper value.
- Here, I used PID request to get data for RPM, speed and temperature of Vehicle's Engine.
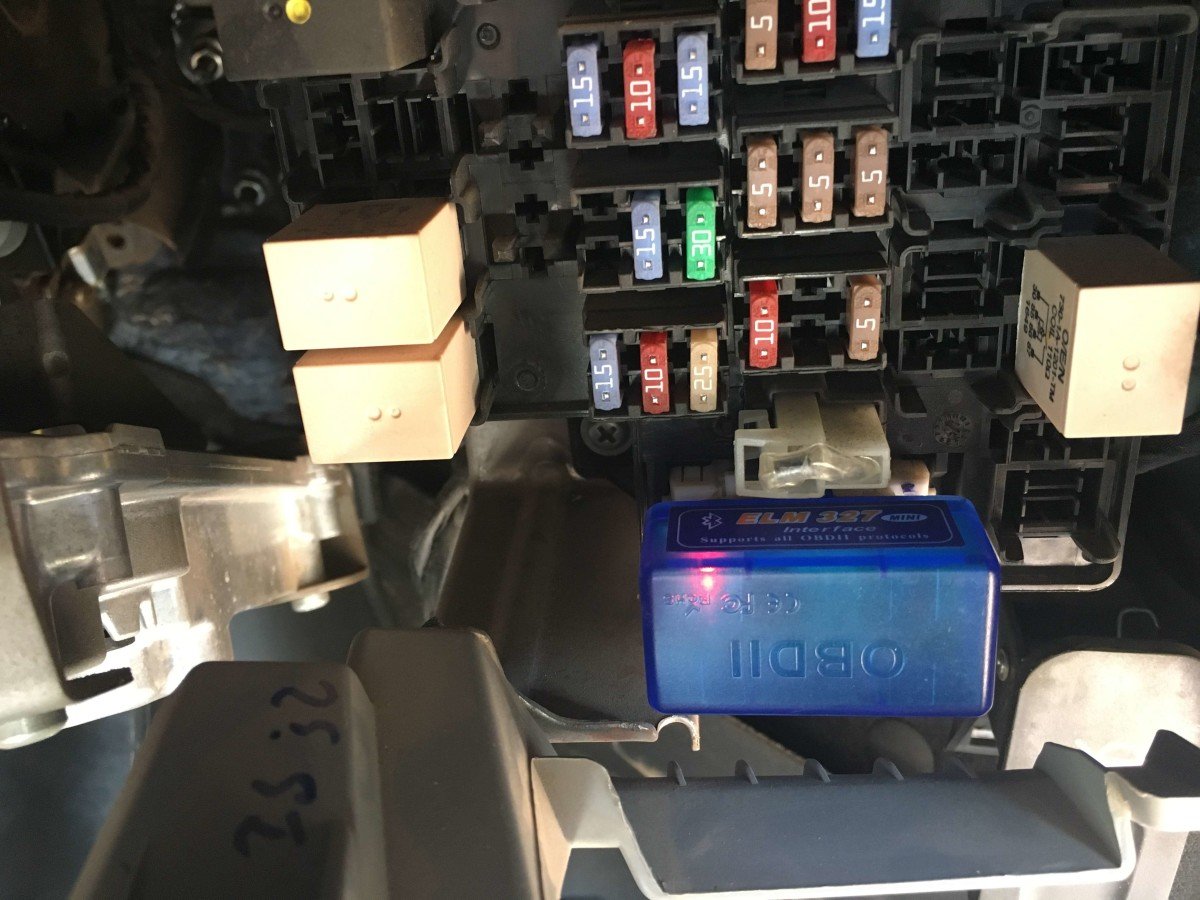
Connect OBDII to Vehicle
Connect HC-05 to ELM327
blue.printf("AT+PAIR=001D,A5,68988C,20\r\n"); - "AT+PAIR=MAC addressof ELM327, time of connection in sec" command is used to connect HC-05 to ELM327.
Reading and Converting Speed
blue.printf("010D\r\n");
         wait(0.2);
         if(blue.readable())
         {
                int j=0;
     do{
                      buffer1[j++]=blue.getc();
        }while(blue.readable());
         pc.printf("DTC code of speed=%s \n",buffer1);
         cspd=buffer1[9];
         if(cspd=='D')
         {
             pc.printf("DTC code of speed=%s \n",buffer1);
             spd1=buffer1[11];
             dspd1=DEC2(spd1);
         spd2=buffer1[12];
         dspd2=DEC1(spd2);
         DSPD=dspd1+dspd2;
         pc.printf("SPEED=%d \n",DSPD);
         sprintf(buf2,"SPEED:%d   ",DSPD);
         myLcd.SetXY(0,1);
           myLcd.DrawString(buf2);


}- '010D' PID is used to request for speed nparameter of vehicle.
- Above code send request for speed to vehicle and get speed data in response. Then convert this received data in actual speed value.
Reading and converting RPM
blue.printf("010C\r\n");
    wait(0.2);

     if(blue.readable())
     {int i=0;
     do{
         buffer[i++]=blue.getc();
         }while(blue.readable());
         }
          crpm=buffer[9];
        if(crpm=='C')
         {
         rpm1=buffer[11];
         drpm1=DEC4(rpm1);
         rpm2=buffer[12];
         drpm2=DEC3(rpm2);
         rpm3=buffer[14];
         drpm3=DEC2(rpm3);
         rpm4=buffer[15];
         drpm4=DEC1(rpm4);
         DRPM=(drpm1+drpm2+drpm3+drpm4)/4;
         pc.printf("DTC Code of RPM=%s \n",buffer);
        pc.printf("RPM=%d \n",DRPM);
         sprintf(buf1,"RPM:%d   ",DRPM);
           myLcd.SetXY(0,0);
           myLcd.DrawString(buf1);
             }
- Above code send request for RPM to vehicle and get RPM data in response. Then convert this received data in actual RPM value.
Reading and converting Temperature
 blue.printf("0105 \r\n");
         wait(0.2);
         if(blue.readable())
         {
                int k=0;
     do{
       buffer2[k++]=blue.getc();
                 }while(blue.readable());
           ctemp=buffer2[10];
         if(ctemp=='5')
         {
             pc.printf("DTC code of coolent temp.=%s \n",buffer2);
             temp1=buffer2[12];
             dtemp1=DEC2(temp1);

         temp2=buffer2[13];
         dtemp2=DEC1(temp2);

         DTEMP=(dtemp1+dtemp2)-40;
         pc.printf("Coolent temp.=%d \n",DTEMP);
         sprintf(buf3,"TEMP:%d   ",DTEMP);
         myLcd.SetXY(0,2);
                     myLcd.DrawString(buf3);
}- Above code send request for temperature to vehicle and get temperature data in response. Then convert this received data in actual temperature value.
Connect to Internet
- System is connected to internet using ESP8266 wifi-module.
NetworkInterface* network = easy_connect(true);
   if (!network) {
       return -1;
   }
Adafruit IO
- System is connected to io.adafruit.com
const char* hostname = "io.adafruit.com";
   int port = 1883;
   logMessage("Connecting to %s:%d\r\n", hostname, port);
   int rc = mqttNetwork.connect(hostname, port);
   if (rc != 0)
logMessage("rc from TCP connect is %d\r\n", rc);- Create Dashboard and create feeds on io.adafruit.com.
- Mention feed path, username, AIO key to connect system to your dashboard.
data.clientID.cstring = "username/feeds/feedname";
   data.username.cstring = "username";
   data.password.cstring = "AIO key";
   if ((rc = client.connect(data)) != 0)
       logMessage("rc from MQTT connect is %d\r\n", rc);
Publish Vehicle Data to Cloud
- Speed is published to adafruit using MQTT protocol.
   char buf[200];
   sprintf(buf, "%d",DSPD);
   message.qos = MQTT::QOS0;
   message.retained = false;
   message.dup = false;
   message.payload = (void*)buf;
   message.payloadlen = strlen(buf)+1;
   rc = client.publish(topic, message);
output.printf("rc=%d",rc); - RPM is published to adafruit using MQTT protocol.
 char buf[200];
   sprintf(buf, "%d",DRPM);
   message.qos = MQTT::QOS0;
   message.retained = false;
   message.dup = false;
   message.payload = (void*)buf;
   message.payloadlen = strlen(buf)+1;
   rc = client.publish(topic, message);
output.printf("rc=%d",rc); - Temperature is published to adafruit using MQTT protocol.
 char buf[200];
   sprintf(buf, "%d",DRPM);
   message.qos = MQTT::QOS0;
   message.retained = false;
   message.dup = false;
   message.payload = (void*)buf;
   message.payloadlen = strlen(buf)+1;
   rc = client.publish(topic, message);
   output.printf("rc=%d",rc);
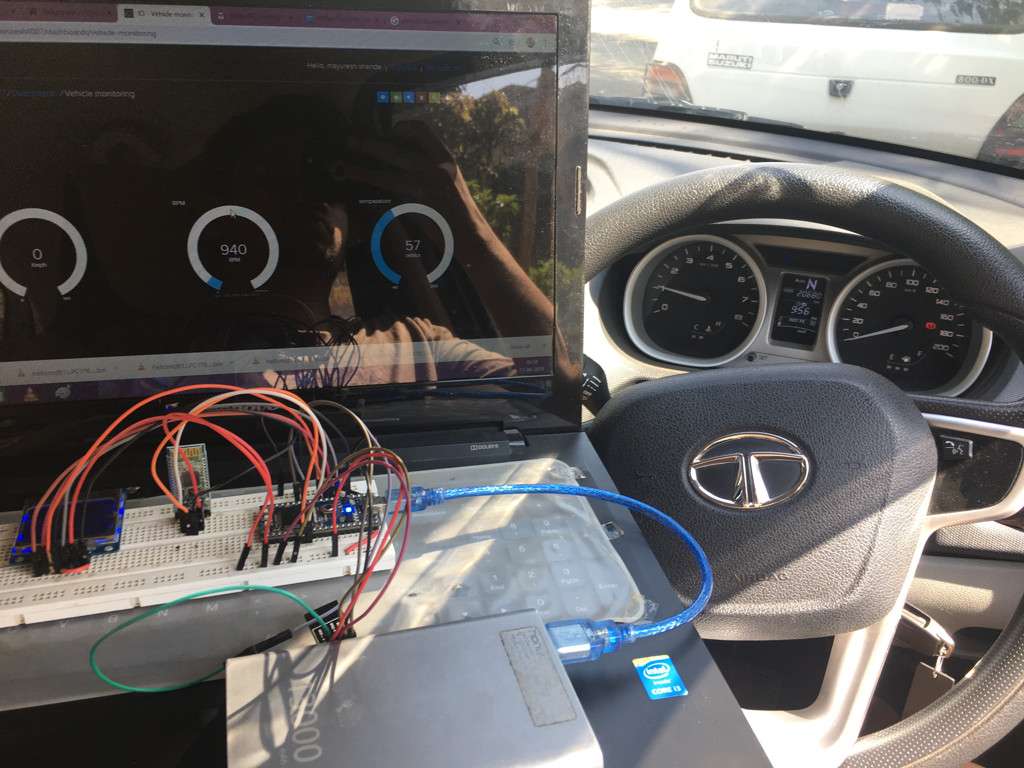
Vehicle Parameters on Adafruit Dashboard
Code
Credits
Built by 2 contributors
Comments6
Join the discussion — share a question or tip.
Brother lovely innovative project
can you plz give me a circuit diagram on so that I can understand it well too.. Hope you will help. Keep up good work
hi, i wish to connect with you. my email autocarezone.asia@gmail.com. talk soon.
I need to connect with you. Please email me at 100raynay100@gmail.com
Hi, the circuit diagram and pictur application working is missing. I have a Mitsubishi Outlander PHEV and want to monitor charging - is this possible ?
I want to learn what you did.