Control Home appliances using Google Assistant

Components Used
Powered by
Introduction
Google assistant is AI (Artificial Intelligence) based voice command service. Using voice, we can interact with google assistant and it can search on internet, schedule events, set alarms, control appliances, etc.
This service is available on smartphones and Google Home devices.
We can control smart home devices including lights, switches, fans and thermostats using our Google Assistant.
I build an application which can control home appliances. Here, I control 60 W bulb using Google Assistant service.
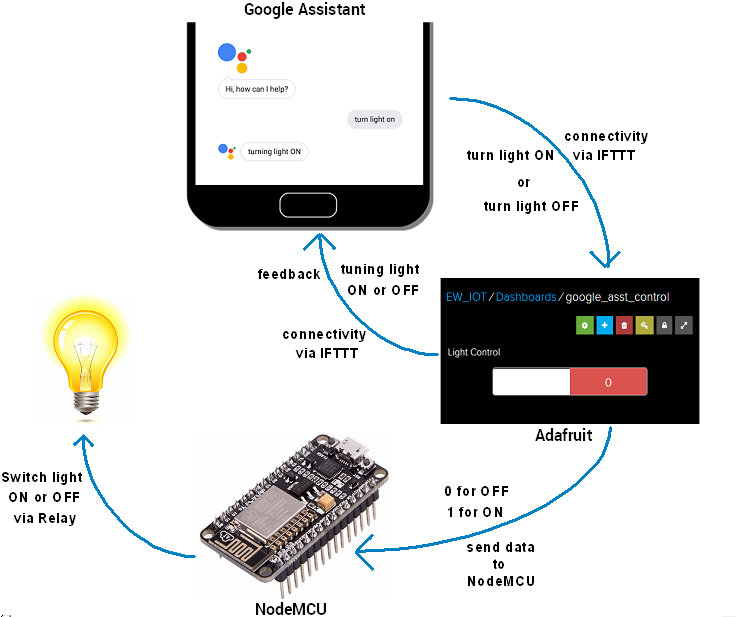
This application includes Google assistant along with Adafruit server and IFTTT service.
Hardware Used
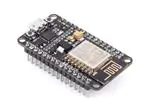
- NodeMCU – 32-bit ESP8266 development board with Wi-Fi SoC.
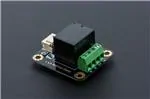
- Relay module
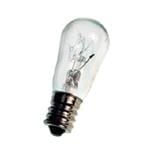
- One 60 W Bulb
To build home automation application, I used three different platforms
- Google Assistant
- Adafruit
- IFTTT
To use above services we need to configure them.
Adafruit
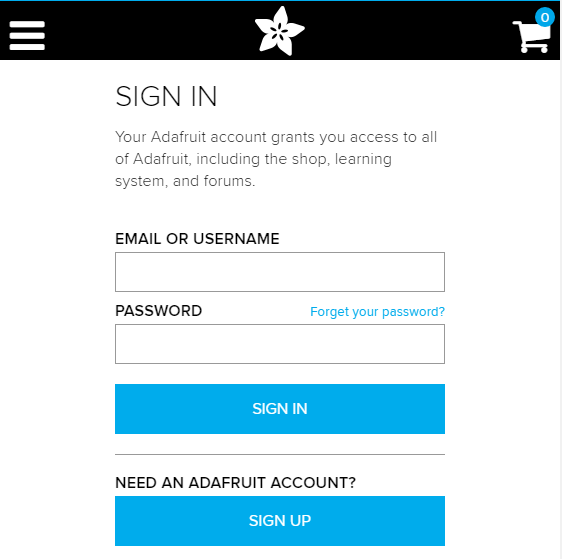
First, created account at www.Adafruit.io
Now, create dashboard at Adafruit. This dashboard is a user interface to control things remotely.
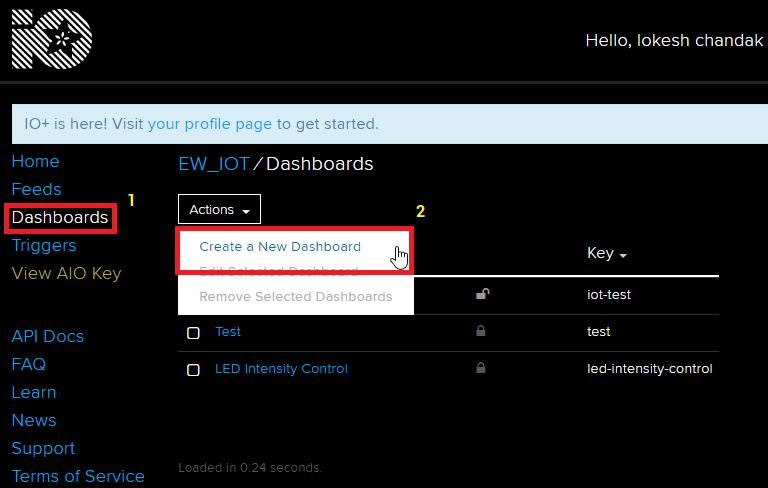
After following above steps, provide name to the dashboard and save it. We can see our dashboard as follows,
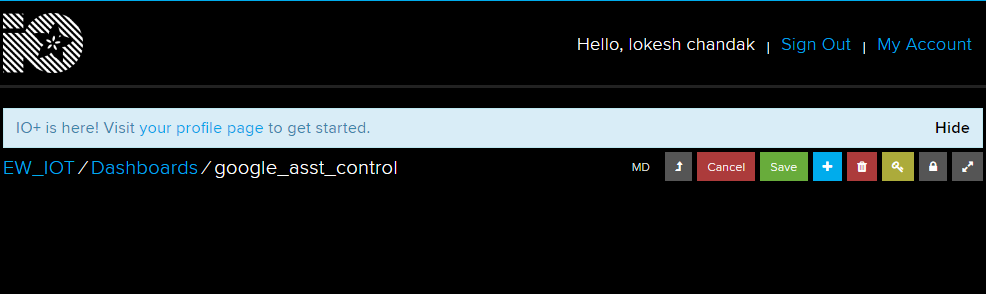
Now, create feed (user interface) to control light On-Off. To create it, just click on ‘+’ symbol and select toggle feed shown below,
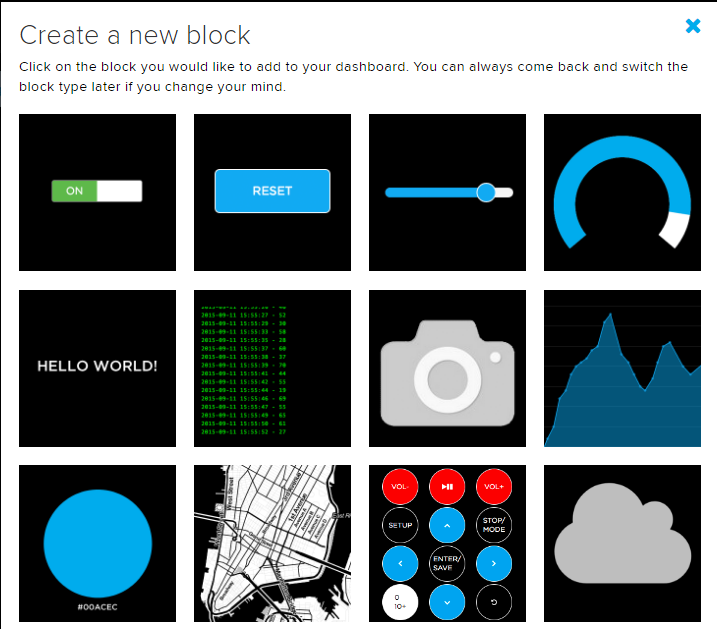
After selecting toggle feed, pop-up window appears as shown below.
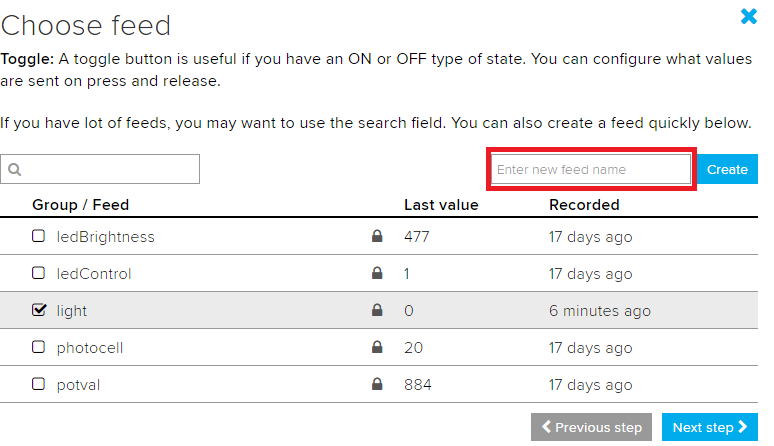
Enter name of our feed (shown in red box) and create it. After creation, select the created feed (here mine is light) and then click on Next step.
In the next step configure the feed which is shown below,
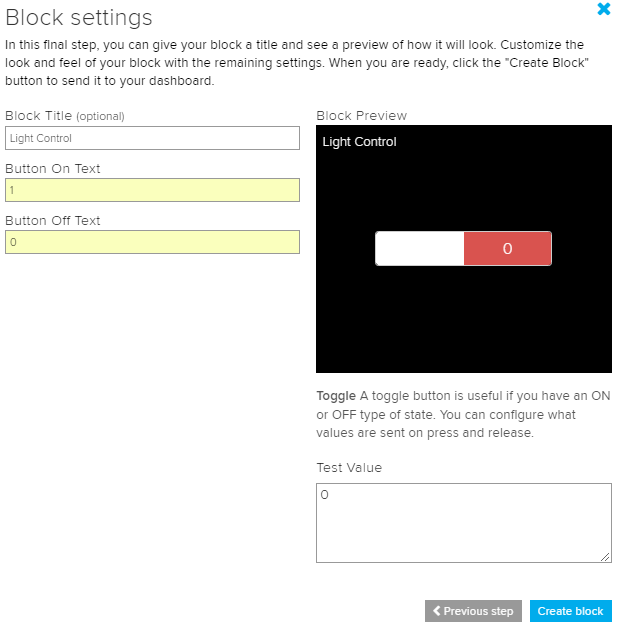
Here, I used 0(OFF) and 1(ON) text for button and then click on create. This will create toggle button on your dashboard which can be used to control things remotely.
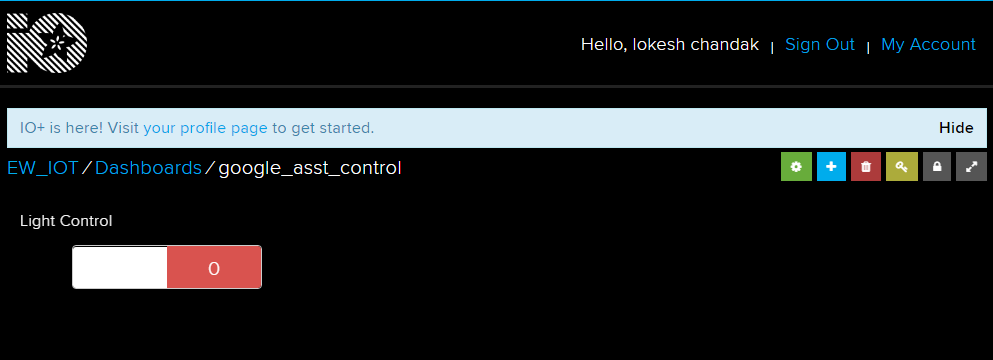
Now, my dashboard is ready for IoT application like home automation.
IFTTT (If This Then That)
If This Then That, also known as IFTTT is a free web-based service to create chains of simple conditional statements, called applets. An applet is triggered by changes that occur within other web services such as Gmail, Facebook, Telegram, Instagram, or Pinterest.
For example, an applet may send an e-mail message if the user tweets using a hashtag or copy a photo on Facebook to a user's archive if someone tags a user in a photo.
Here, I used IFTTT to use google assistant service and Adafruit service in chain. So, when I use google assistant to control light of my home by saying Ok google, turn the light ON or OFF. Then IFTTT interpret the message and can send it to Adafruit’s dashboard as a understandable command to the created feed.
Configure IFTTT
First step is creating account on IFTTT.
Note: Create account on IFTTT by using same e-mail id which you have used for Adafruit.
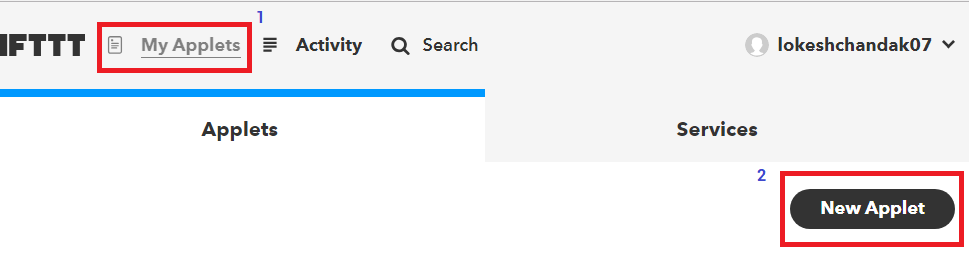
After account creation, click on My Applets and then select New Applet shown below,
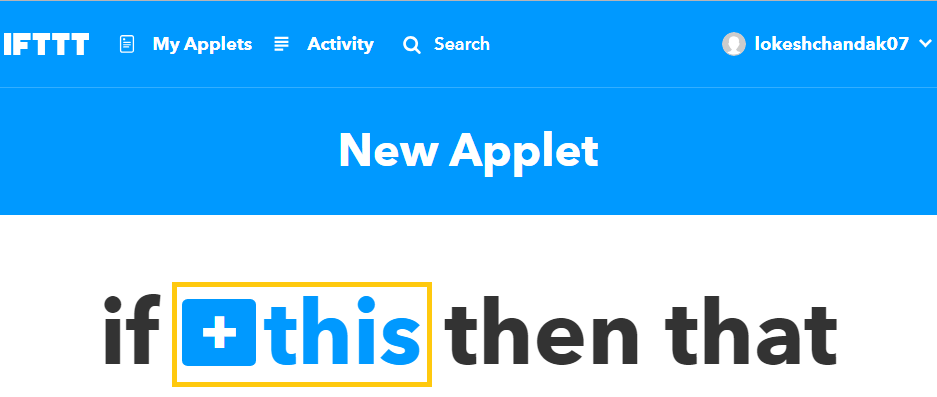
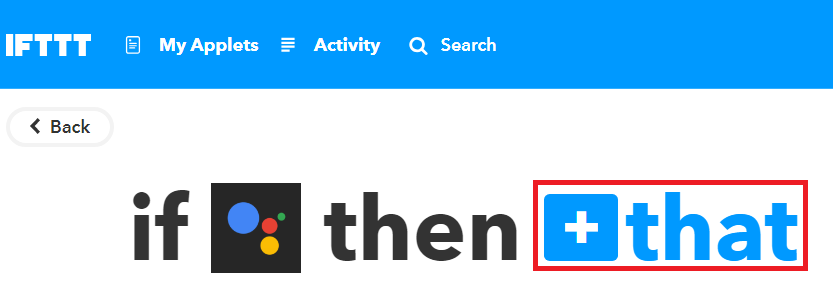
After selecting a new applet, we get a new page in which we should click on to This as shown in below image.
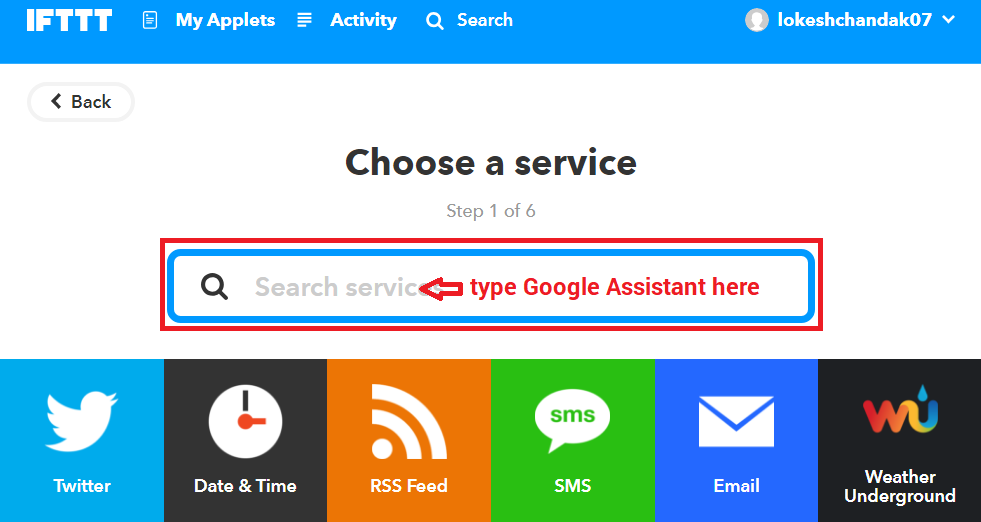
Then search for Google Assistant and select it.
Now, enter voice phrases which we will use as a command for google assistant.
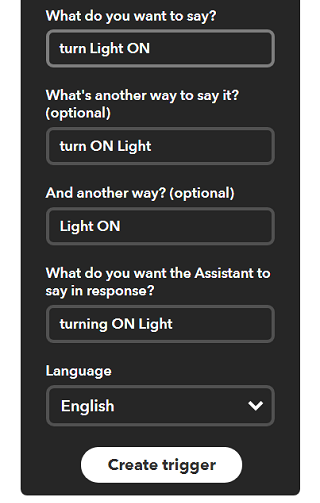
We can enter any phrase as per our application. As you can see, the phrases entered in the above fields is for making Light ON. For making Light OFF, we have to create another applet with different phrases.
Now, we get another page on which we have to click on that option which is used to connect Google Assistant with Adafruit.
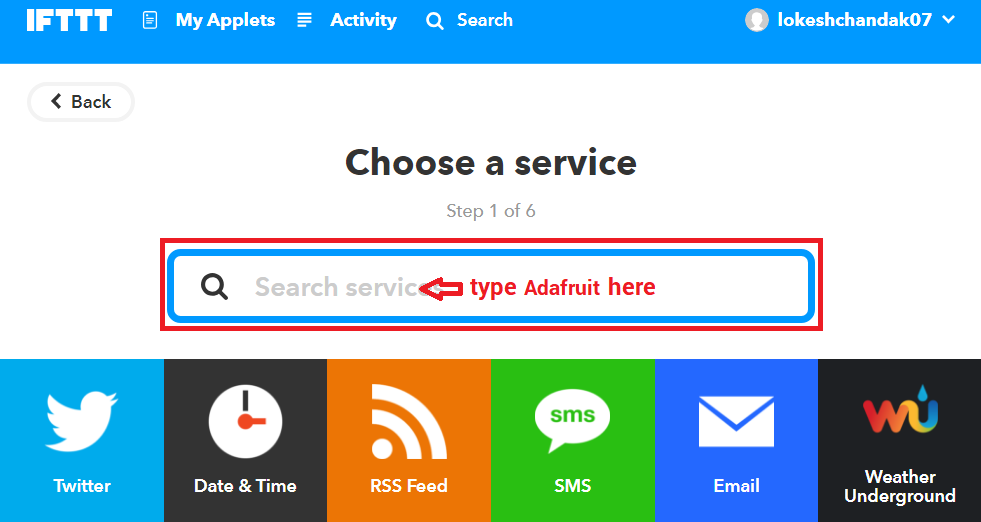
Then search for Adafruit and select it.
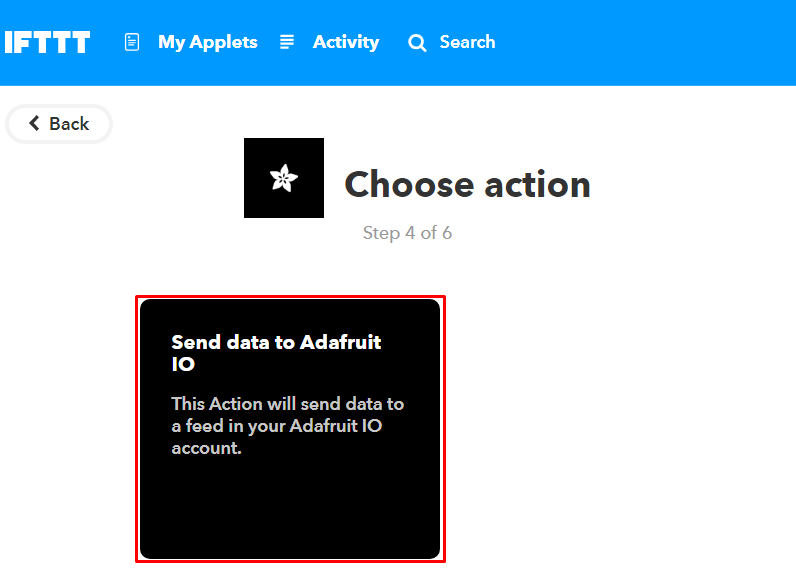
After selecting Adafruit, choose action as shown below,
Now enter what data we need to send to which feed of Adafruit dashboard.
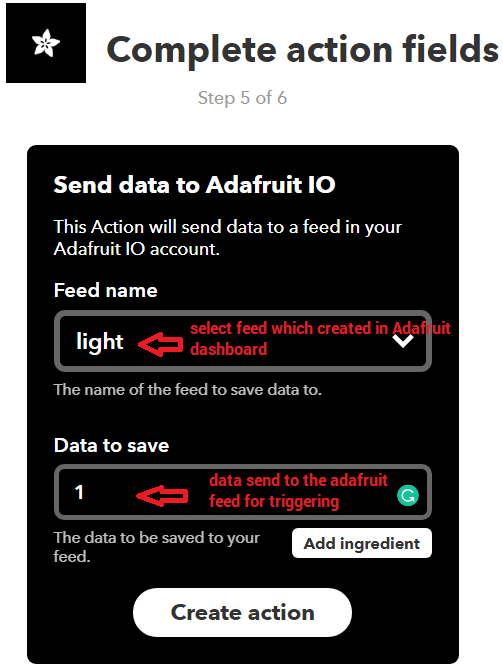
Click on Create Action.
So, when I use Google Assistant on my mobile and give voice command as “Ok Google, Turn LED ON”, applet created in IFTTT receive this command and will send data ‘1’ to the Adafruit feed. This will trigger the event on Adafruit dashboard which is continuously monitored by the microcontroller (here NodeMCU). This microcontroller will take action as per the data change on the Adafruit dashboard.
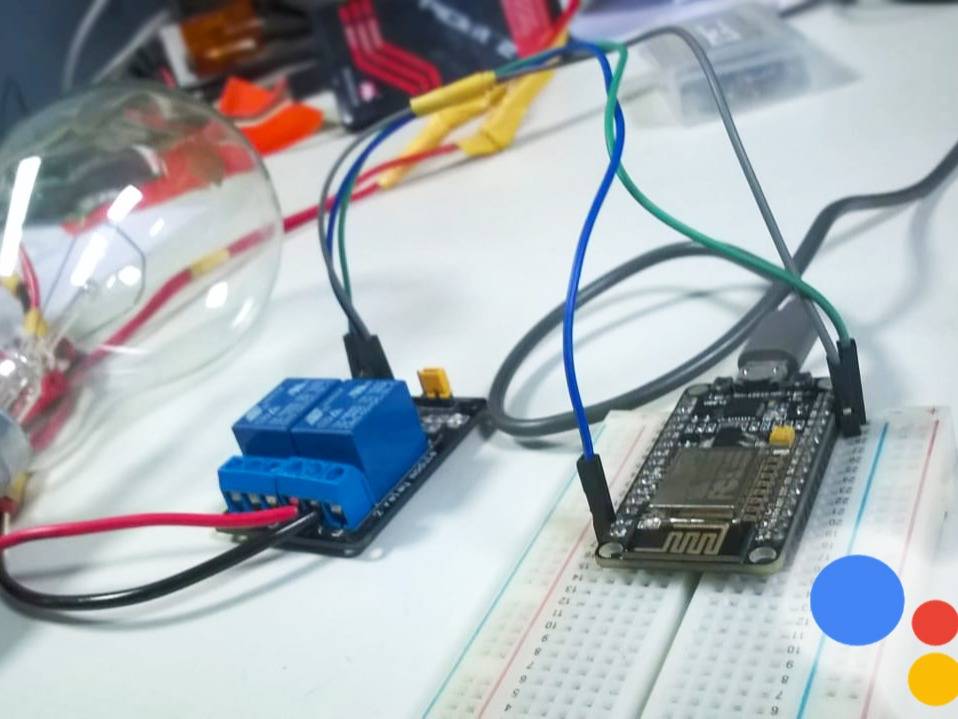
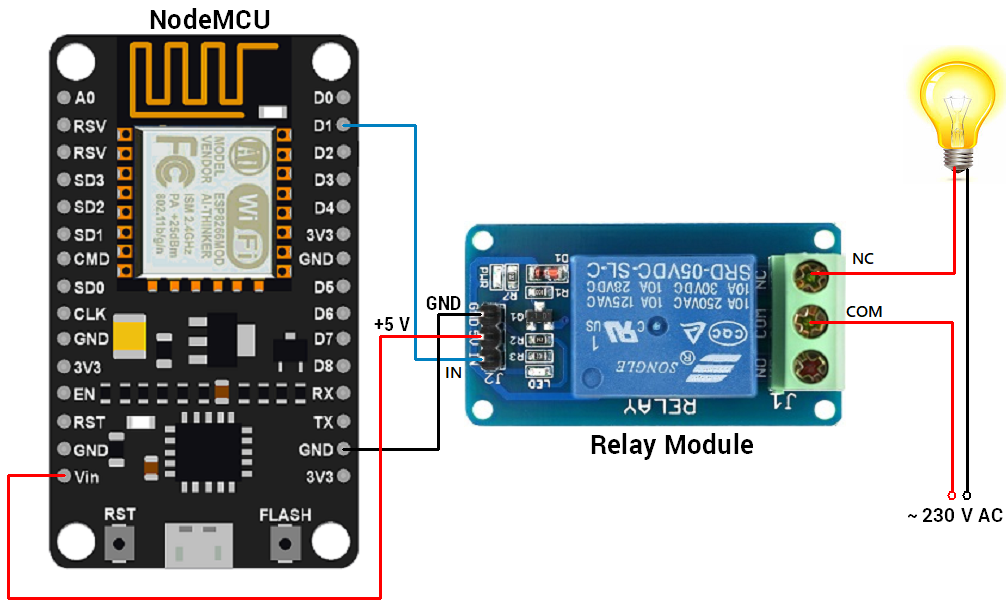
Interfacing Diagram
Library
Here, I used the Adafruit MQTT library for receiving data from the Adafruit server. To install this library, select option Sketch -> Include Library -> Manage Libraries.
In that library, search for Adafruit MQTT and installed it.
Control Home’s Light using Google Assistant and NodeMCU
I build an IoT based home automation application in which I control the 60 W bulb at remotely using AI based Google Assistant.
Here, I used NodeMCU to read data from Adafruit server and act accordingly. 60 W bulb connected to NodeMCU via relay for controlling it voice command using google assistant.
Video
Credits
Built by 1 contributor
Comments15
Join the discussion — share a question or tip.
CODE
how do i putt more relay in this module
bro, why it said on arduino ide " 'D1' was not declared in this scope " ?
Insted of nodemcu can we use FPGA Spartans and wifi module
Sir, 1)how can we interface nodemcu with thingspeak (how to program it) and 2)if I used Google assistant ➡️ webhook service in IFTTT, how can we update the values from thingspeak
This is really a fun to do! I have tried this. IFTTT is worth something to do more with.
the above program is only for turning on or it will do both turn on or off process
Turn-off also. It perform both process.
To build home automation application, I used three different platforms Google Assistant Adafruit IFTTT this steps working but hardware port not wokin
you are not getting output on the port pin? what exactly not working?
Replying to @rakhimundhada15
D1 PORT NOT WORKING
Replying to @sathyainhot
May be your nodemcu is not connecting to your WiFi ssid. Check your output in arduino ide serial terminal which shows WiFi is connected or not, data is receiving or not. To debug you can use serial terminal.
Replying to @lokeshc
how to write program D0 port to D7 ON or OFF
Replying to @sathyainhot
In program, there is pin definition is at the top of the program. Where you can find #define relay1 D1 Change it to #define relay1 D7
nodemcu potrs or not working plz give the solution