Automatic room light and fan controller with bidirectional visitor counter
Components Used
Powered by
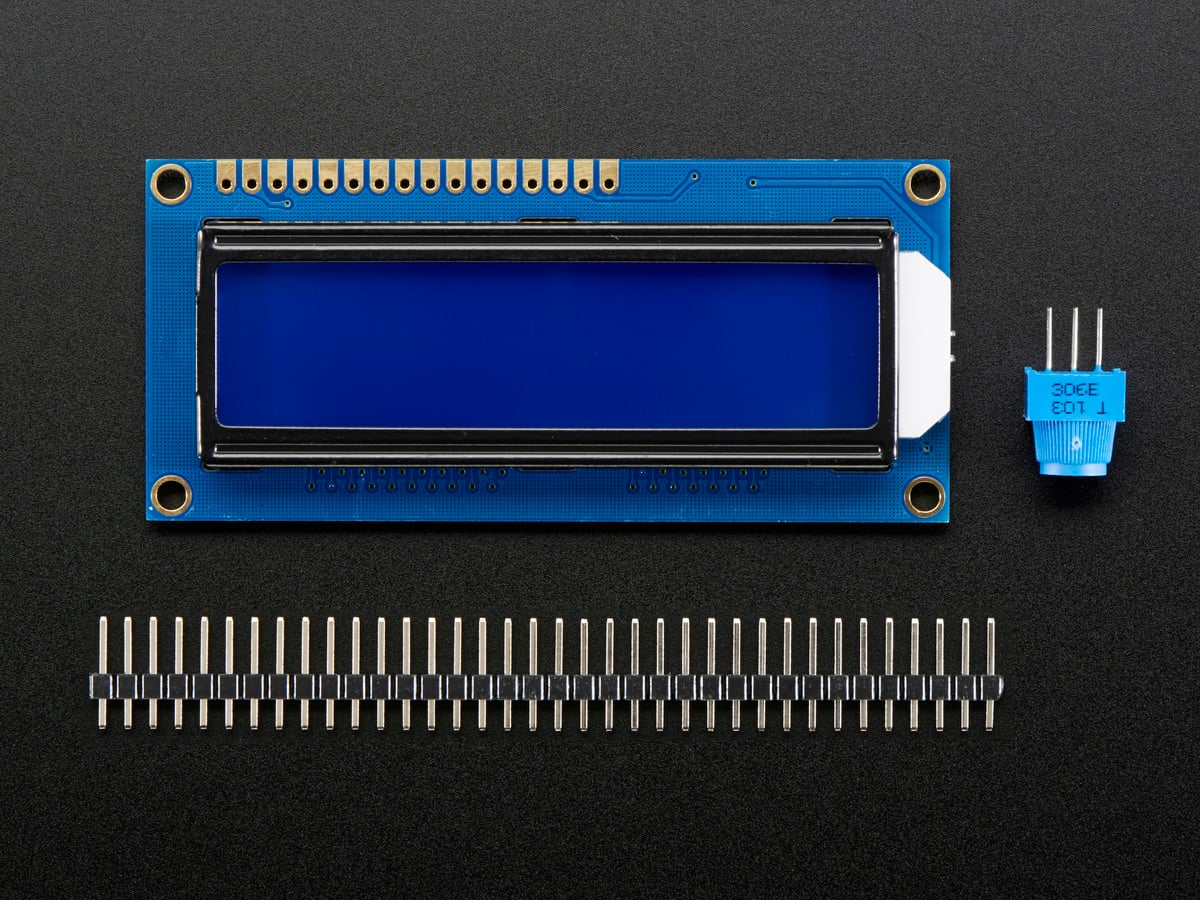
LCD16x2 has two lines with 16 character in each line. LCD16x2 is generally used for printing values and string in embedded application.
474-LCD-00255
Introduction
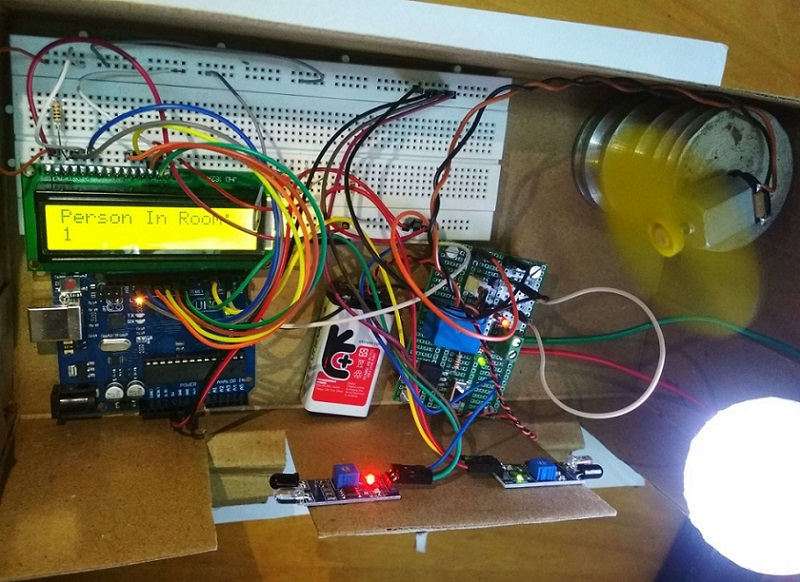
We built an IoT based system which can automatically switch ON room lights and fan when at least one person is present in the room. If room is empty, the lights and fan will automatically get switch off. It also displays count of persons present in the room.
We build this system using Arduino and IR sensor module.
Hardware used
- Two IR Sensors
- Arduino UNO
- Relay module
- Dc motor with propeller
- Bulb
- LCD display
- Breadboard
- Battery (9 V)
- Jumper wires
Project Overview
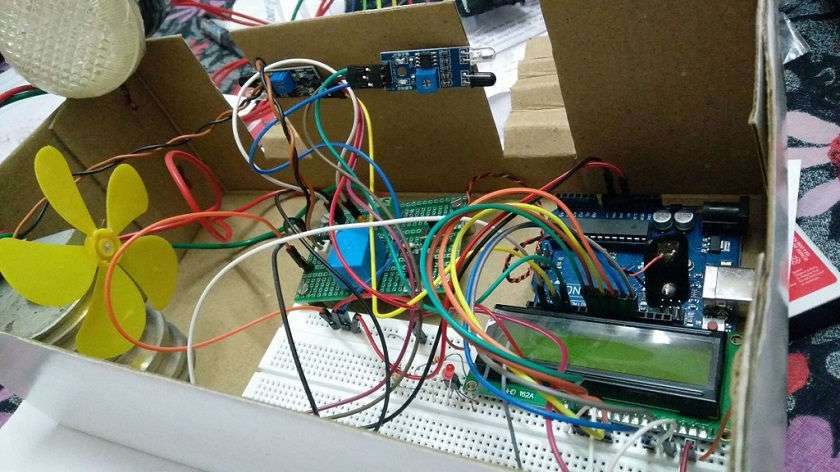
For building this application we have used arduino along with IR sensors and relay module.
- We have used two IR sensors one for detecting person entering into the room and
other for detecting person leaving (exit) the room. - Also these IR sensors are also used to count the person entering and leaving the room. This person counting will help to automate the room's fan and light. That means when the room is empty, the room's light and fan will remain off. But if someone enters the room then the room's light and fan will get turned ON automatically with person count displayed on LCD.
Working of IR sensor
The basic concept of IR sensor is to transmit an infrared signal, this signal bounces back from the surface of an object and signal is received at the infrared receiver.

Project Implementation
When person enters the room infrared signal bounces back and get received by infrared receiver which is considered as entry.
Therefore count is incremented.
if (digitalRead(In) == LOW)
   {
   count++;
   }
Similarly for person leaving the room, count is decremented on detection.
else if (digitalRead(Out) == LOW)
  {
   count--;
  }
When count is more than zero,Relay gets high therefore room lights and fan turn on
and for count less than or equal to zero relay gets low, so light and fan will get turn off.
else if (count > 0)
 {
   digitalWrite(relay, HIGH);
 }

 else if(count <= 0){
   digitalWrite(relay, LOW);
 }
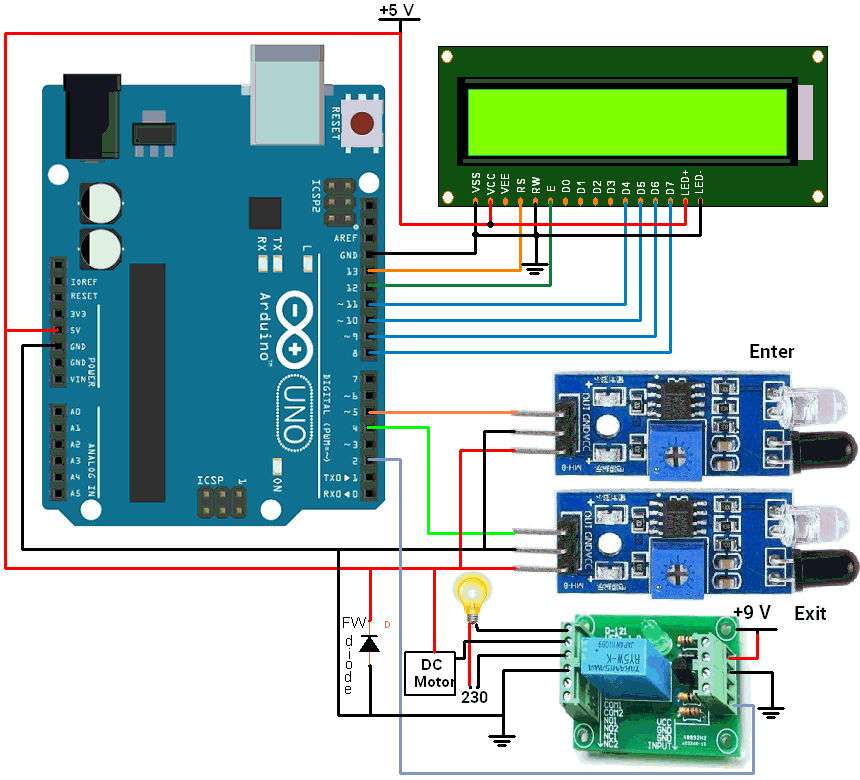
Connection Diagram
Design Steps
- Now to design this circuit we have to interface 16x2 LCD with Arduino UNO as shown in diagram.
- Two IR sensors are connected to digital input pin 4 and 5 of Arduino UNO. (Pin 4 is for entry and pin 5 is for exit.)
- Relay module is connected to GPIO pin of Arduino UNO.
- Bulb and DC motor with propeller are connected in series with relay.
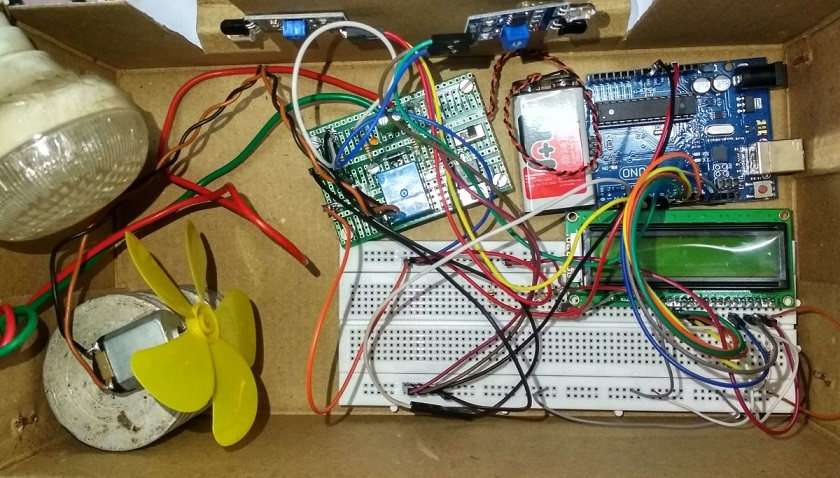
- Upload the code to the Arduino UNO.
Video
Credits
Built by 2 contributors
Comments16
Join the discussion — share a question or tip.
1.How to make bidirectional home automation without display 2.how to join both bidirectional home automation and Google or Alexa home automation using blunk app Plsss reply brook... Plss...
Is this relay module single channel or double channel
Plz send detail circuit connections along with bread board because i am a beginner
Plz properly send detail circuit connections along with bread board because i am a beginner
Plz send detail circuit connections along with bread board because i am a beginner
Plz send the complete code
Plz send detail circuit connections along with bread board because i am a beginner
Bro plz help me
https://www.startupjobsportal.com/ nice project
Hai I done all the process step by step but led don't show any message and sensor are not operate correct lu pls help me I several time told cost include 6000 rupees
Hey can you please tell me which relay module you have used in the project. (Give the link if possible )
5V Single Pole - Double Throw (SPDT) relay is used in this project as a switch
I want this aurdino program
You can find code in attachment
Replying to @lokeshc
I can't able to open the attachment file. Can you please send me that file.
Replying to @kaustubhpatil2109
you can download that file from below link too, https://www.electronicwings.com/users/abhilasha/codes/automated_room_light_and_fan