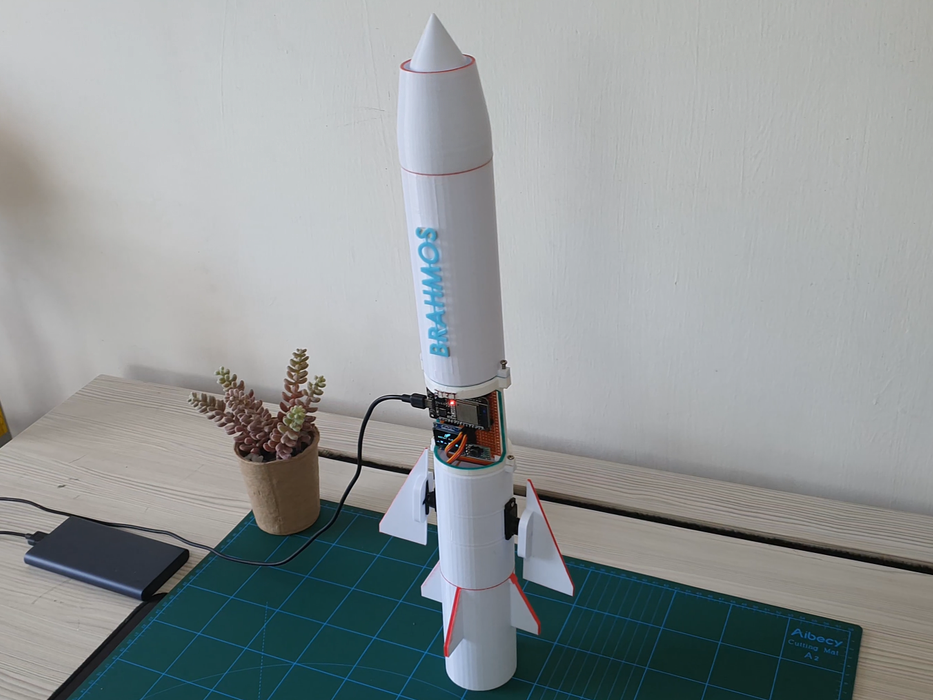
Supersonic Rocket Model Brahmos

Components Used
Powered by
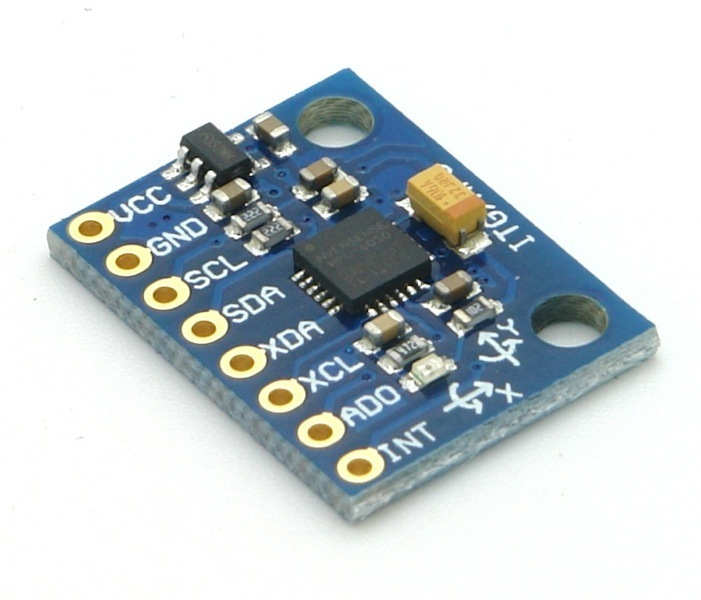
MPU6050 (Gyroscope + Accelerometer + Temperature) is a combination of 3-axis Gyroscope, 3-axis Accelerometer and Temperature sensor with on-chip Digital Motion Processor (DMP). It is used in mobile devices, motion enabled games, 3D mice, Gesture (motion command) technology etc
410-MPU-6050
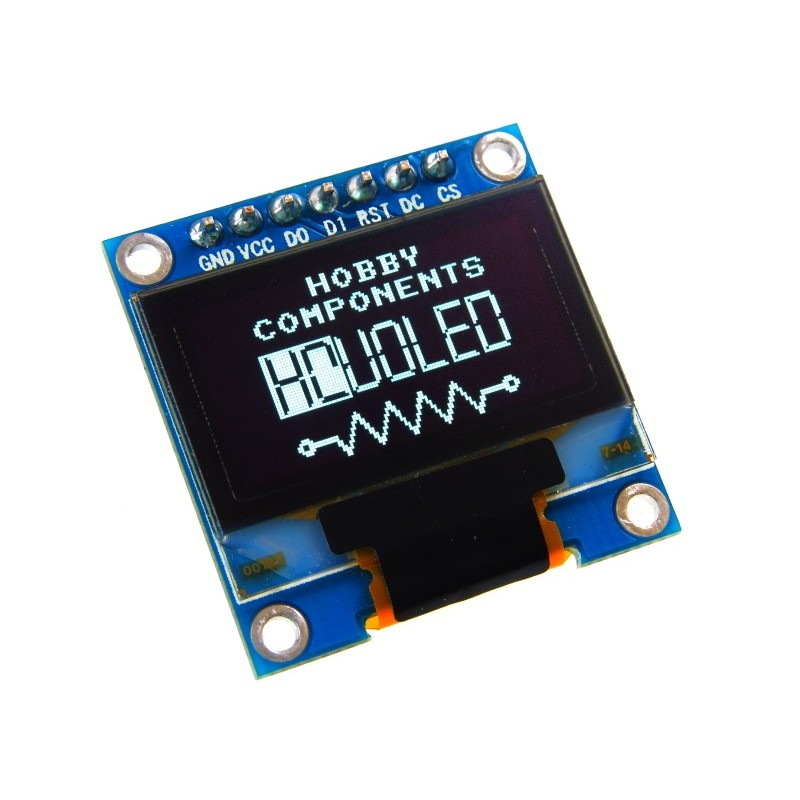
OLED (Organic Graphic Display) display modules are compact and have high contrast pixels which make this display easily readable. They do not require backlight since the display creates its own light. Hence they consume less power. It is widely used in Smartphones, Digital display.
485-938
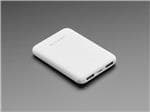
Adafruit Accessories USB Li-Ion Power Bank with 2 x 5V Outputs @ 2.1A - 5000mAh
485-4288
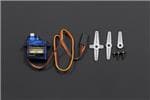
Most of the tutorial is covered in the video above. However, for flight computers, I have added a separate video explaining how it works. This is a very simple project it's better understood by visual learning so please watch the tutorial videos for better understanding.
This is just an interactive model It does not fly nor the flight computer is designed for flight. I was going to build an actual rocket had most of the things figured out but halfway through the project I came to know rocketry is banned where I live so no way to fly the actual rocket hence I made it into just an interactive model. It can be used for teaching kids and displays.
Step 1: 3D Print Parts
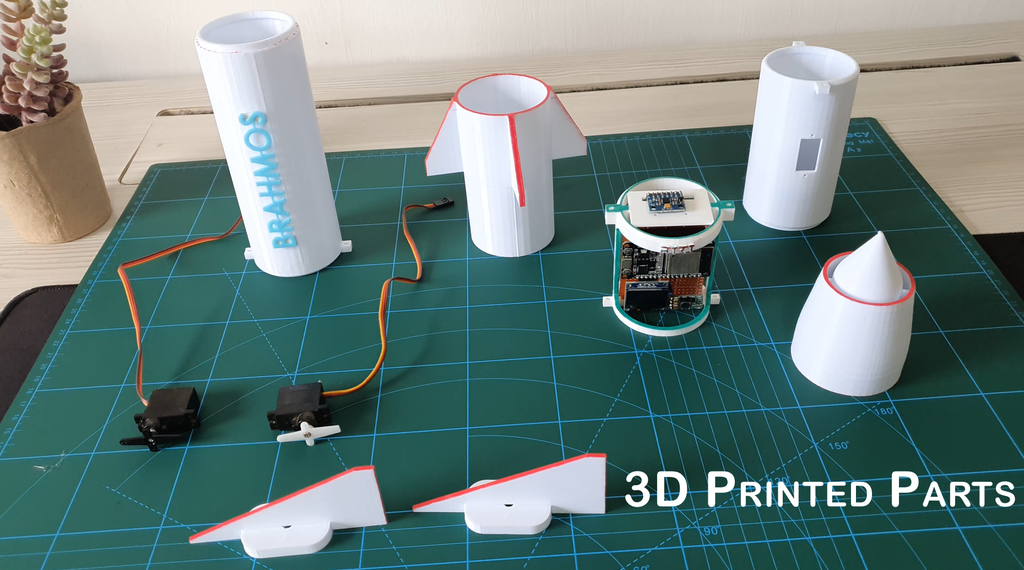
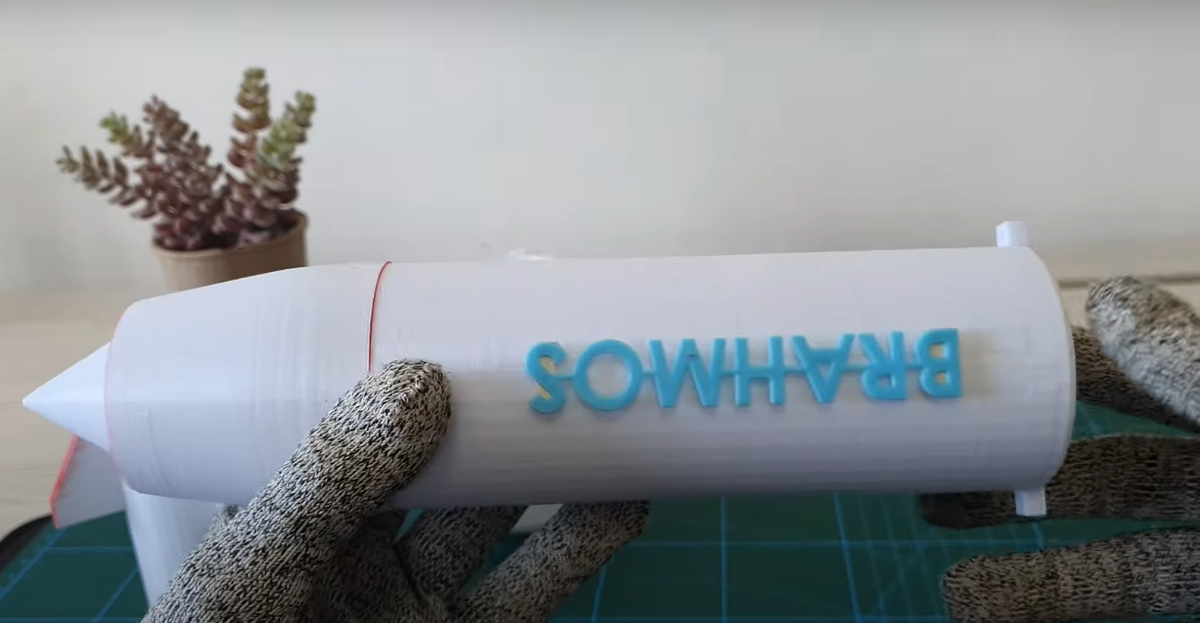
The full project is 3D printed and can be easily assembled. Design is parametric so if you want to extend the length of tubes it can be easily done in cad. You need to download the stl parts and get them 3D printed. This is version-0 in a few months I will upgrade the model. The whole body is modular so that you can use the printed parts for another project if you like. Please see the above video on how to assemble the rocket.
Step 2: Flight Computer
Every rocket needs a flight computer so I made a cheap alternative computer called TARRA.
TAARA "Terrestrial Advanced Autonomous Rocket Avionics" is an experimental rocket flight computer for model rockets. Built for teaching beginners about thrust vector control and basic control system theories.
This is where all the magic stuff happens. TAARA controls all the movements of the rocket. If you download the code from GitHub there is a readme file included. In that, I have explained how everything works. Also, the code is heavily commented you can follow as you go along
There will be a tutorial on TAARA soon. I will update it here. The flight computer is itself a very vast topic very hard to cover in a small tutorial.
3d printed files for this are also included in the download package. Please read the GitHub page also to understand how code works.
Step 3: Power and Data
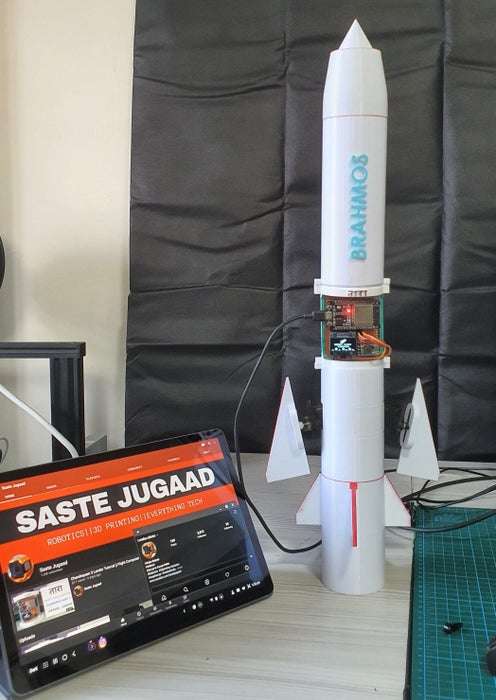
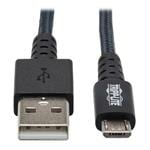
You can power it directly with your PC or you can just use a power bank. While programming and testing I normally use a USB cable to run the model. If you do not want to handle the wires you can use normal batteries. The whole thing runs on 5V. Please do not go above that.
Step 4: What's Next??
At this point, you are done. But there is more this was version-0 In the future I am planning a significant upgrade. You will be able to plot and see data from the rocket directly on your computer wirelessly and do a bunch of cool stuff.
I made this project a while ago since then I made some more progress and made new space-related projects like a moon lander simulator as Please check it out if you are interested in something like that.
Moon Lander simulator
Downloads
Credits
Built by 1 contributor
Comments0
Join the discussion — share a question or tip.
Be the first to share your thoughts on this project.