IOT Lunar Rover inspired by ISRO

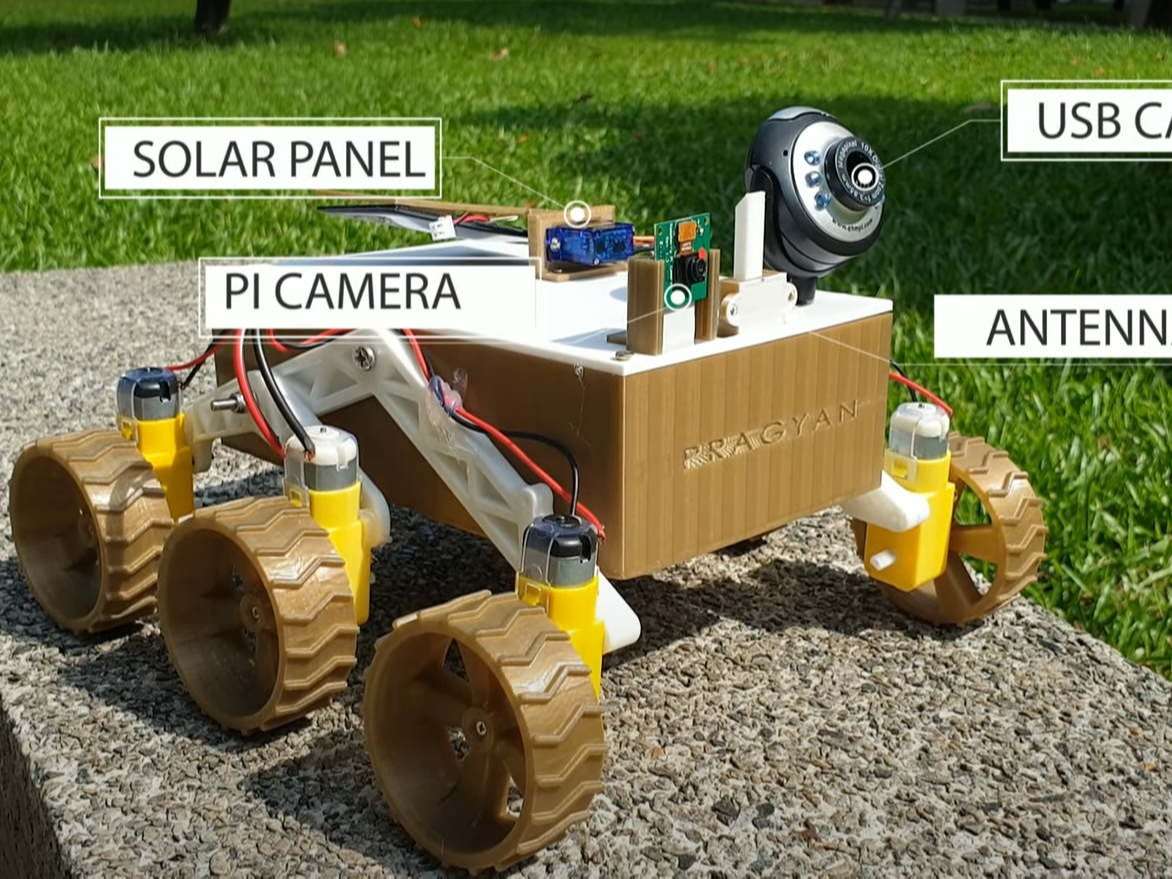
Components Used
Powered by
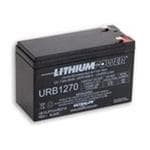
LiFePO4 - Lithium Iron Phosphate Battery 12V 7.5Ah LiFePO4 5.95 x 2.56 x 3.70"
5169-URB1270
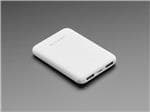
Adafruit Accessories USB Li-Ion Power Bank with 2 x 5V Outputs @ 2.1A - 5000mAh
485-4288
Step 1: Watch the tutorial for a better understanding
.jpg)
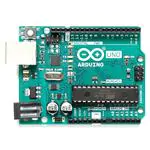
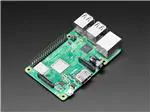
This is a modular design it has two control boards an Arduino and raspberry pi. Both work independently of each other. If you don't have enough budget you can leave the raspberry pi and camera out the rover will still work by Bluetooth. Raspberry pi is used only for the camera and controlling the rover over WiFi and the internet. The movement of the rover is controlled by Arduino. Both devices have different power supplies.
Step 2: Main Body and Attachments
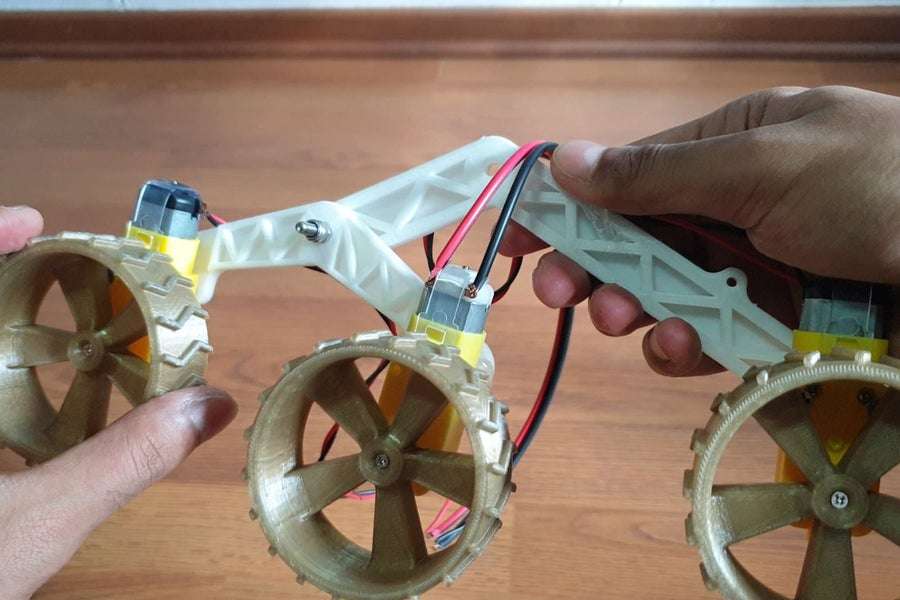
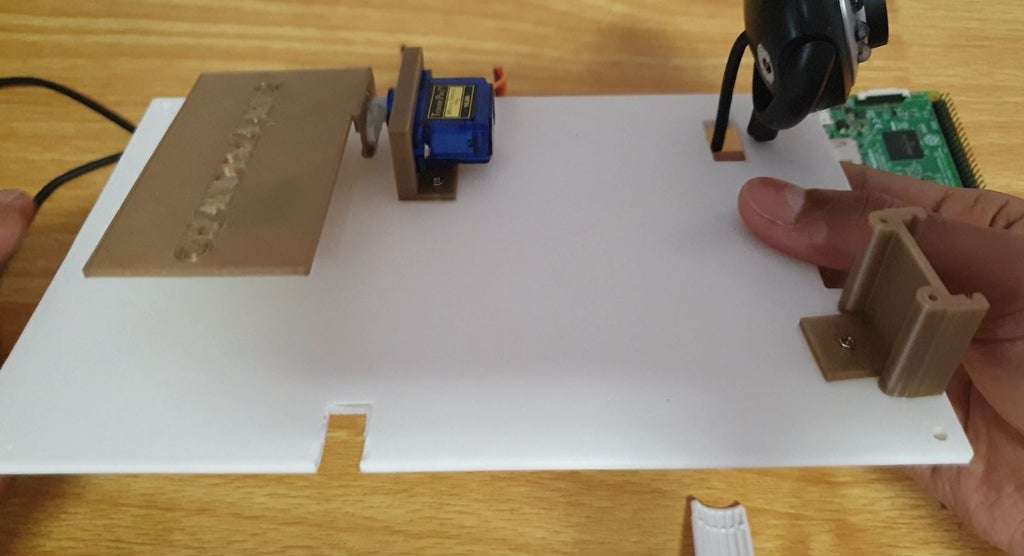
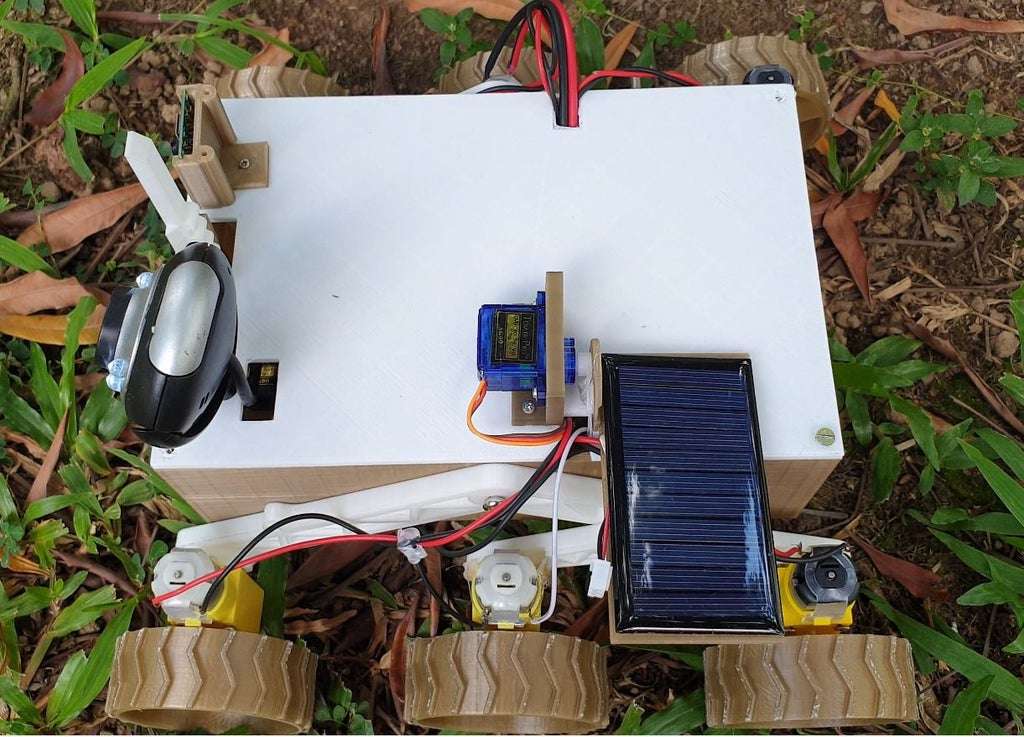
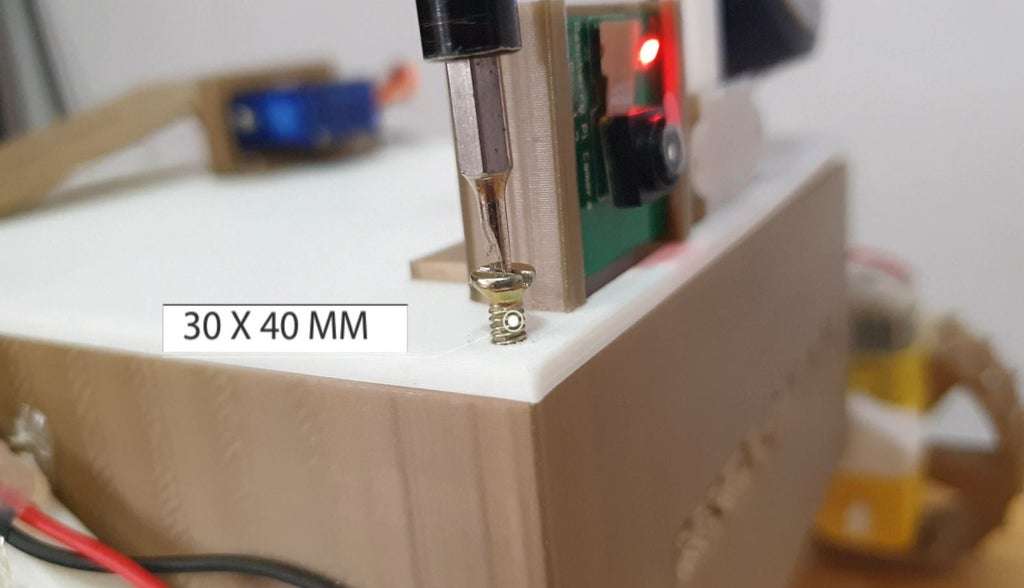
If you have a 3d printer you can directly print all the stuff but if you do not have you can use a lunch box for the main body and for making the links for the rocker-bogie mechanism you can use PVC pipes i will leave the link for your reference.
If you don't want you can leave the attachment the rover will still work. The antenna and solar panel i have just added because I had lots of time and spare parts.
The cad modeling is done in Solidworks 2017. I have included both STL files and Solidworks file so you can make changes according to you or directly print the parts. I used ender 3 pros for printing the parts.
Watch the video for a better understanding of how to assembly the rover.
Download Code and CAD Files Here
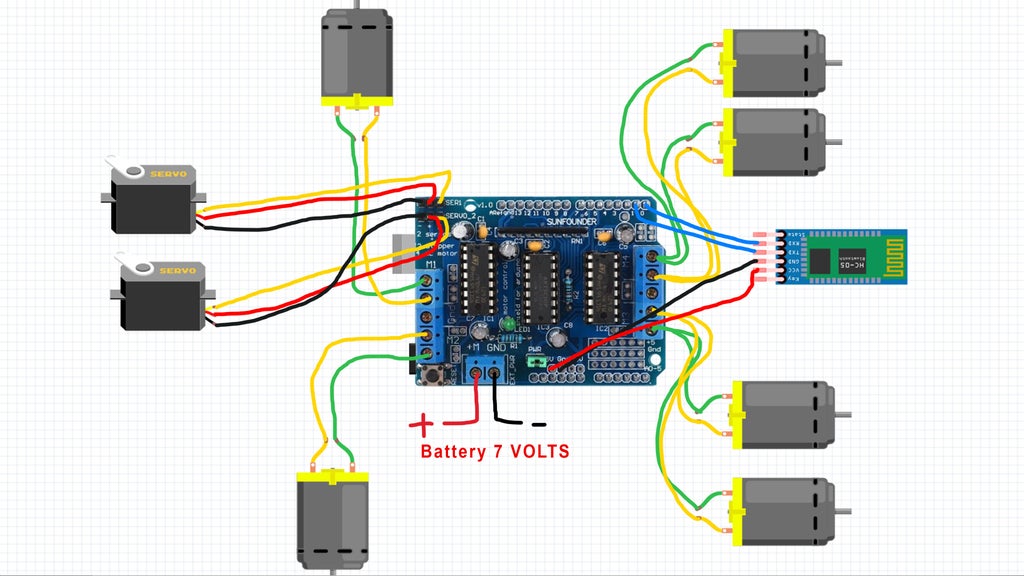
Step 3: Wiring and Circuit
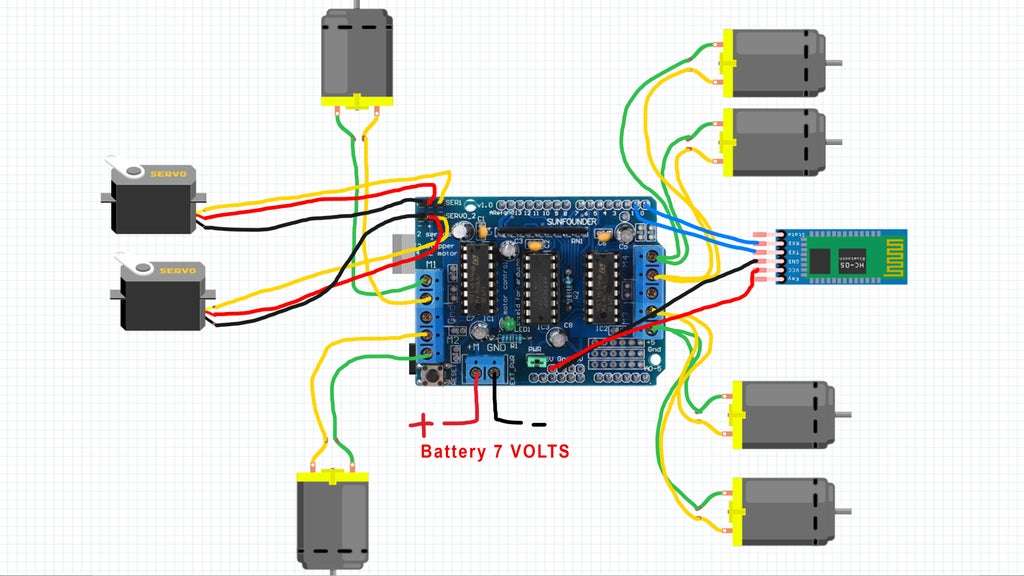
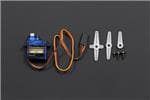
Use the above image for reverence of connecting all the motors to the Arduino board.
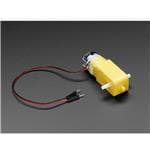
We will connect two motors on each side to a single slot. And if motors are running in the wrong direction just swap the wires that should fix it.
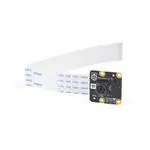
For Raspberry pi connect the USB webcam to the USB port any camera should work there is no installation needed to Connect the Raspicamera module to the connector pin on the board.
IMPORTANT
Supply only 5v to a raspberry pi. DO NOT USE THE SAME POWER SUPPLY FOR RASPI AND ARDUINO
You will fry your board.
I know it's silly using two supply but I made it like this so that people not having raspi and camera can also build it.
Step 4: Controlling the Rover
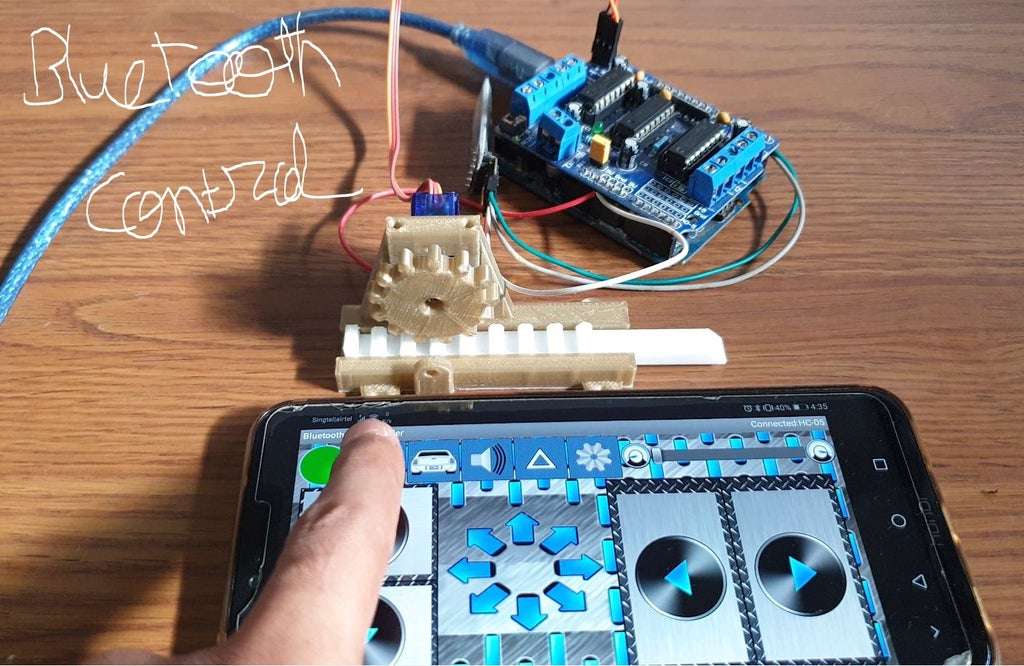
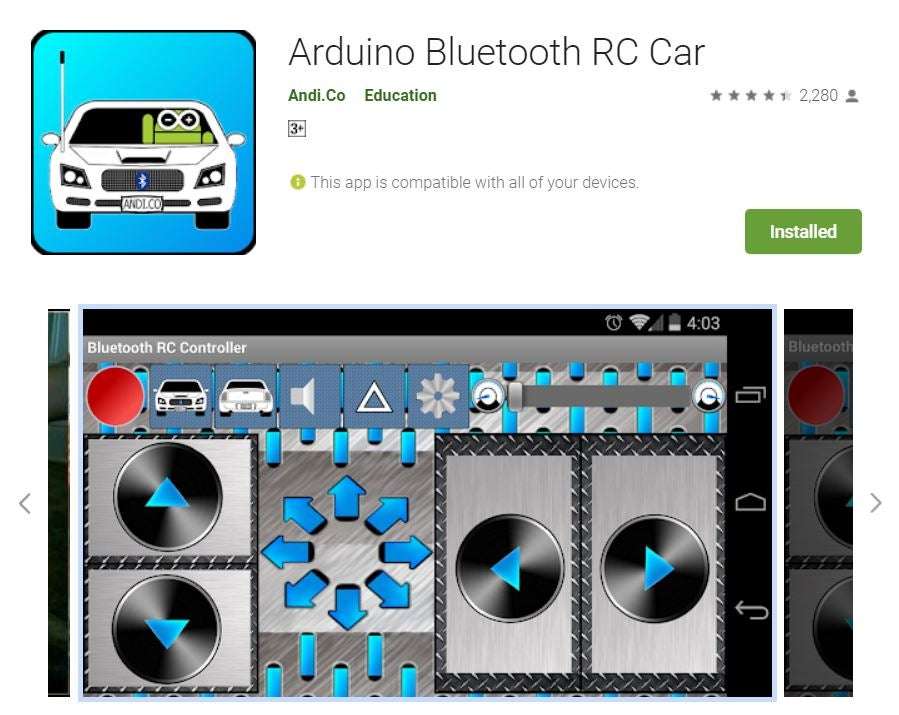
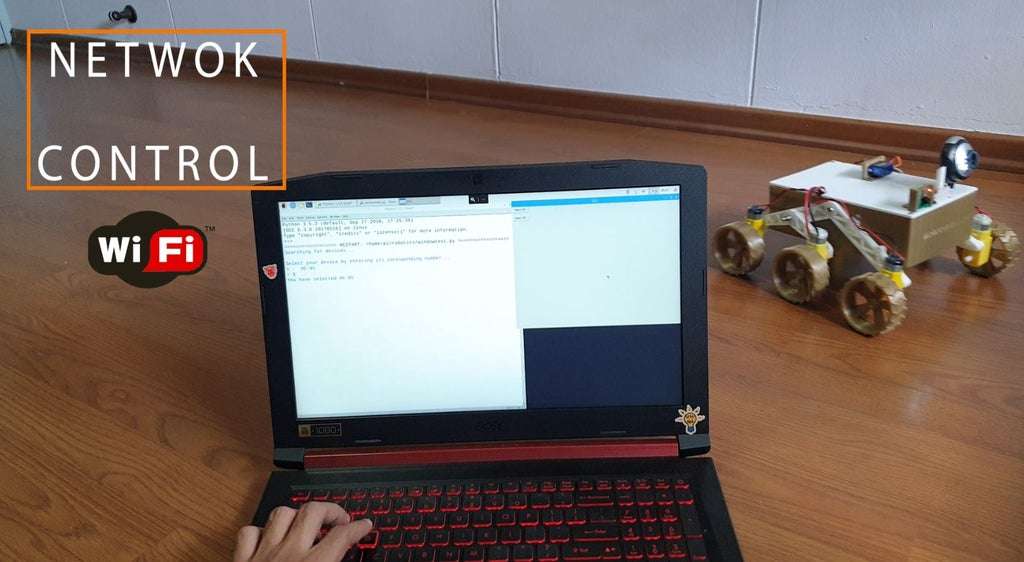
There are two modes of control one by Bluetooth using an android device another over WiFi and the internet Local Bluetooth connection For this you will have to download the Bluetooth app from the play store and connect to the rover.
For WiFi and internet control
This is a little tricky because we will use raspberry pi for this. First, you need to connect to the raspberry pi via SSH through a remote desktop connection. Then run the Rovercontol script it will ask you to connect to the Arduino board via Bluetooth once done it will open up a window and now use w,a,s,d keys to drive the rover and press j to stop it.
To control the camera run webcam script it will start the live video to take a still picture use this command in the terminal window
raspistill -v -o test.jpgBoth cameras work independently of each other and can be used at the same time.
To setup, RaspiCam Click here
Webcam script uses Opencv 3 running on Python 3 to setup that click here
Step 5: CONCLUSION
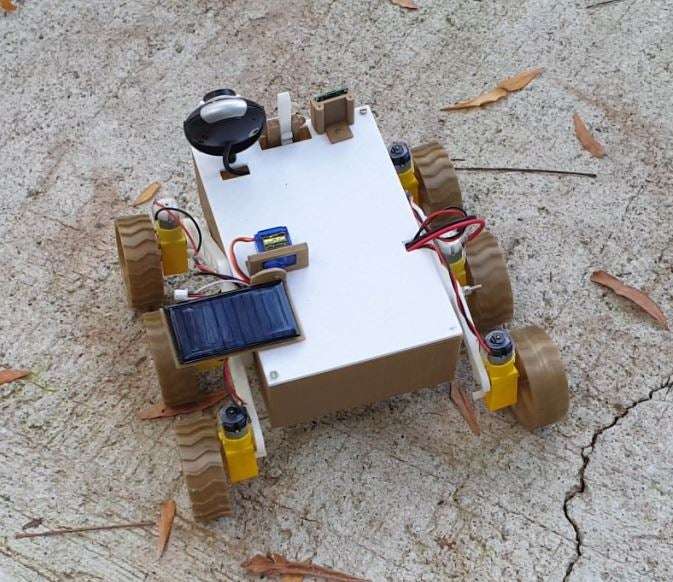
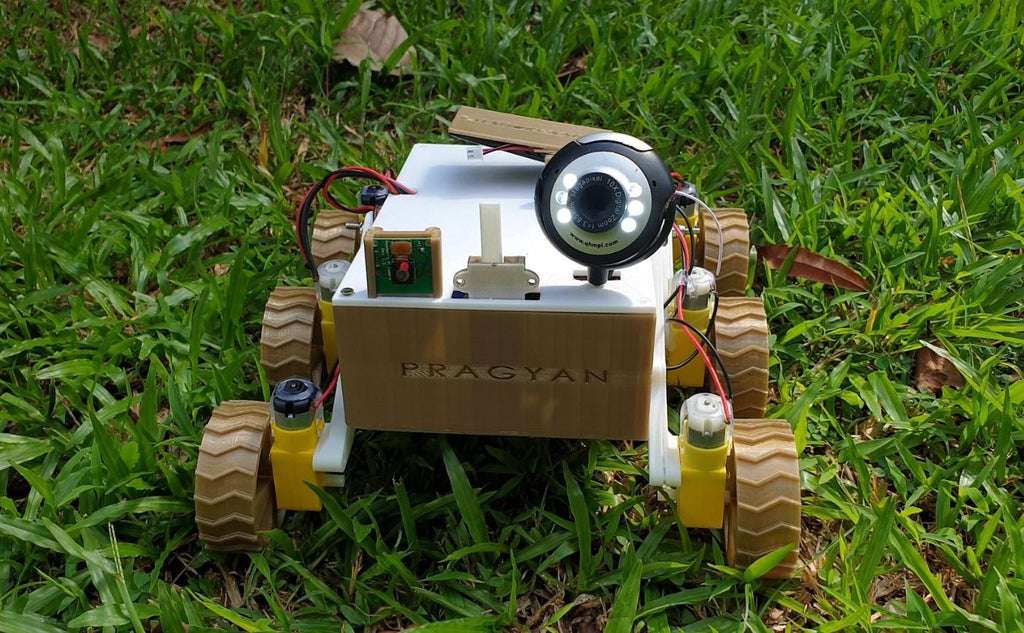
This is the first part of the project I will upgrade the rover and add autonomous self-driving and finally, I will make a lander module that I will launch from the sky and try to automatically land it as if it's land on the moon.
Feel free to ask any questions in the comments and doubts I will reply as soon as possible.
Credits
Built by 1 contributor
Comments4
Join the discussion — share a question or tip.
I wish to know how you did this project ,do You have a video you took while doing the project so I one could watch and get full and deeper understanding of the project and also know how to make it without making any errors
Very great work sir
Nice work!
Thanks