Drone for Surveillance

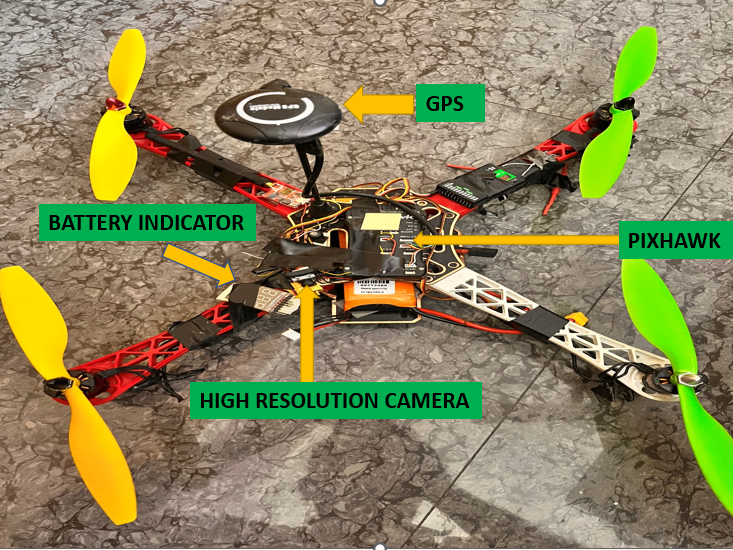
Components Used
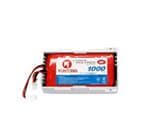
Powered by
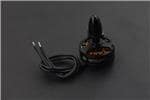
Pixhawk
× 1PIXHAWK 2.4.8 i.e. mission controller is the brain of the boat. It’s a circuit board with a range of sensors that detect movement of the boat, as well as user commands so Pixhawk 2.4.8 does. Using this data, it then controls the speed of the motors to make the craft move as instructed. It Supports 8 RC channel with 4 serial port. Various user interfaces are available for programming
GPS module with in built compass
× 1This GPS module has accuracy between 0.6 and 0.9 meters. Sattelite searching and acquisition is very fast, generally taking around ten seconds to locate and acquire up to 6 satellites. It also has a built-in compass with a 10Ghz refresh rate.
camera
× 1Customized
Electronic speed controller (ESC)
× 1EMAX BLHELI SERIES 30A ESC is a brushless dc motor speed controller. The low output resistance greatly enhances power stability because The ESC is adapting a 2-4S Lipo battery which improves good battery life. The EMAX BLHELI ESC is programmed to start the brushless dc motor. This ESC has a greater current handling capacity which is 30A continuous and the peak current is 40A for the last 10 sec.
Frame for drone
× 1This Q450 Quadcopter Frame is made from Glass Fiber which makes it tough and durable. They have the arms of ultra-durable Polyamide-Nylon which are the stronger moulded arms having a very good thickness so no more arm breakage at the motor mounts on a hard landing. The arms have support ridges on them, which improves stability and provides faster forward flight.
Transmitter
× 1Flysky FS-i6X 2.4GHz
Step 1: The first step is to weld the ESCs to the PCB board which we get with the F 450 drone frame.
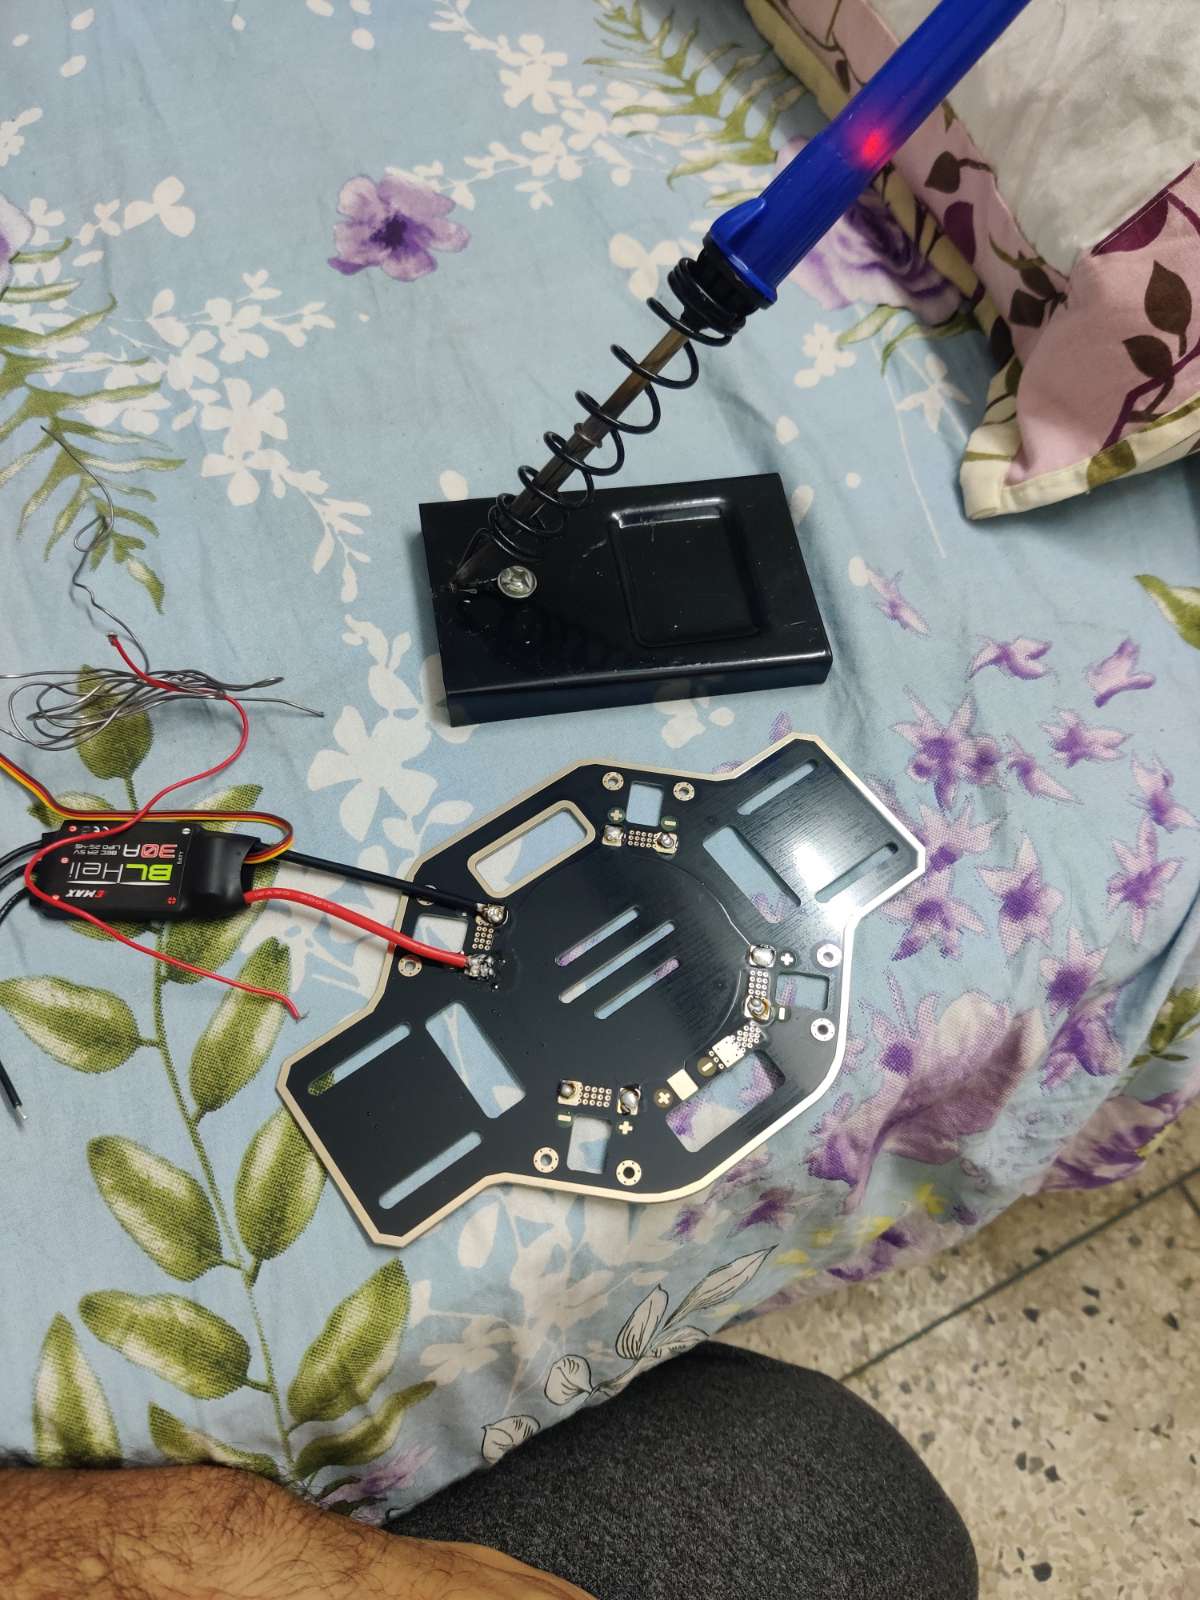
Step 2 : After all the four ESCs were welded on to the frame, then assembly of the frame is done using the screws received with the F450 frame.
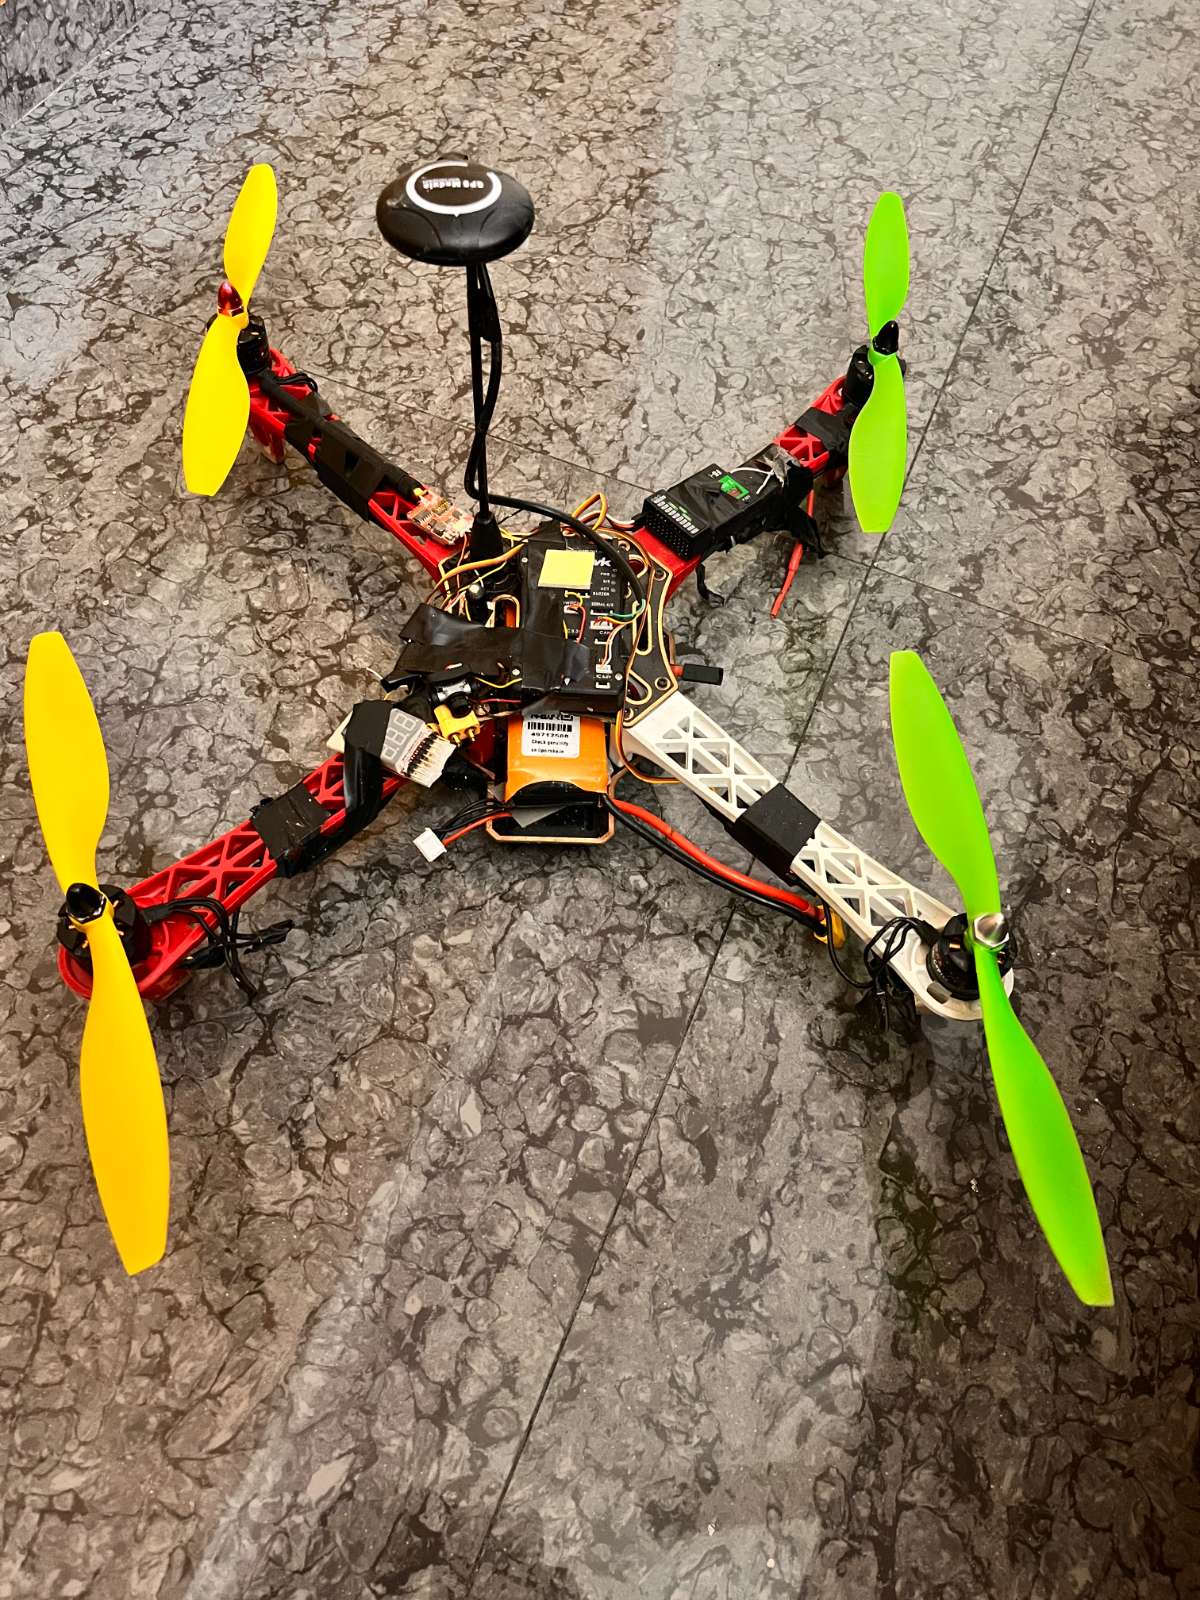
Assembled frame looks like this:
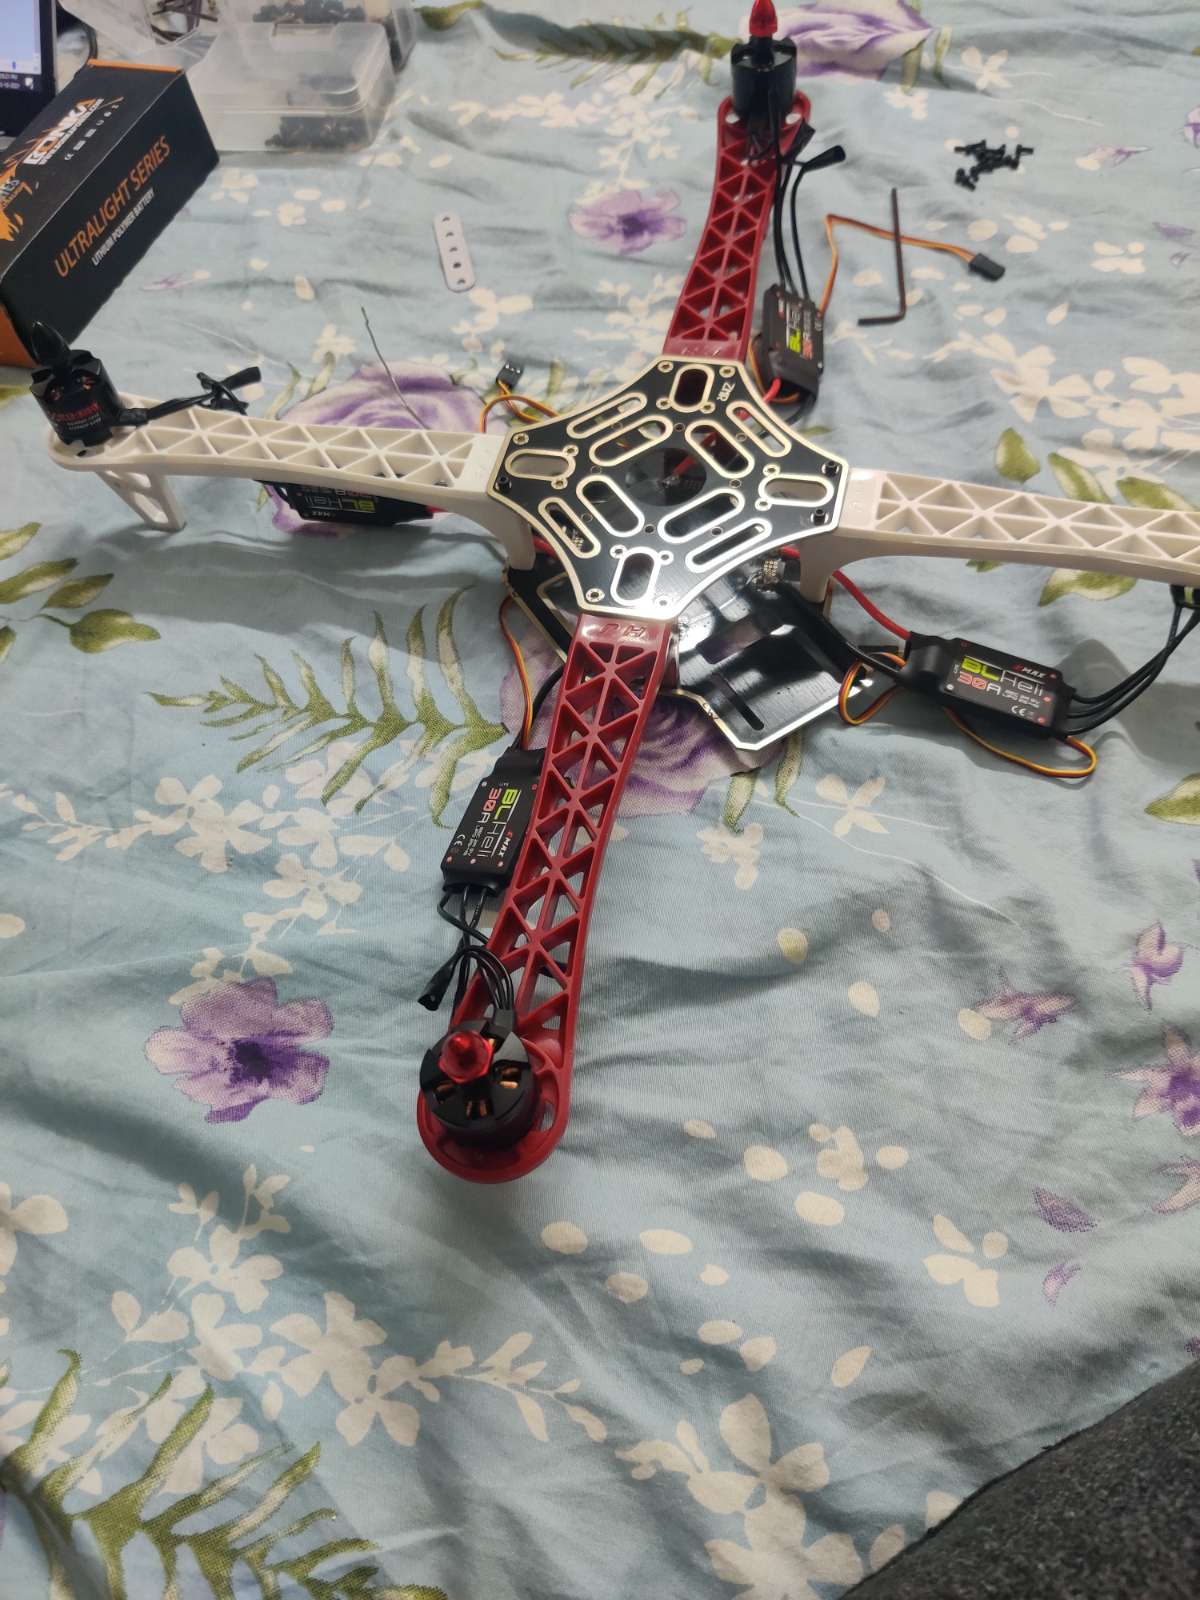
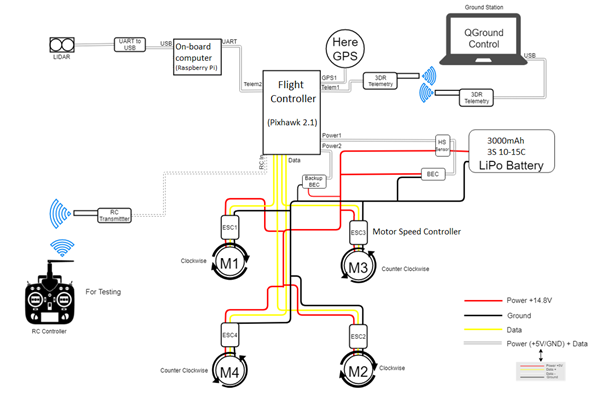
Step 3 : Pixhawk was installed and wiring done.
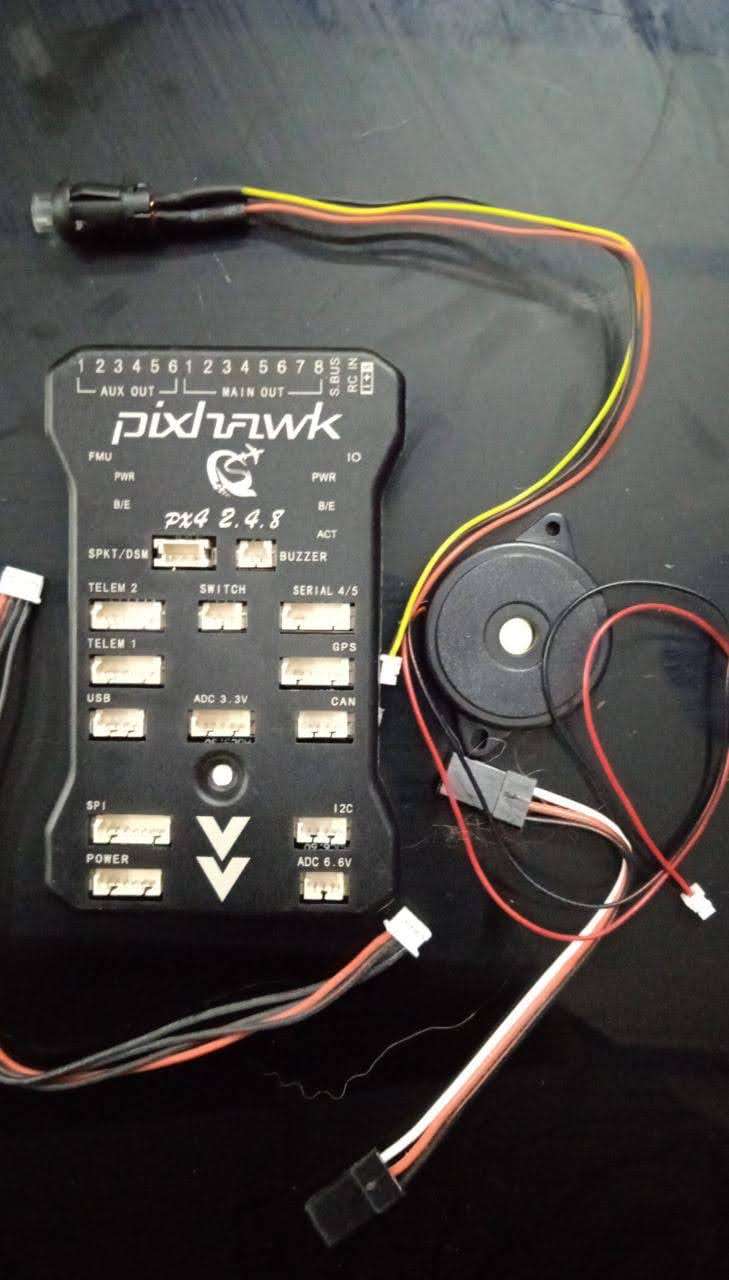
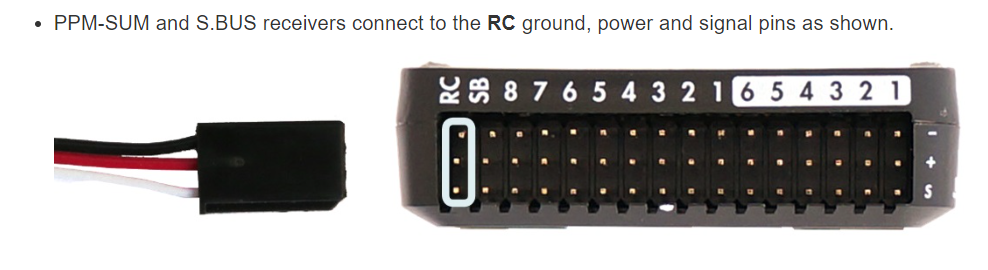
Step 4 : Following pin out was used to do the wiring.
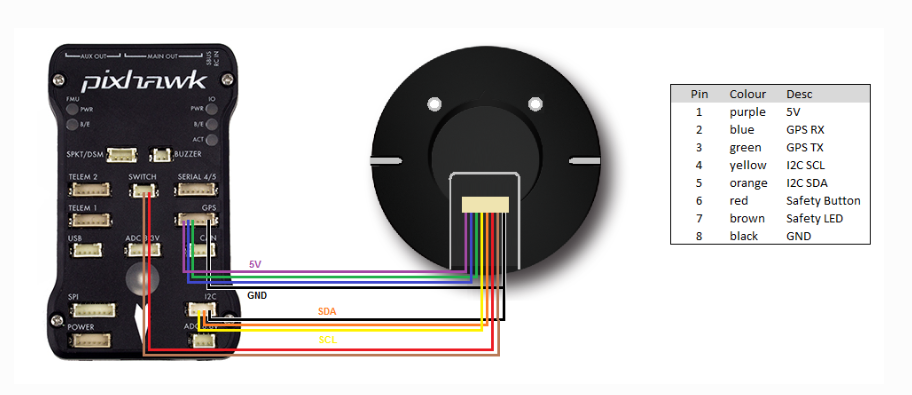
Step 5: Following pin out was used for GPS Connection:
Step 6: Programming of Pixhawk in Ardupilot: Mission planner software is used for doing the programming.
A) First step is the selection of the hardware/ drone type.
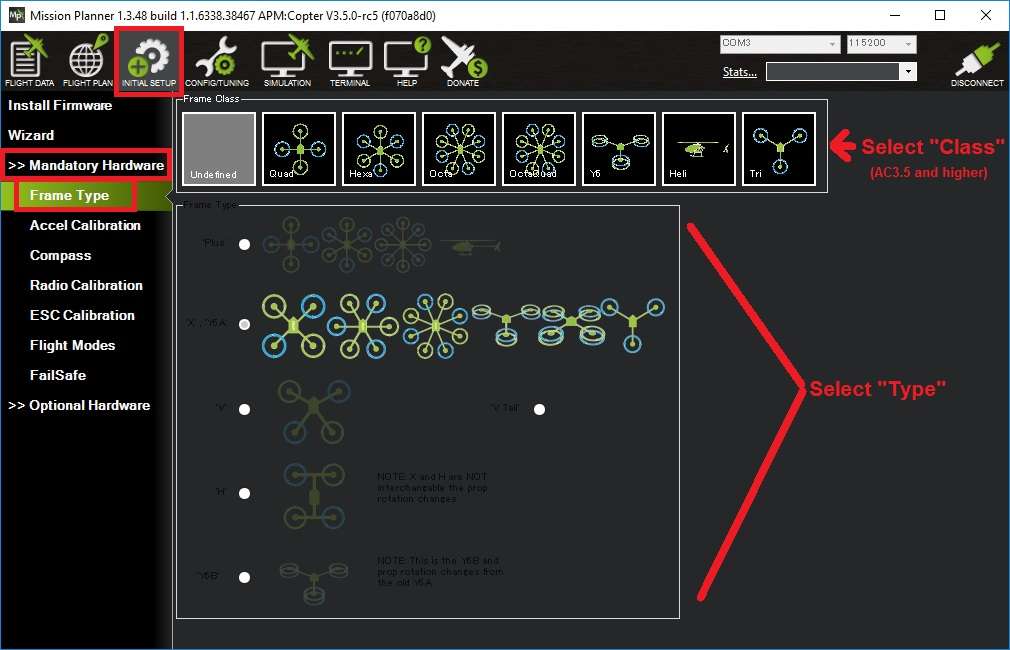
B) Next step after selection of drone type is to do the mandatory setup which includes Accelerometer calibration.
Mission Planner will prompt you to place the vehicle on each axis during the calibration. Press any key to indicate that the autopilot is in position and then proceed to the next orientation.
The calibration positions are: level, right side, left side, nose down, nose up, and on its back.
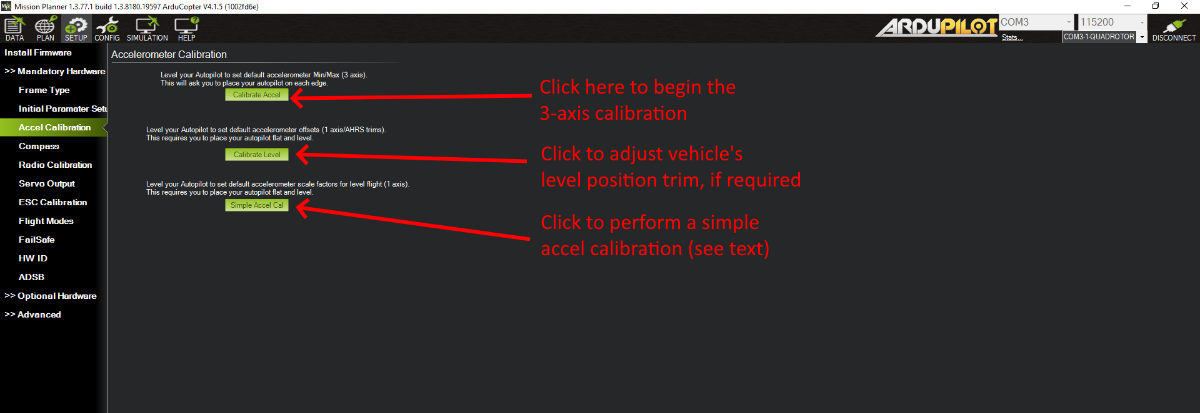
C) After Accelerometer calibration we move on to the Compass calibration:
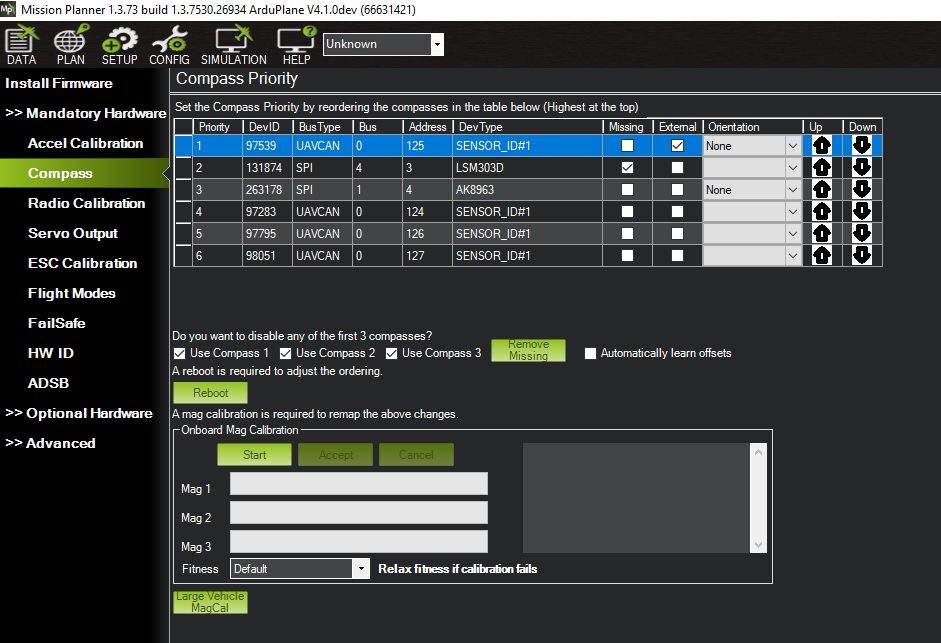
D)After the compass calibration is done successfully we move on to the Radio Calibration:
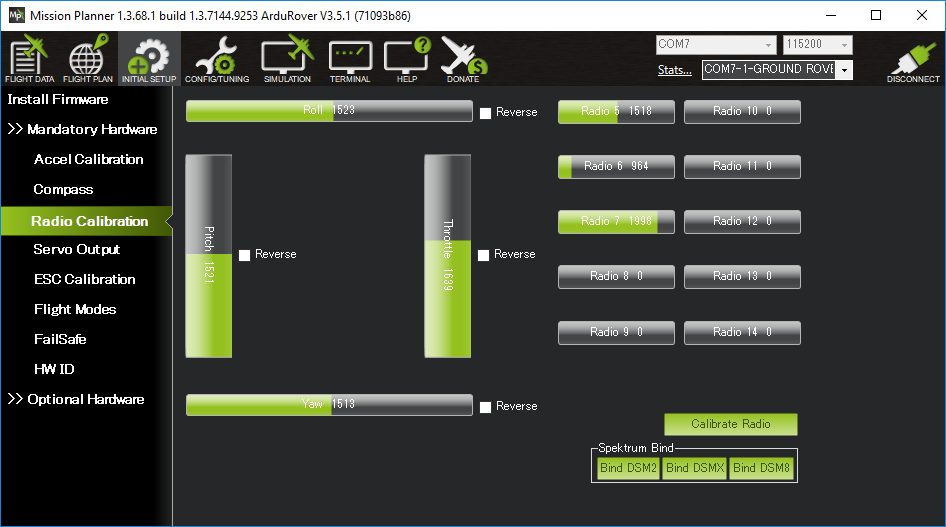
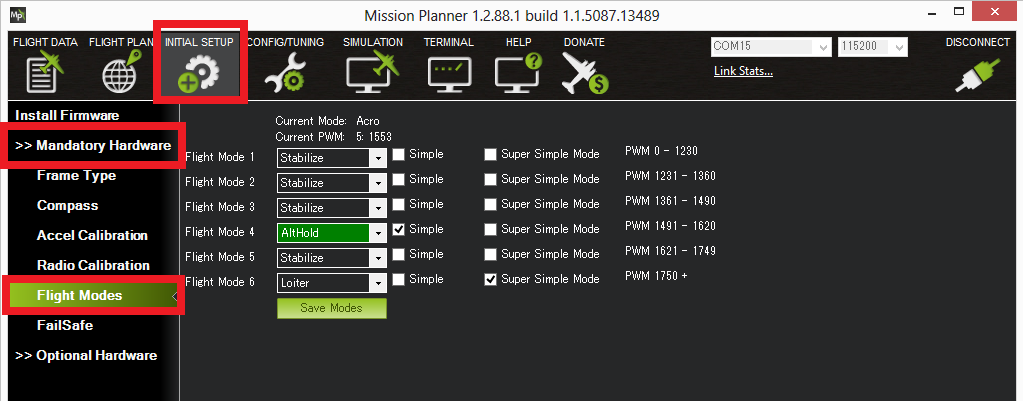
E) After the radio calibration we do the final setup i.e. Flight modes setup:
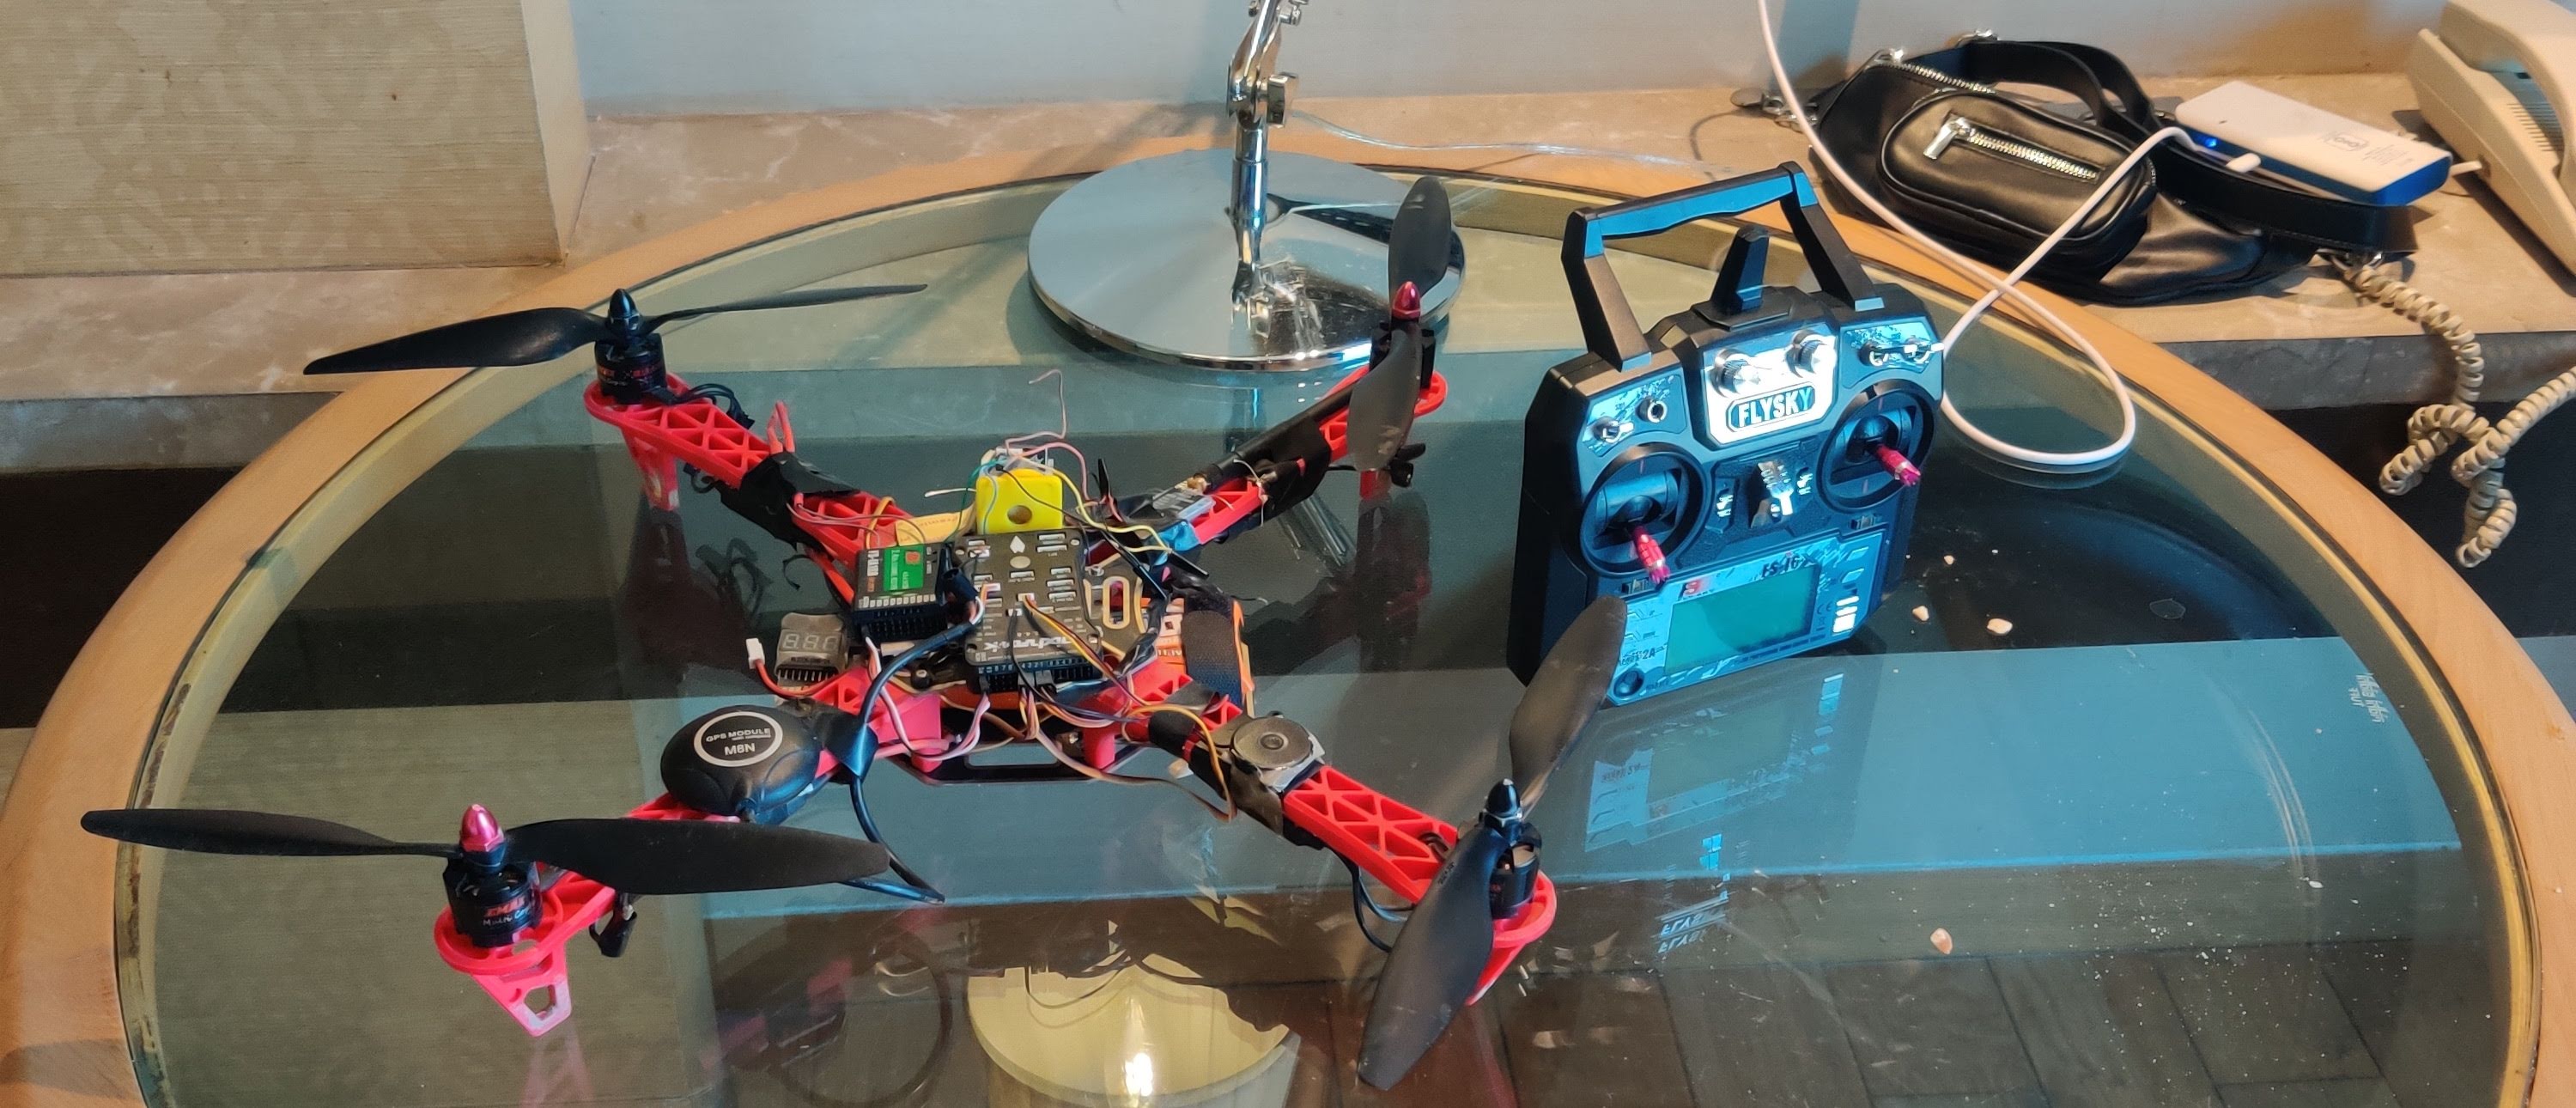
Step 7: Ready to fly:
Extra features added:
- Return to Land: In case the drone gets disconnected from the transmitter/ remote. It can also be used in case of battery level going below the set level.
- GPS lock for better stability of the drone during the windy condition.
- Altitude hold for fixing the height of drone during flight.
Hip Hip Hurray!!!!!!!! Here we go.....
Credits
Built by 1 contributor
Comments0
Join the discussion — share a question or tip.
Be the first to share your thoughts on this project.