SMART COMPLEX

Components Used
Powered by
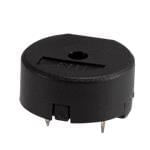
Piezo Buzzers & Audio Indicators buzzer, 14 mm Round, 6.7 mm deep, 10 Vp-p, 80 dB, Through Hole, Piezo Audio Transducer
490-CPT-14146-80T
 × 1
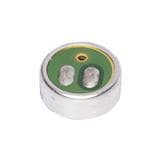
× 1Microphones microphone, 4 mmx1.5mm, electret condenser, noise cancelling, solder pads, 1 Vdc
179-CMR-4015-44-SP
Infrared sensor
× 30Rfid module
× 1Rains sensor
× 1Servo Motor
× 2For precision rotation
Straw
× 1Dht11 sensor
× 1Temperature and Humidity sensor.
Sunboard
× 1Wooden sheet
× 1

Smart City Project Tutorial
Step-by-Step Instructions
Overview
This tutorial will guide you through the construction of a Smart City project using Arduino technology. The project includes seven Arduino boards, multiple sensors, and various smart systems such as RFID gates, weather stations, and automatic street lights.
Materials Needed
- Arduino boards
- RFID readers and tags
- LCD displays
- Various sensors (e.g., rain sensor, light sensor, earthquake sensor)
- Servo motors
- Electric relays
- Clap sensor module
- Weather station components (temperature, humidity sensors)
- Wiring and connectors
- Power supplies
- Breadboards and PCB boards
- LEDs and light fixtures
- Electric car charging module
- Motor for clothes dryer system Step-by-Step Instructions
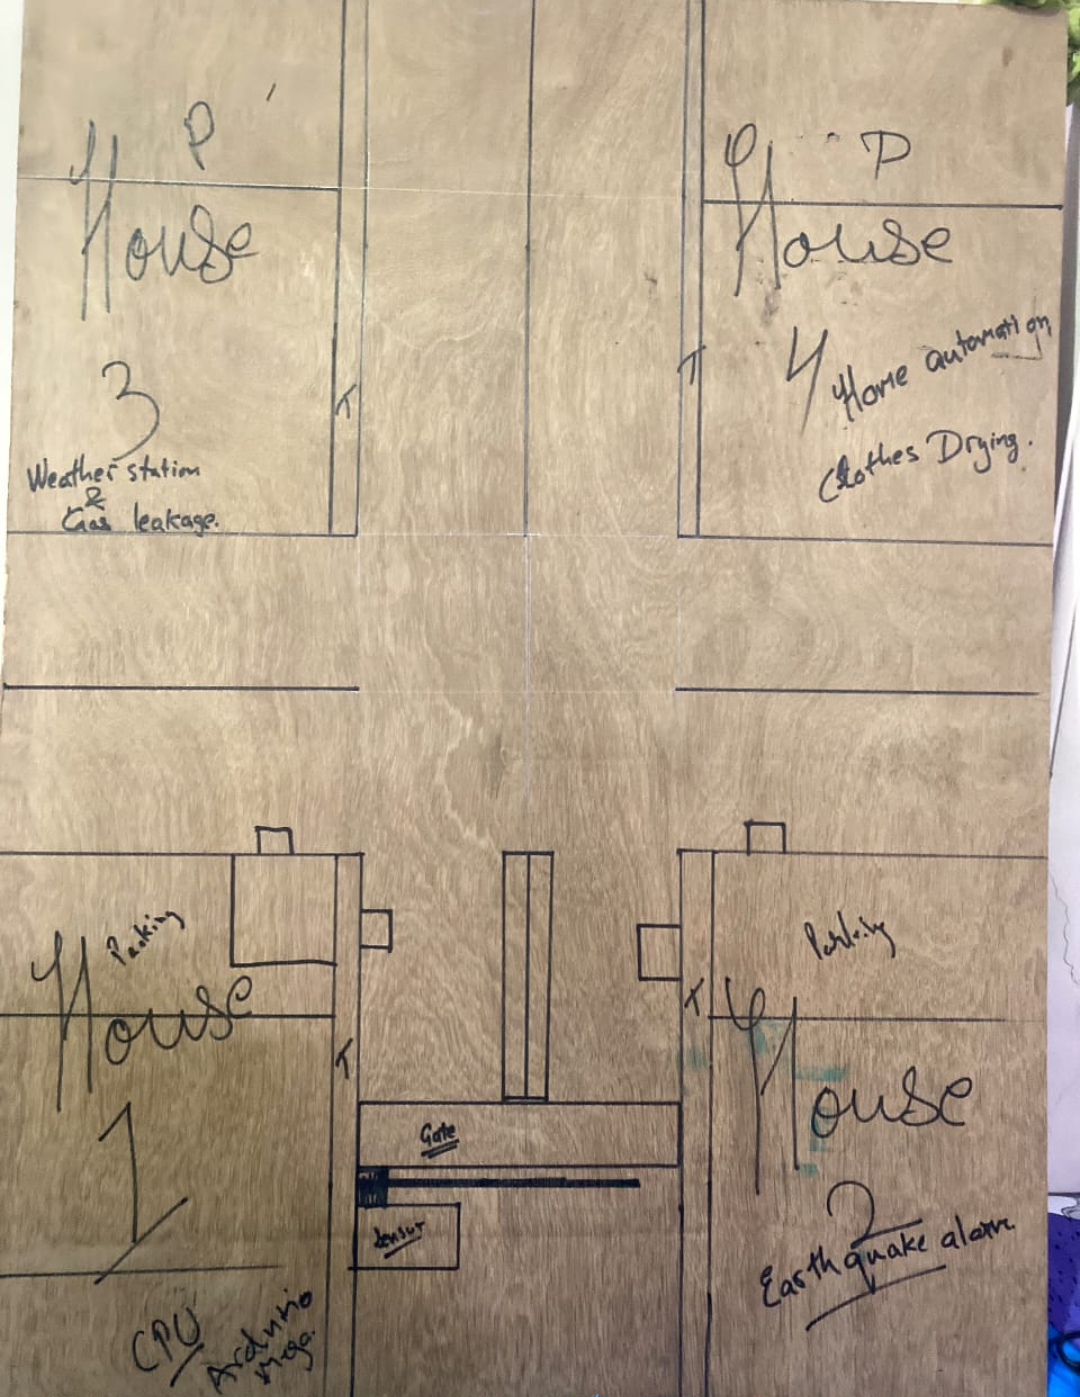
First of all we need to create a base so for that i am using a wooden sheet so please follow this diagram...
1. Central Hub (House 1)
- Components:Main Arduino board, power supply.
- Setup:Connect the power supply to the main Arduino board. Ensure all other Arduino boards are networked to this central hub for coordinated control.
2. RFID-Activated Gate
- Components: RFID reader, RFID tags, servo motor, LCD display, Arduino board.
- Setup
1. Connect the RFID reader to the Arduino board.
2. Program the Arduino to recognize specific RFID tags.
3. Attach the servo motor to control the gate mechanism.
4. Connect the LCD display to show welcome messages.
5. Code the Arduino to open the gate and display a message when an authorized tag is detected.
3. Digital Weather Station (House 2)
- Components:Temperature and humidity sensors, Arduino board, display.
- Setup:
1. Connect the sensors to the Arduino board.
2. Program the Arduino to read data from the sensors and display it on the screen.

4. Clap Light System (House 2)
- Components: Clap sensor, relay module, light fixture, Arduino board.
- Setup:
1. Connect the clap sensor to the Arduino.
2. Program the Arduino to toggle the relay module controlling the light fixture on a clap signal.
5. Automatic Car Charger (House 3)
- Components: Car charging module, Arduino board.
- Setup:
1. Connect the charging module to the Arduino.
2. Code the Arduino to start charging when a vehicle is detected in the charging bay.
6. Automatic Clothes Dryer System
- Components:Rain sensor, motor, Arduino board.
- Setup:
1. Connect the rain sensor to the Arduino.
2. Attach the motor to a retractable clothesline.
3. Program the Arduino to retract the clothesline indoors when rain is detected.
7. Earthquake Alarm (House 4)
- Components: Earthquake sensor, alarm system, Arduino board.
- Setup:
1. Connect the earthquake sensor to the Arduino.
2. Program the Arduino to activate the alarm when seismic activity is detected.
8. Automatic Street Lights
- Components: Light sensors, LEDs, Arduino board.
- Setup:
1. Place light sensors along the road.
2. Connect the sensors and LEDs to the Arduino.
3. Code the Arduino to turn on LEDs where a car is detected.

By following these steps, you will build a fully functional Smart City with advanced features enhancing security, convenience, and energy efficiency. Each component works together, creating an intelligent and responsive environment for urban living.
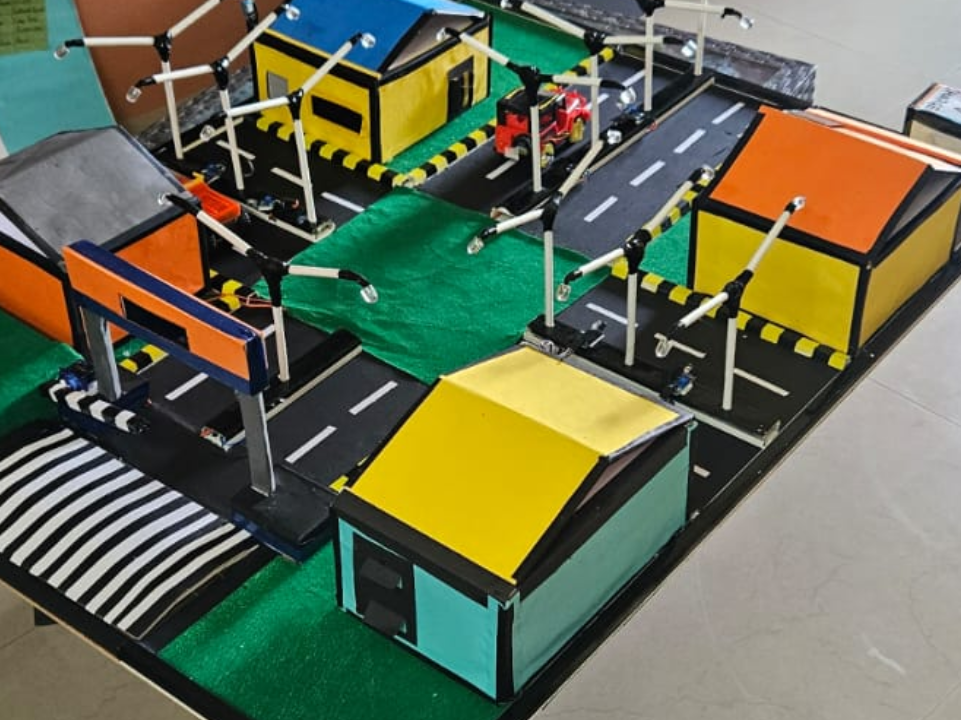
This is how the project looks at the end:
Video
And also here is a short video about this project:

Credits
Built by 1 contributor
Comments0
Join the discussion — share a question or tip.
Be the first to share your thoughts on this project.