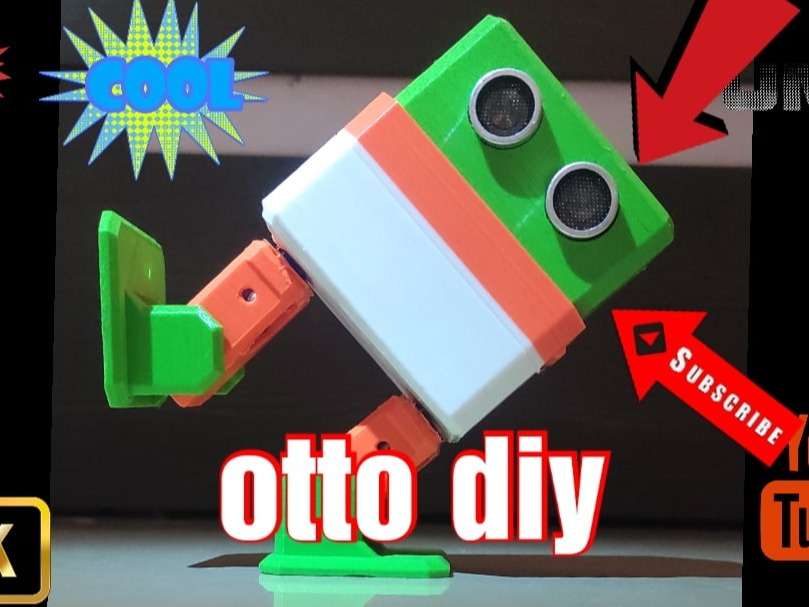
The dancing robot

Components Used
Powered by
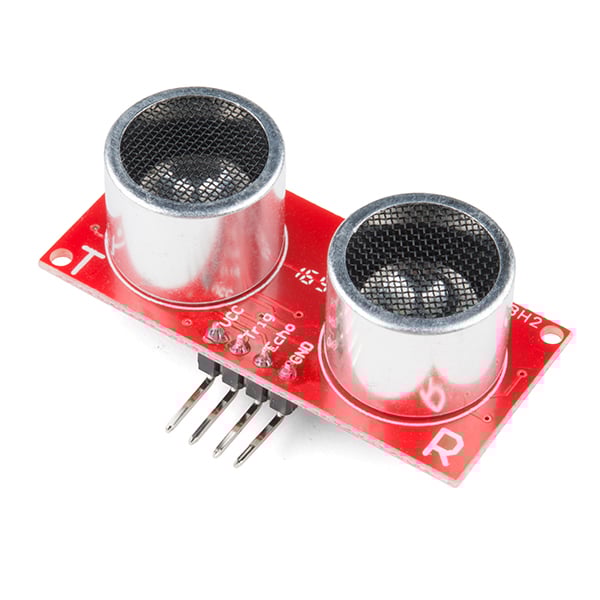
Ultrasonic module HC-SR04 is generally used for finding distance value and obstacle detection. It can operate in the range 2cm-400cm.
474-SEN-15569
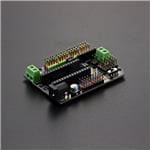
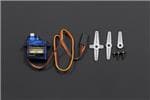
Step 1:
Print all the parts with a 3d printer or you can just send the files to any 3d printing company.you can get the STL files below at the link
https://www.thingiverse.com/thing:1568652.
Step 2:gather all components

step 3: attach servo motor on the body.

Then fix it with screws provided with the servo motor.
step 4: fix the leg
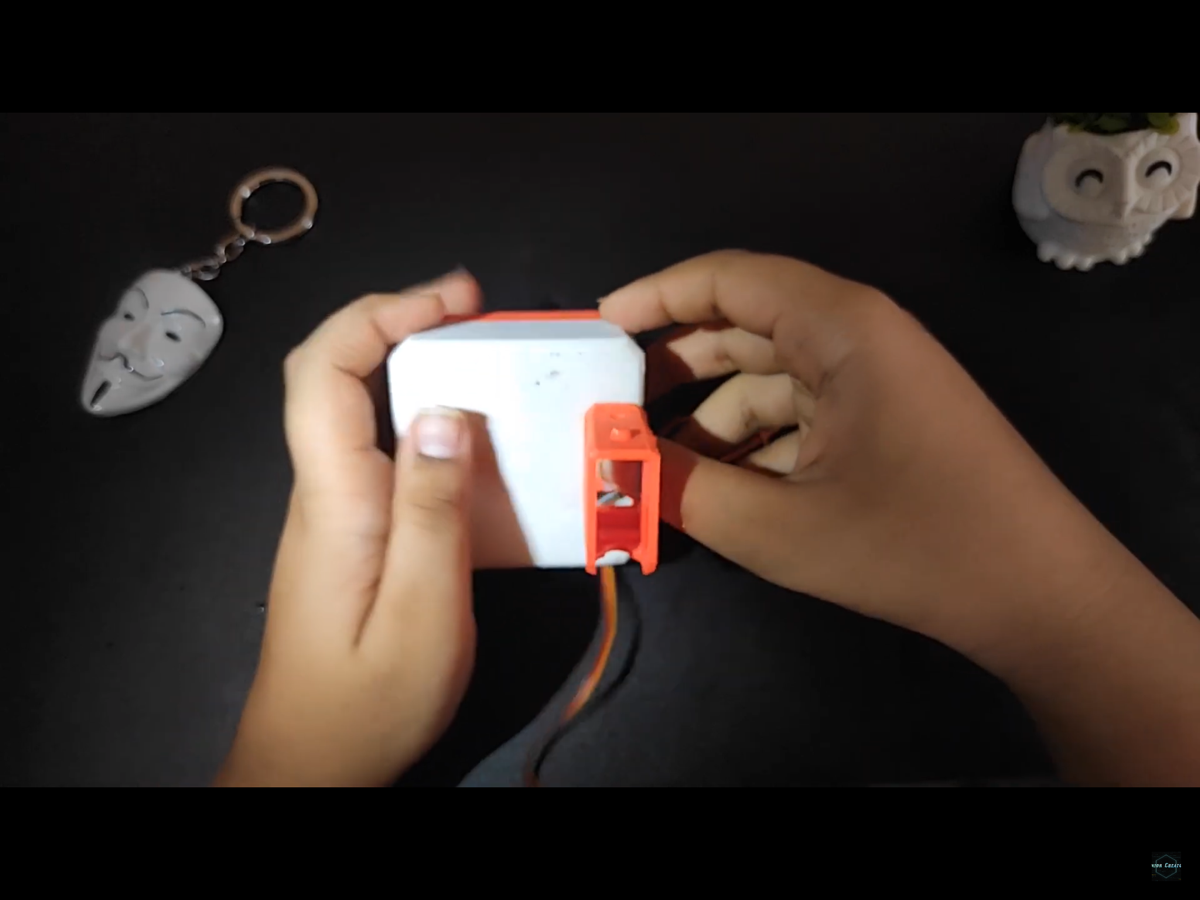
Find a suitable servo horn for the leg and fix it.then attach it to the servo on the body.
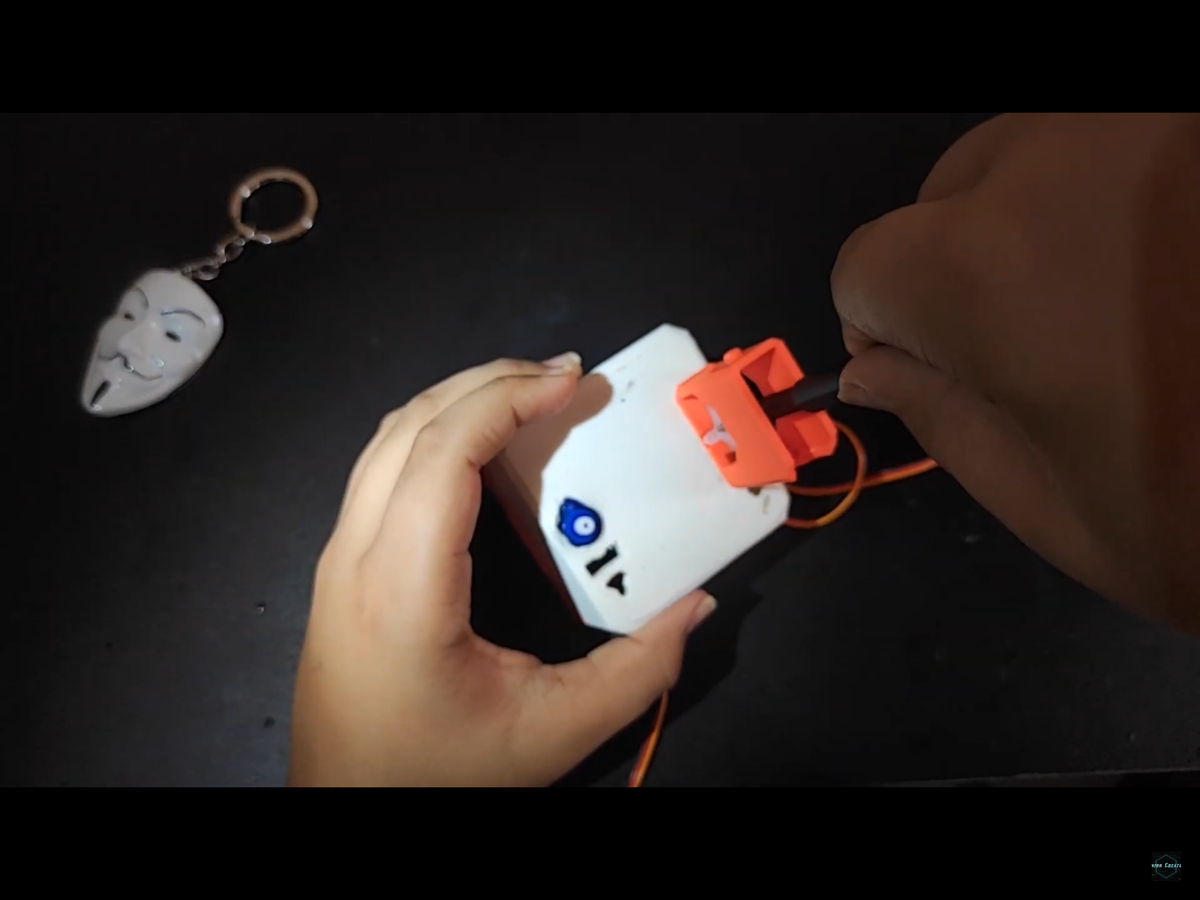
then fix it with screws.
step 5: attach feet
for the feet we need to first attach servo motor on the leg like this.
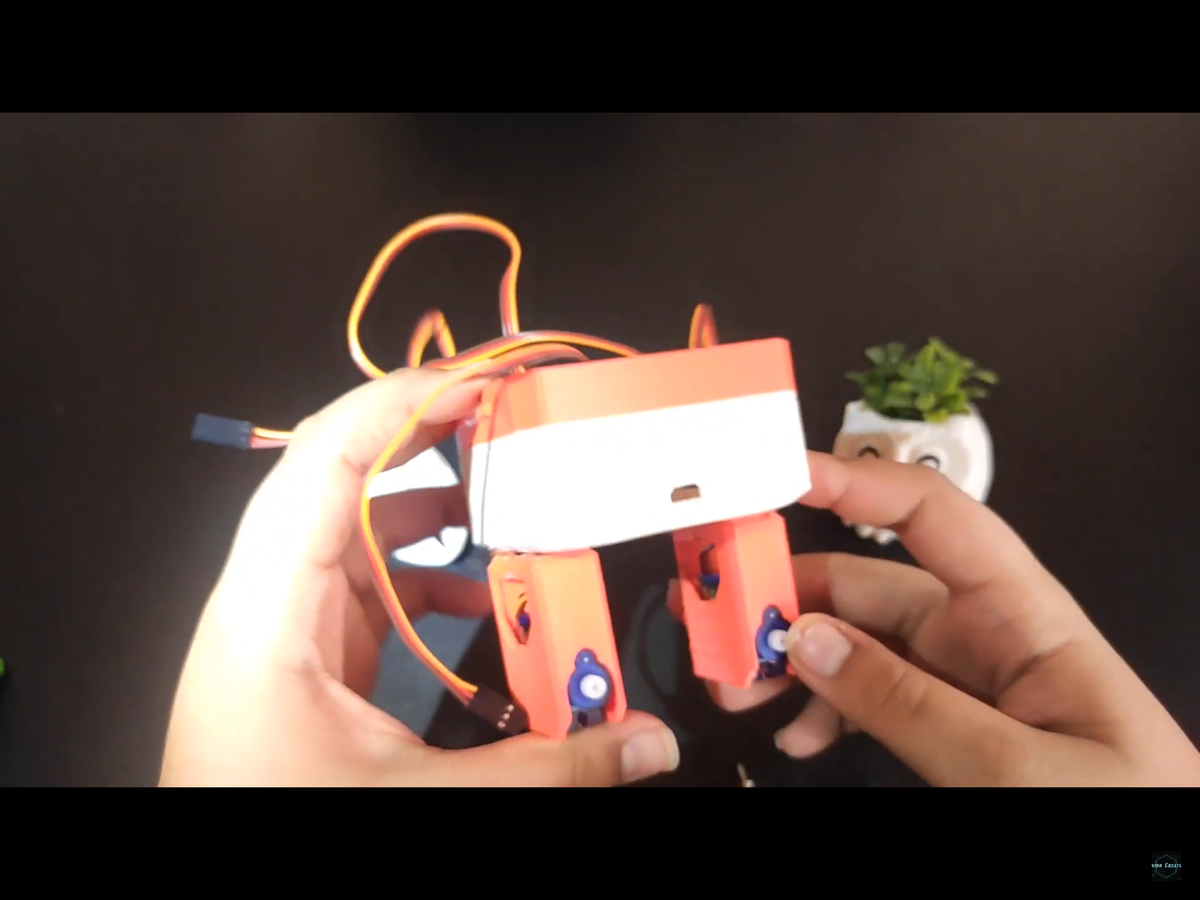
you will find a screw hole there so make sure you tight the servo motor properly.
then attach the feet on the leg like this.
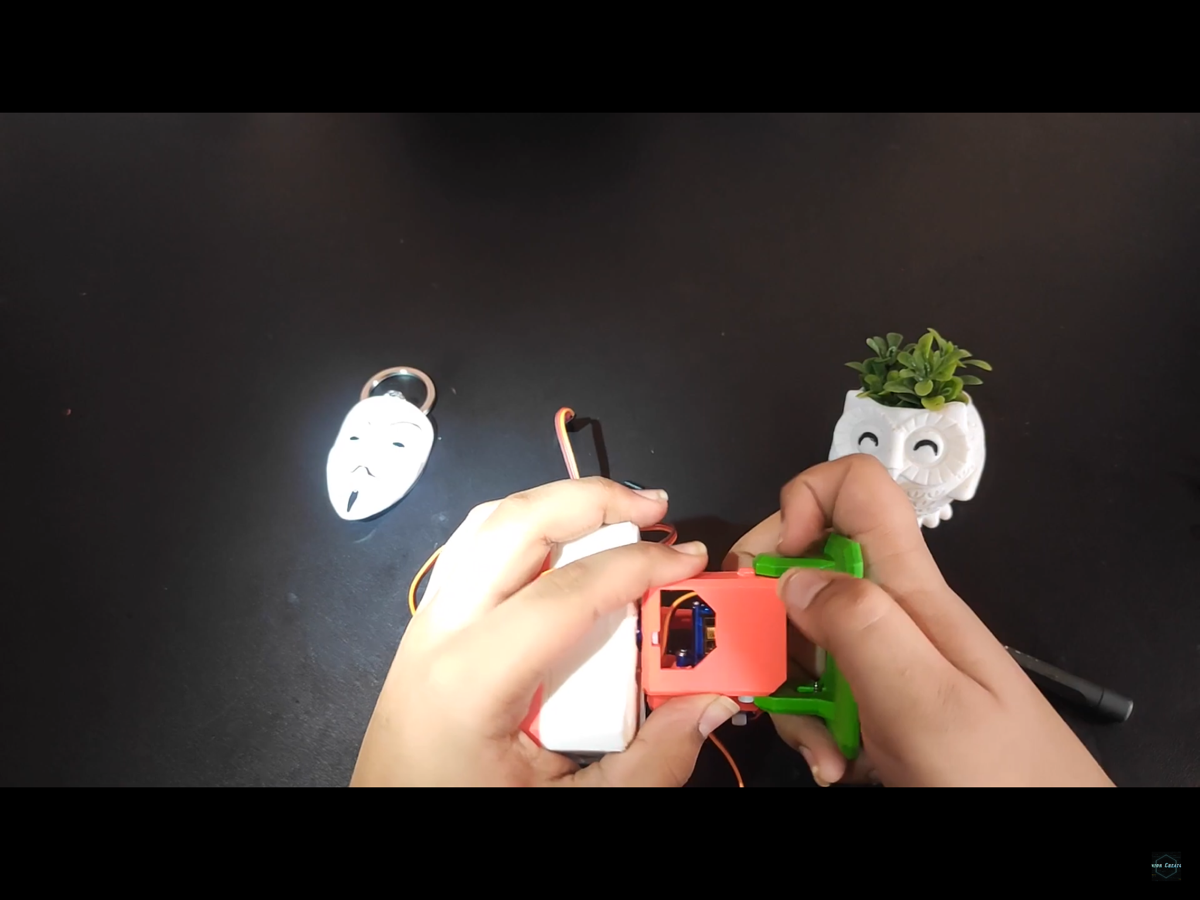
Then attach both the feet the same way.
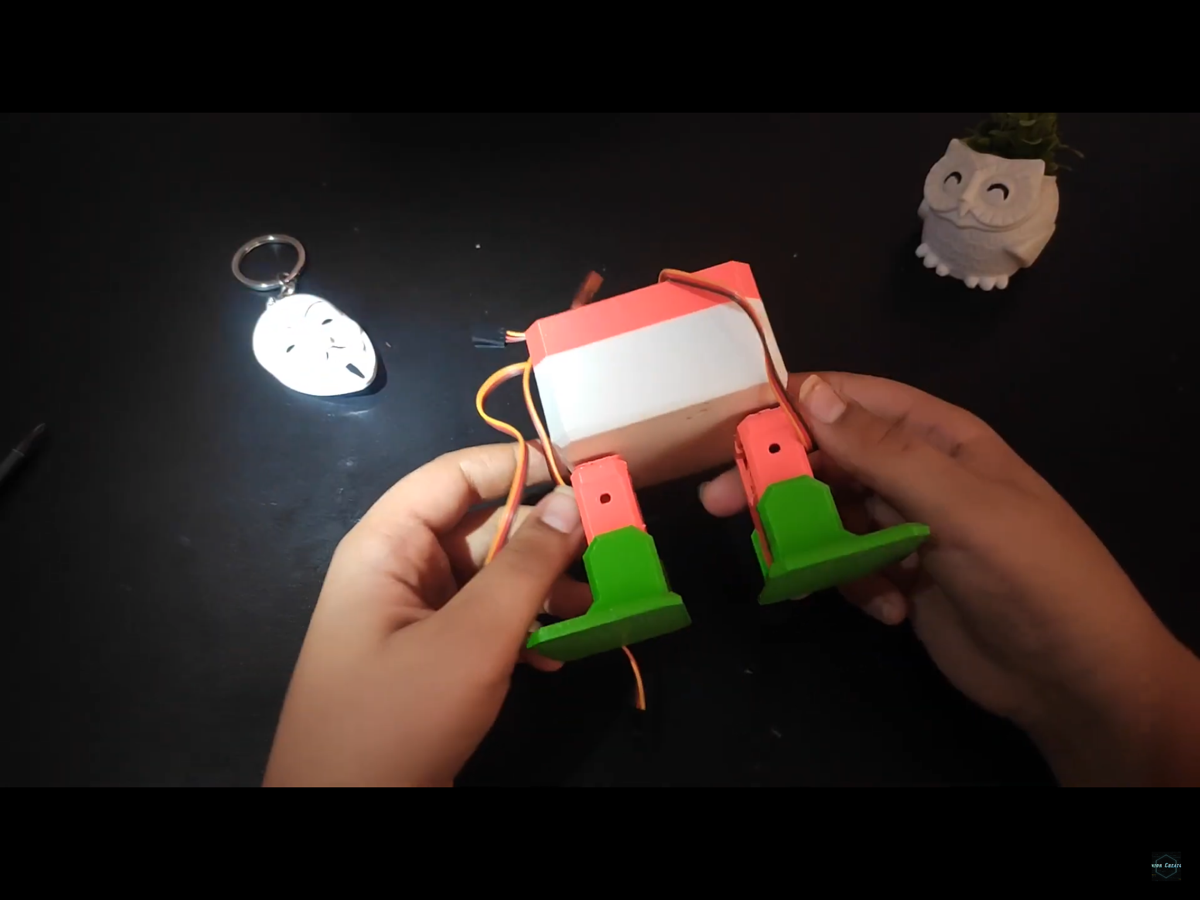
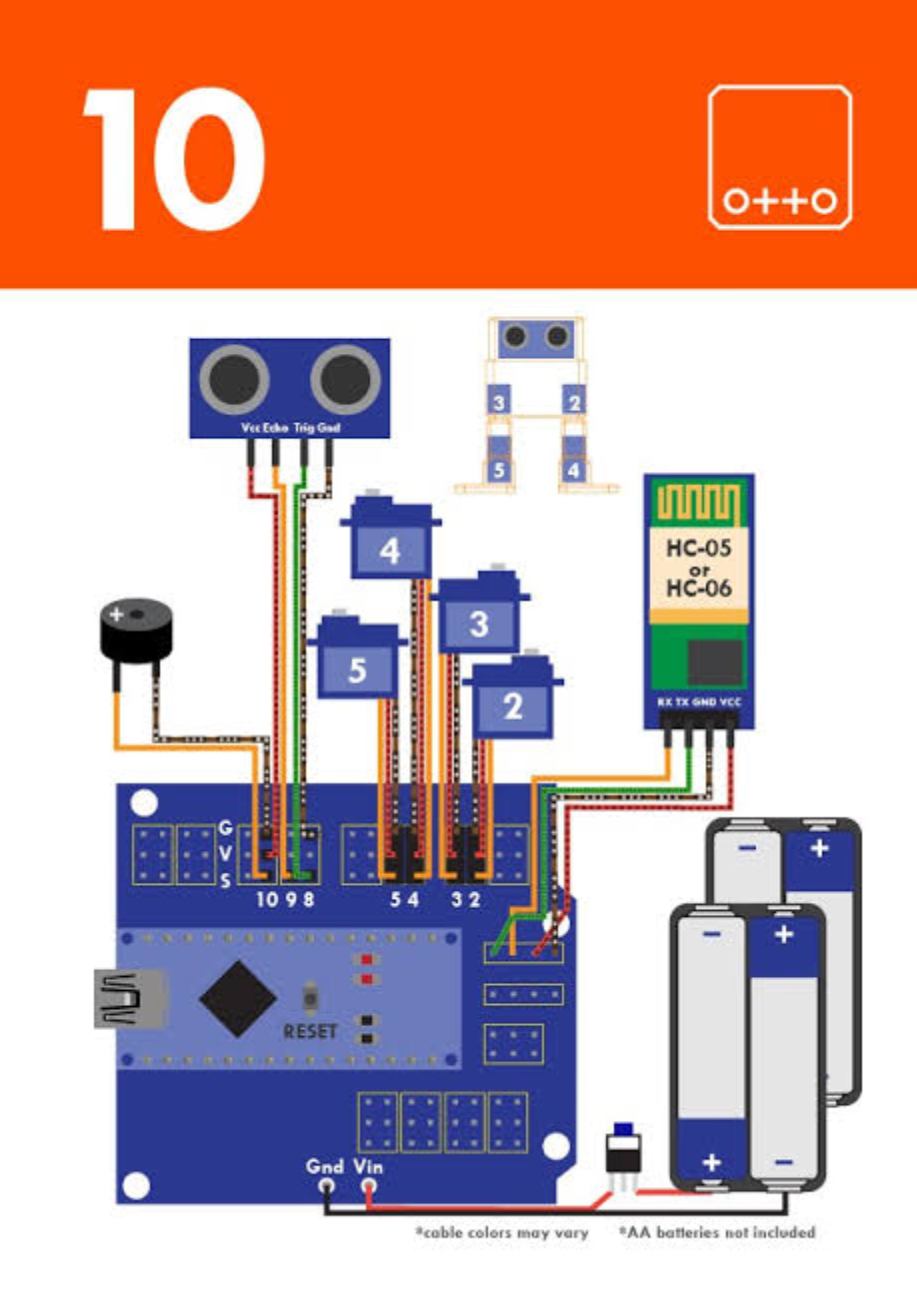
Step 6 : the connections.
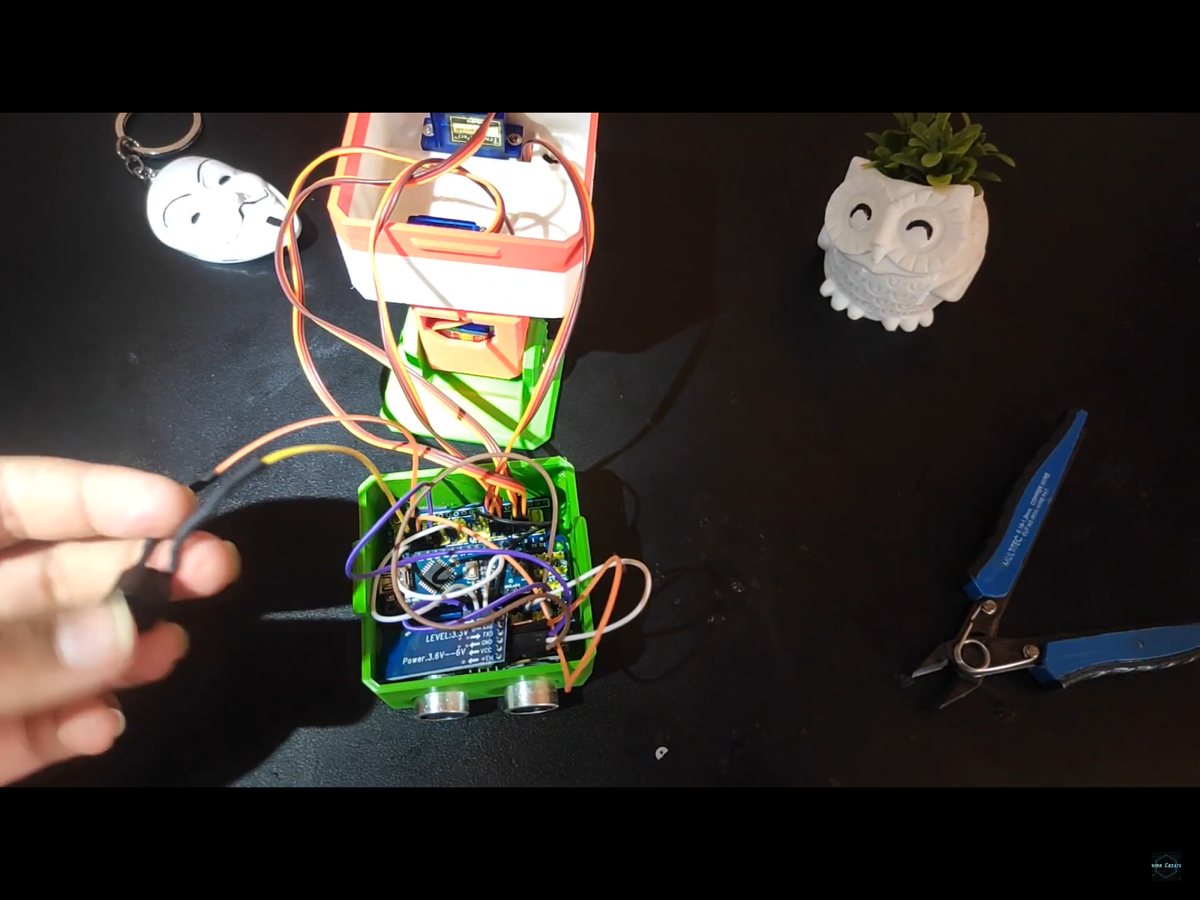
first fit all the electronics in the head
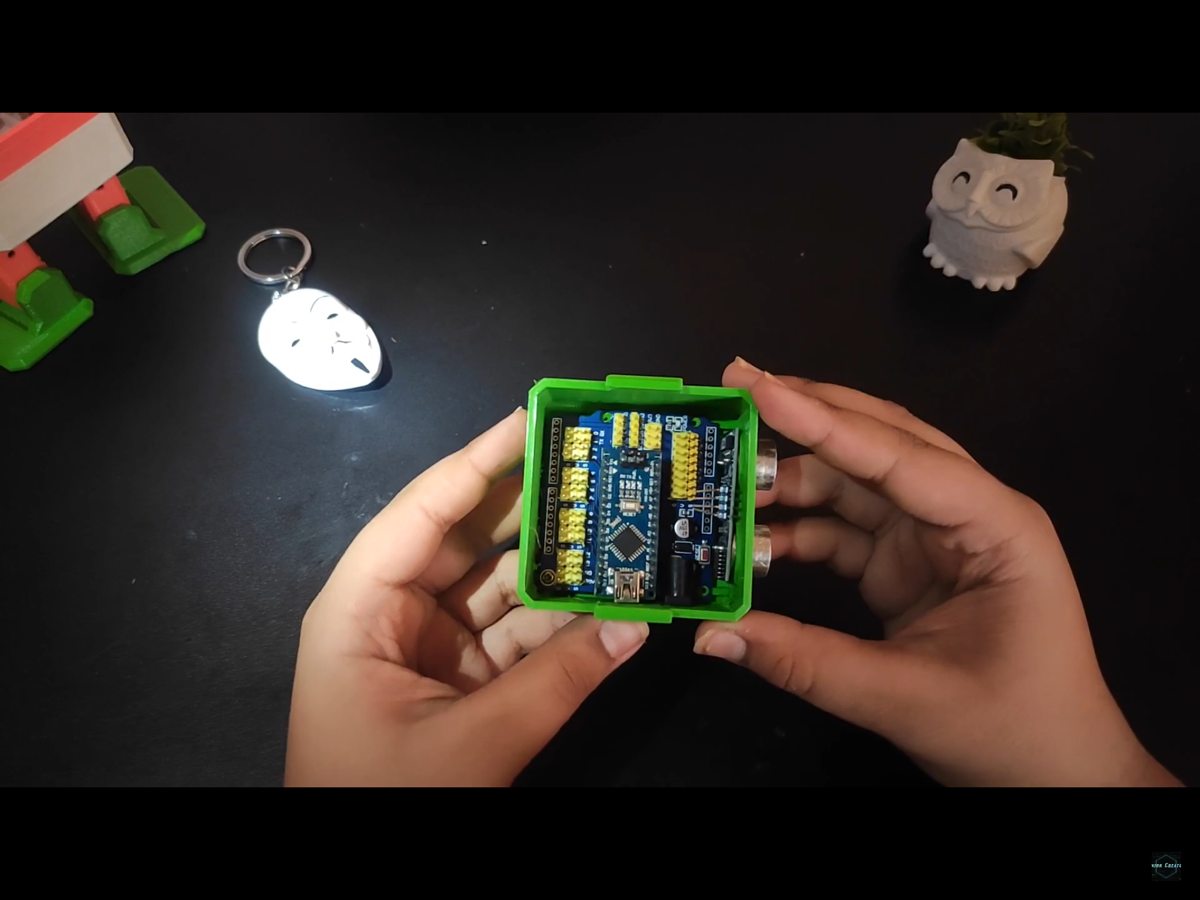
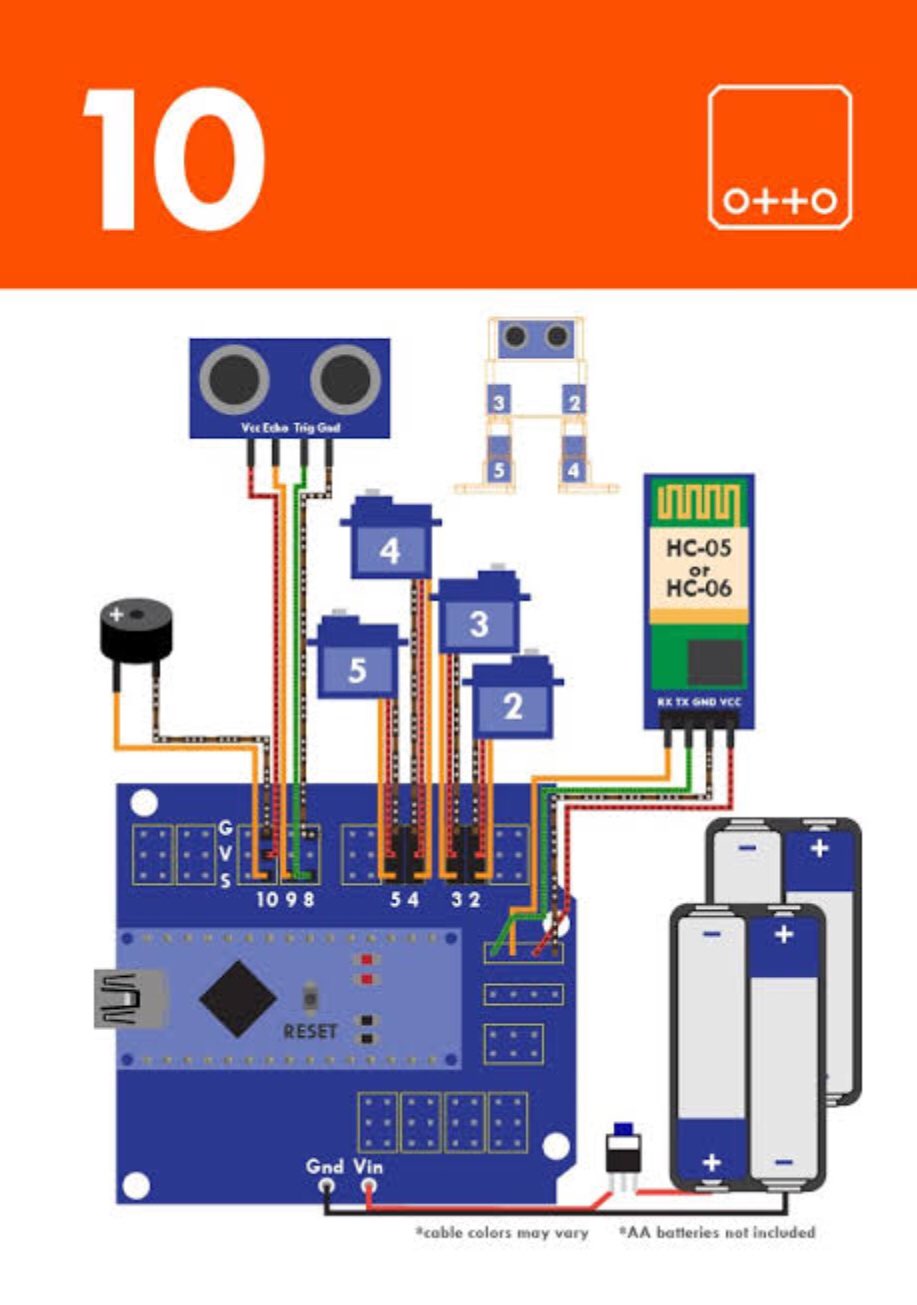
Then follow the circuit diagram and make the connections.
step 7 : fix the head
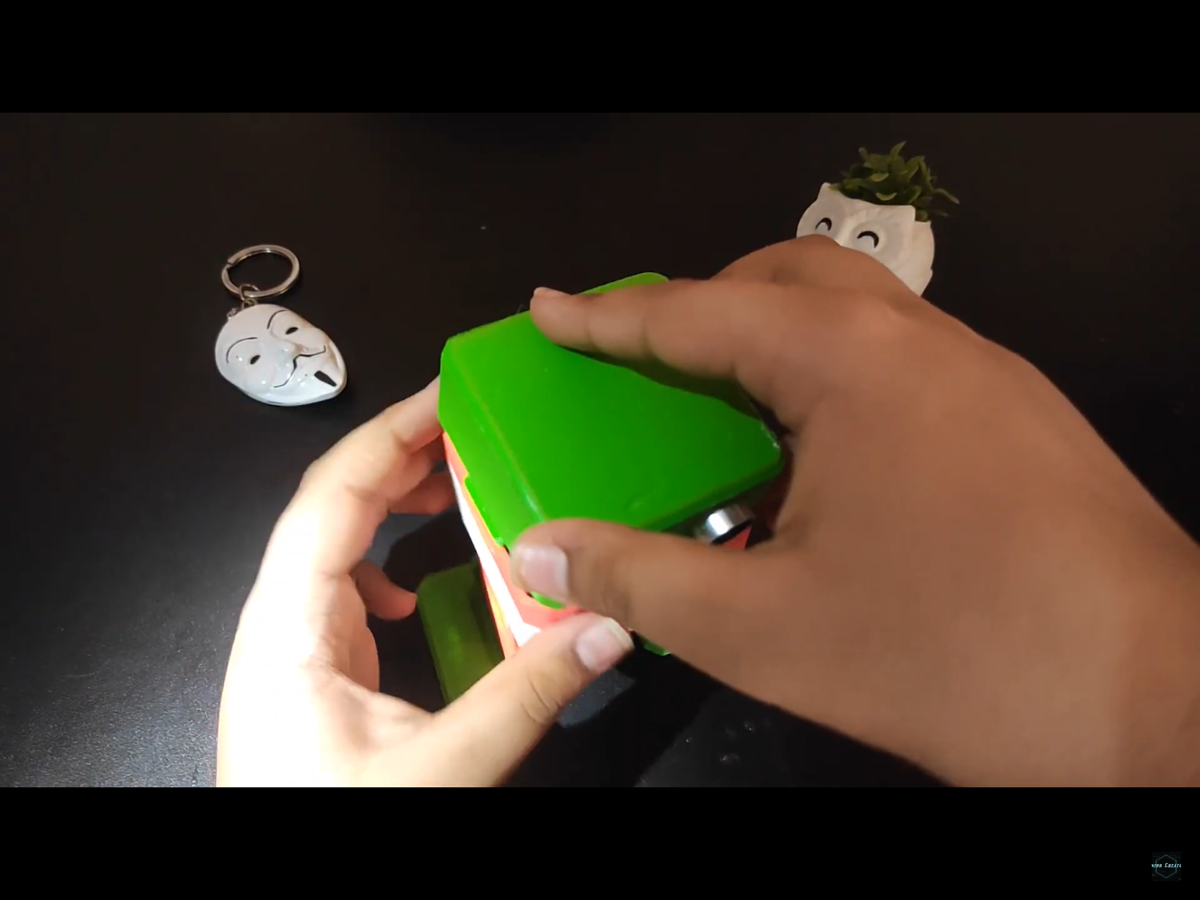
then fix the head on the body to cover all the connections.
step 8: upload the code.
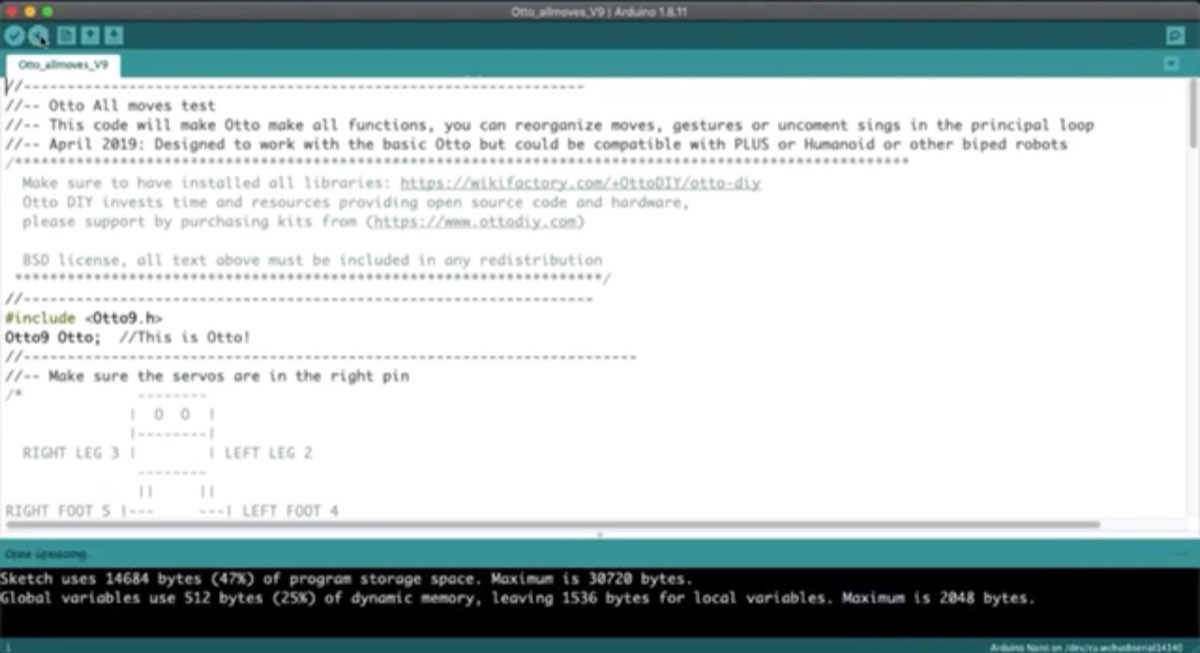
now find the GitHub library in the attachments and upload on Arduino ide , once you uploaded go to the examples check for the library and upload the code you want.
step 9 : add the battery .
now add 4 aa battery and connect it according to the circuit diagram.
step 10: play with it
now the Otto diy is complete and you can play with it now.
If you want more tutorial you can visit my channel junior creator .
for the demo use this link to my YouTube channel:-
Thank you for your love and support like share and subscribe my YouTube channel and also check my other projects at electronicwings, Bye-bye.
Credits
Built by 1 contributor
Comments0
Join the discussion — share a question or tip.
Be the first to share your thoughts on this project.