IOT Based Home Automation System

Components Used
Powered by
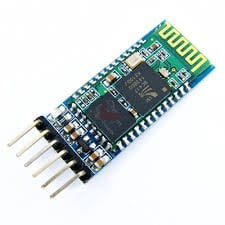
Bluetooth is a wireless communication protocol used to communicate over short distances. It is used for low power, low cost wireless data transmission applications over 2.4 – 2.485 GHz (unlicensed) frequency band.
713-113020008
 × 1
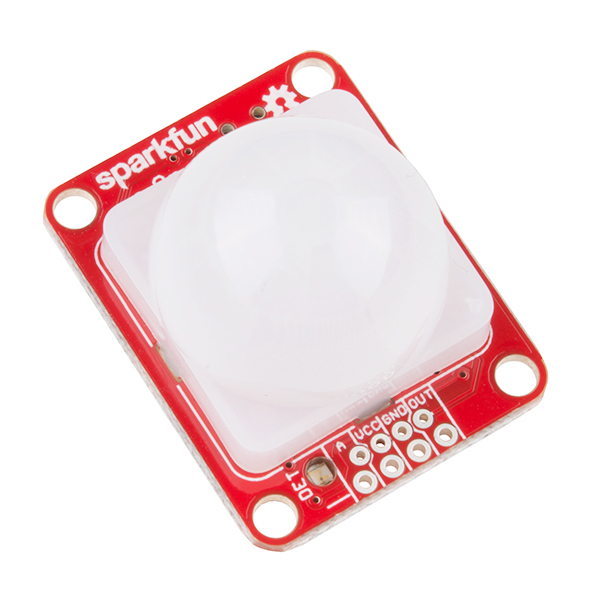
× 1PIR motion sensors sense the Infrared signal radiated from moving objects including human or animal body. It is generally used to detect the presence of human or animal motions.
474-SEN-13968
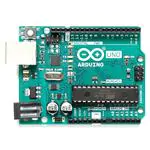
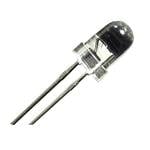
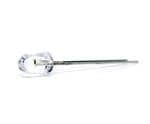
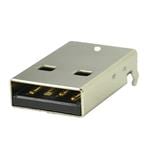
USB Connectors USB 2.0 type A plug 4 pin Horizontal TH
490-UP2-AH-4-TH

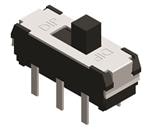


Adhesive Tapes 3M Temflex Vinyl Electrical Tape, 3/4in x 60ft x .006in, Black. Sold per Roll
517-165
metallic wire
× 1to make the spring for the DIY switching mechanism
spring
× 1hinge
× 1to hold the door in place
nails
× 1to join the wooden walls and ply wood together
Plywood
× 1it will help us to learn quickly
Making of the support structure
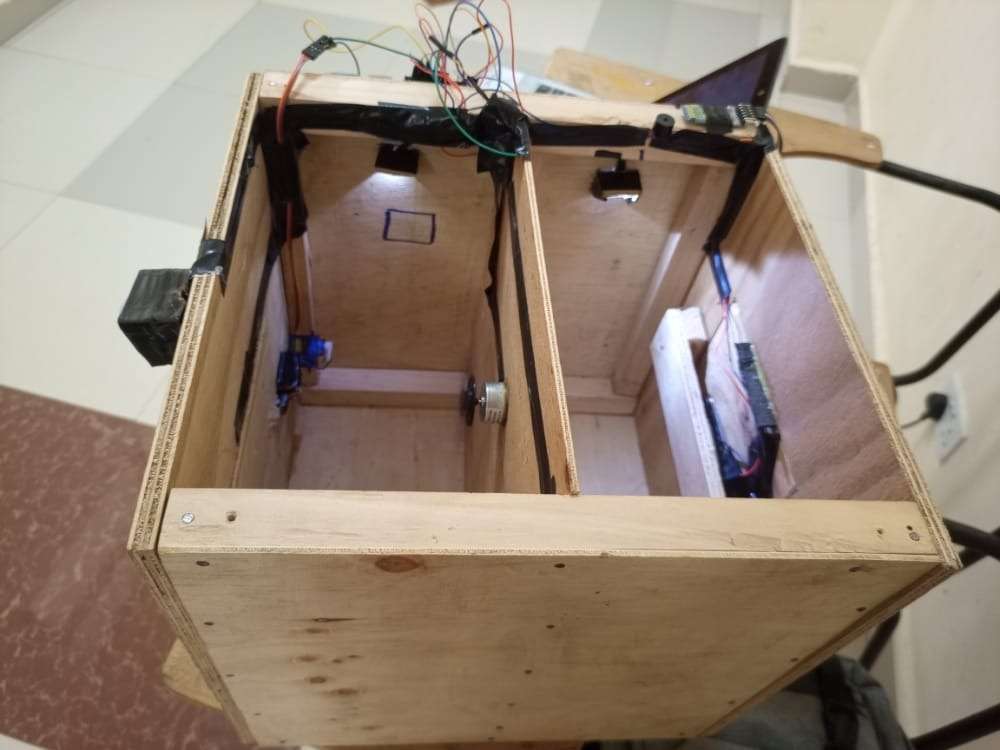
It has two compartments to represent a house with two rooms. The walls are made from plywood and the corners are made from wood for strength and stability. Joining of the wooden structures was made possible by use of nails.
Placing of sensors and other components
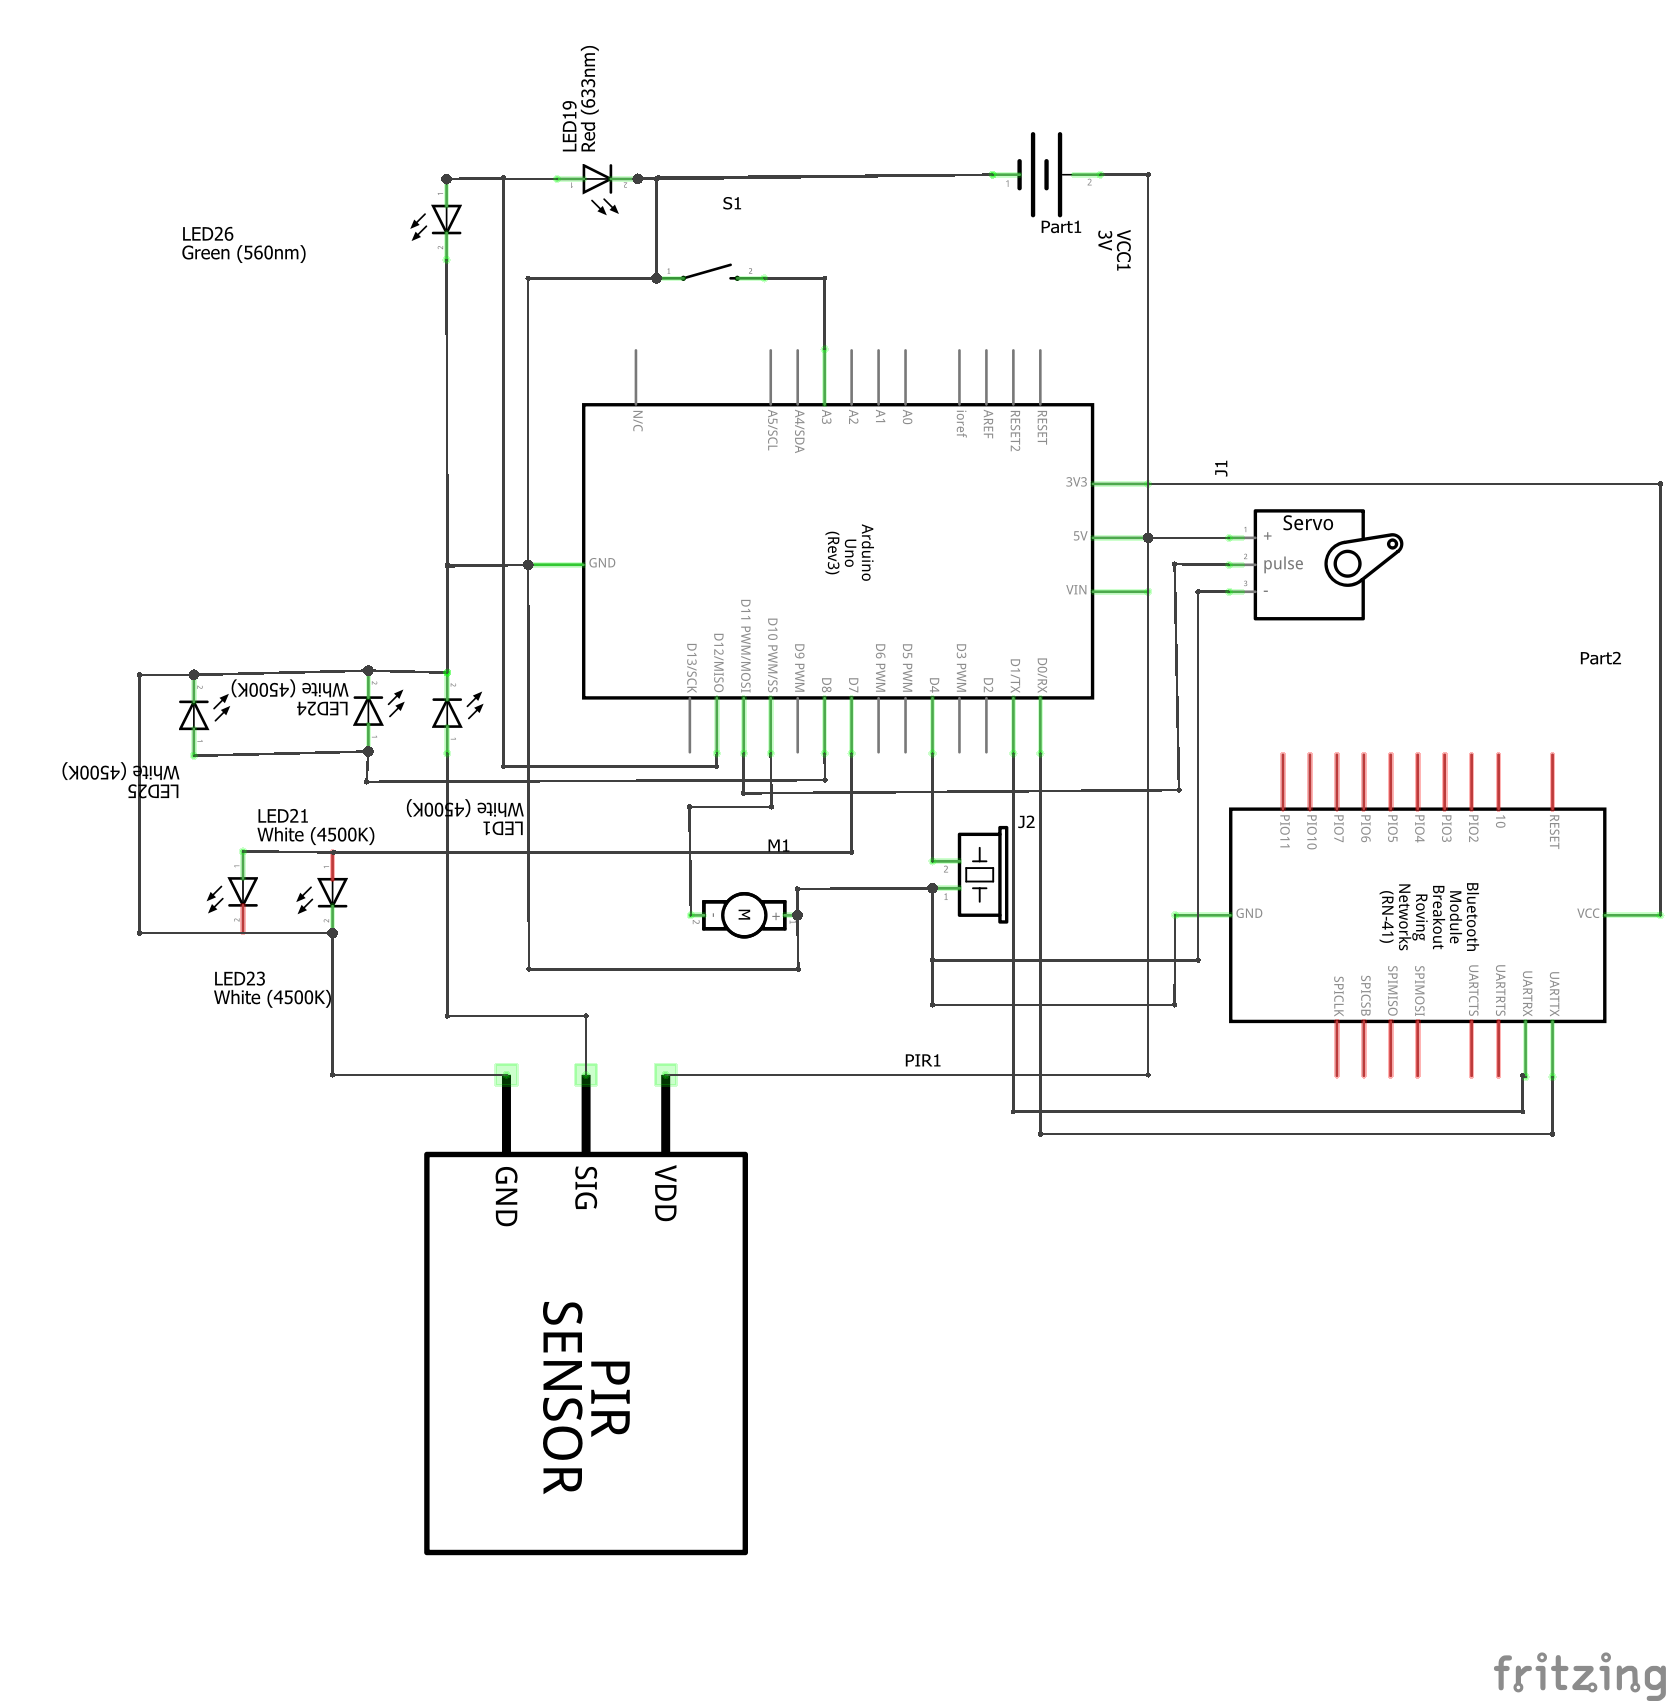
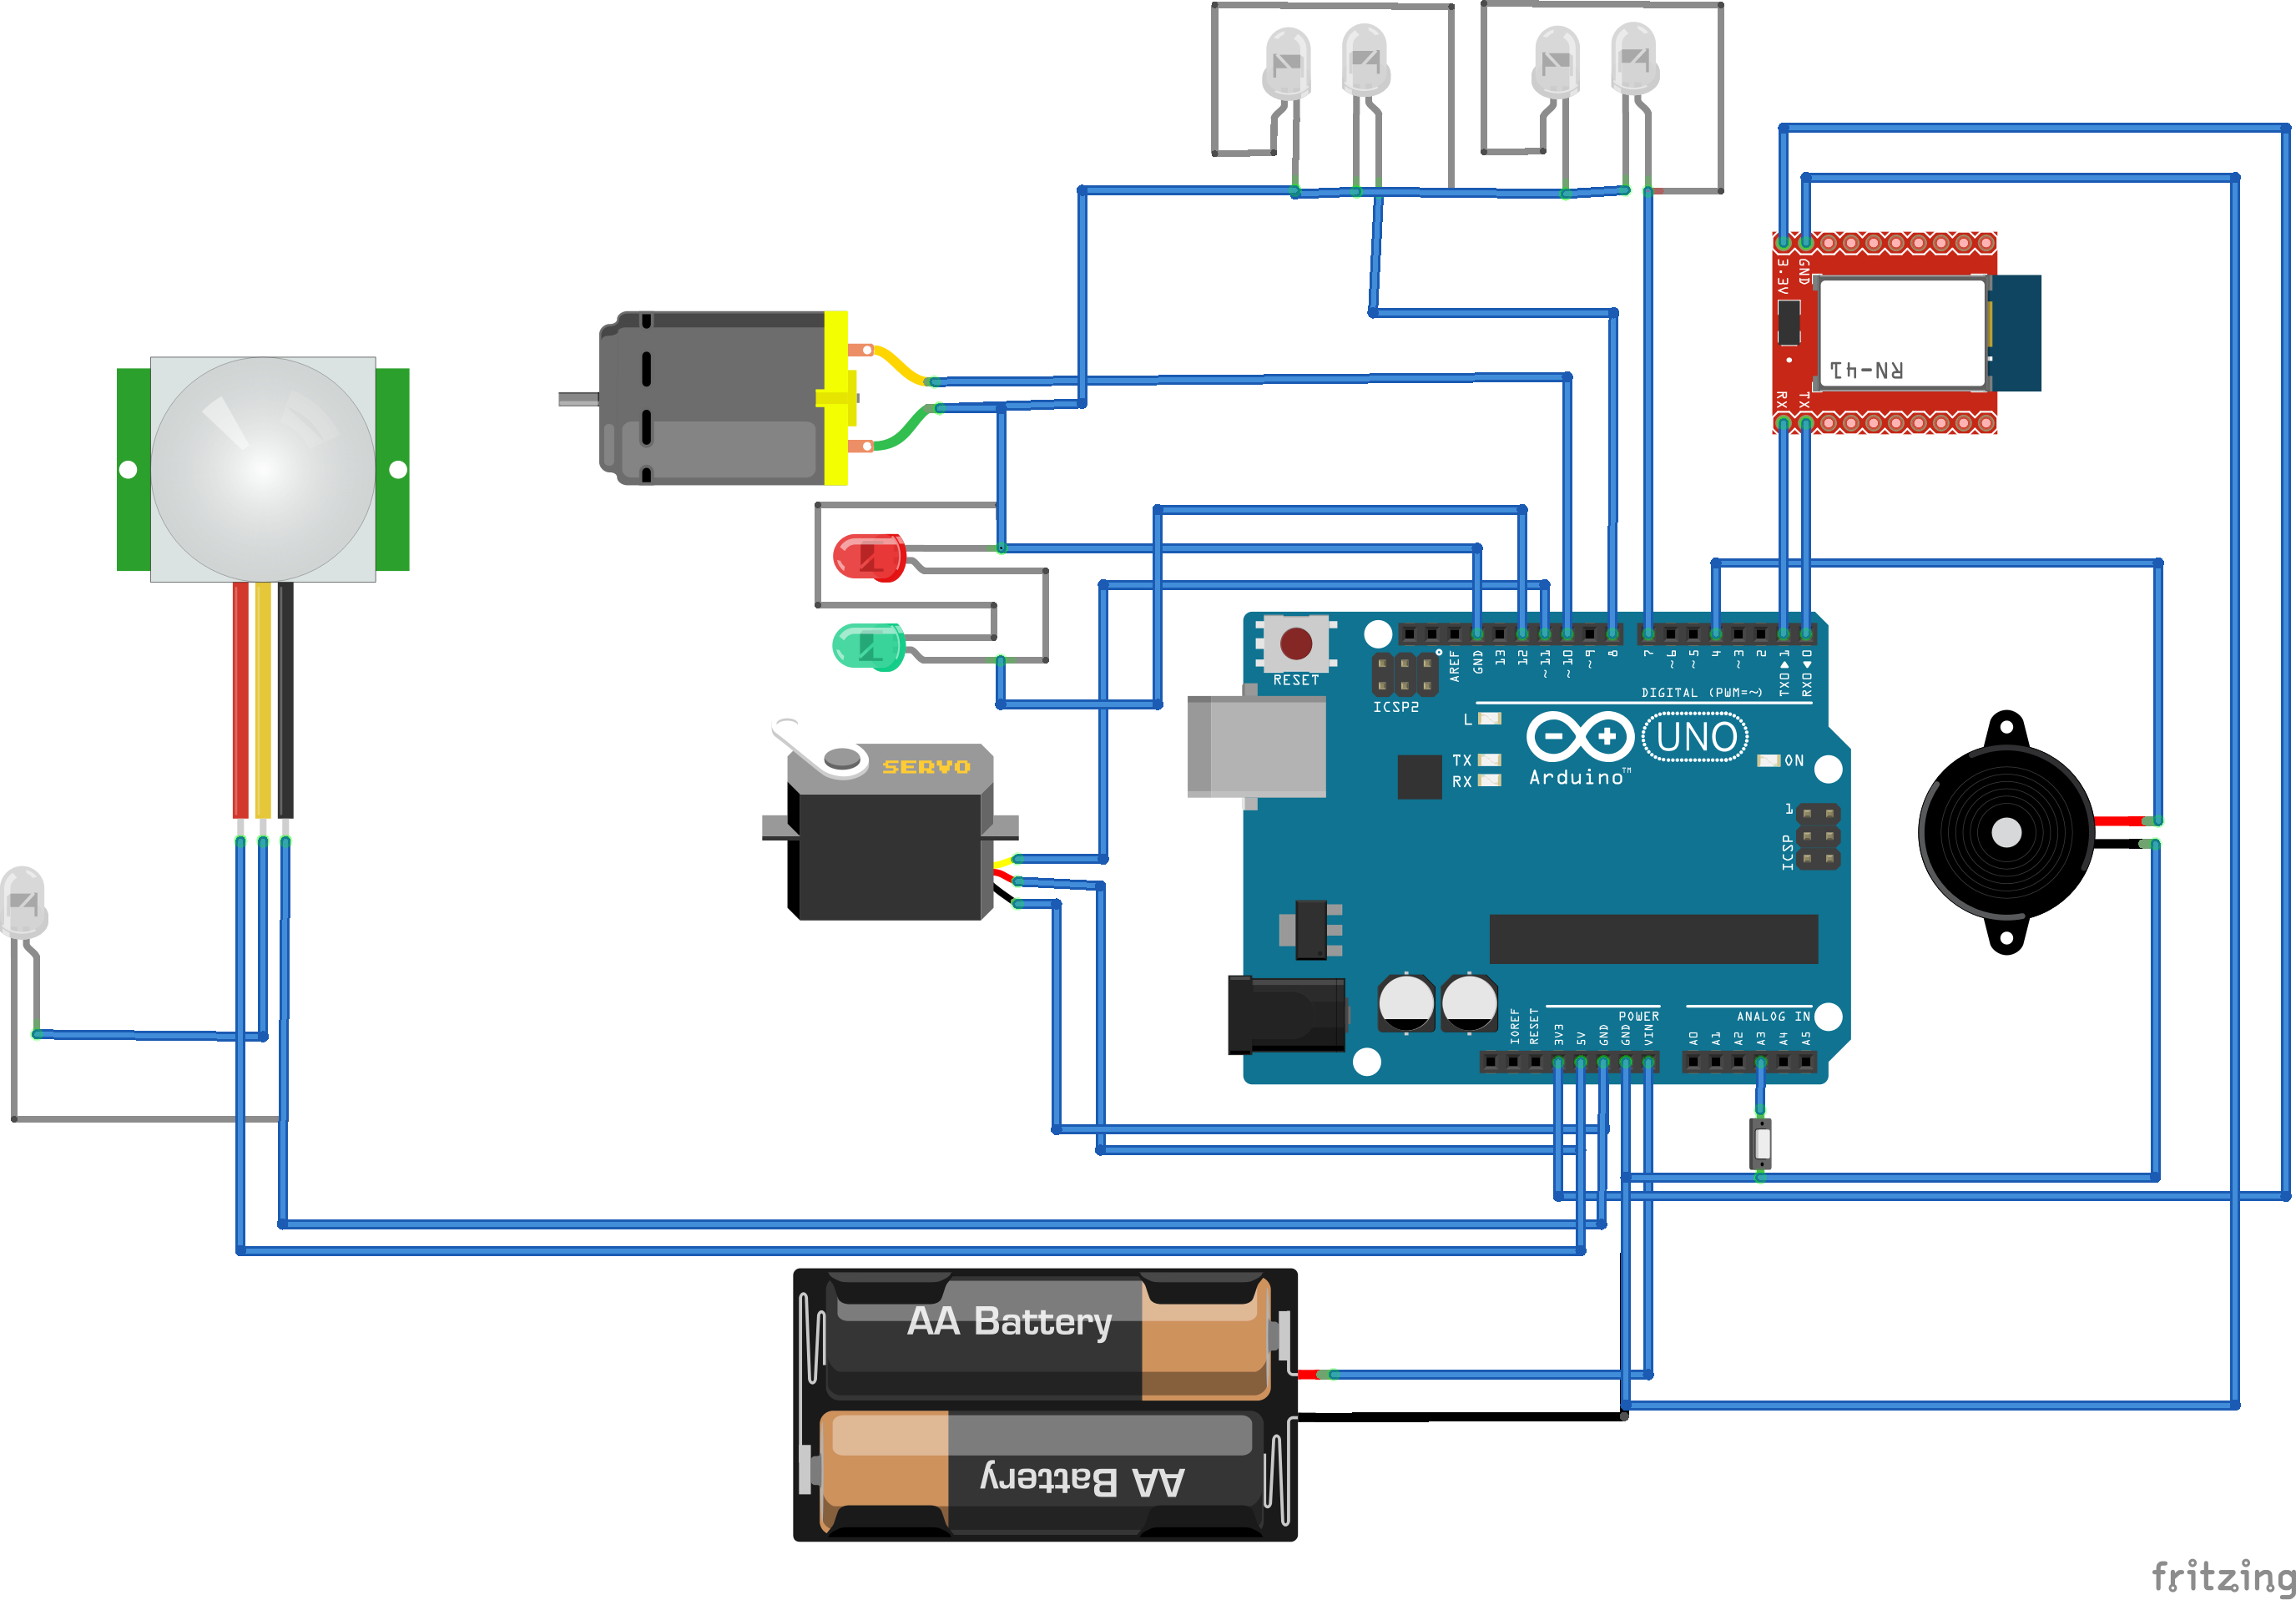
I used epoxy hardener to mount all the components onto the house. Insulating tape was used to cover all the wiring so as to improve it's appearance. Wires converge onto the Arduino UNO to their respective pins according to the circuit diagram;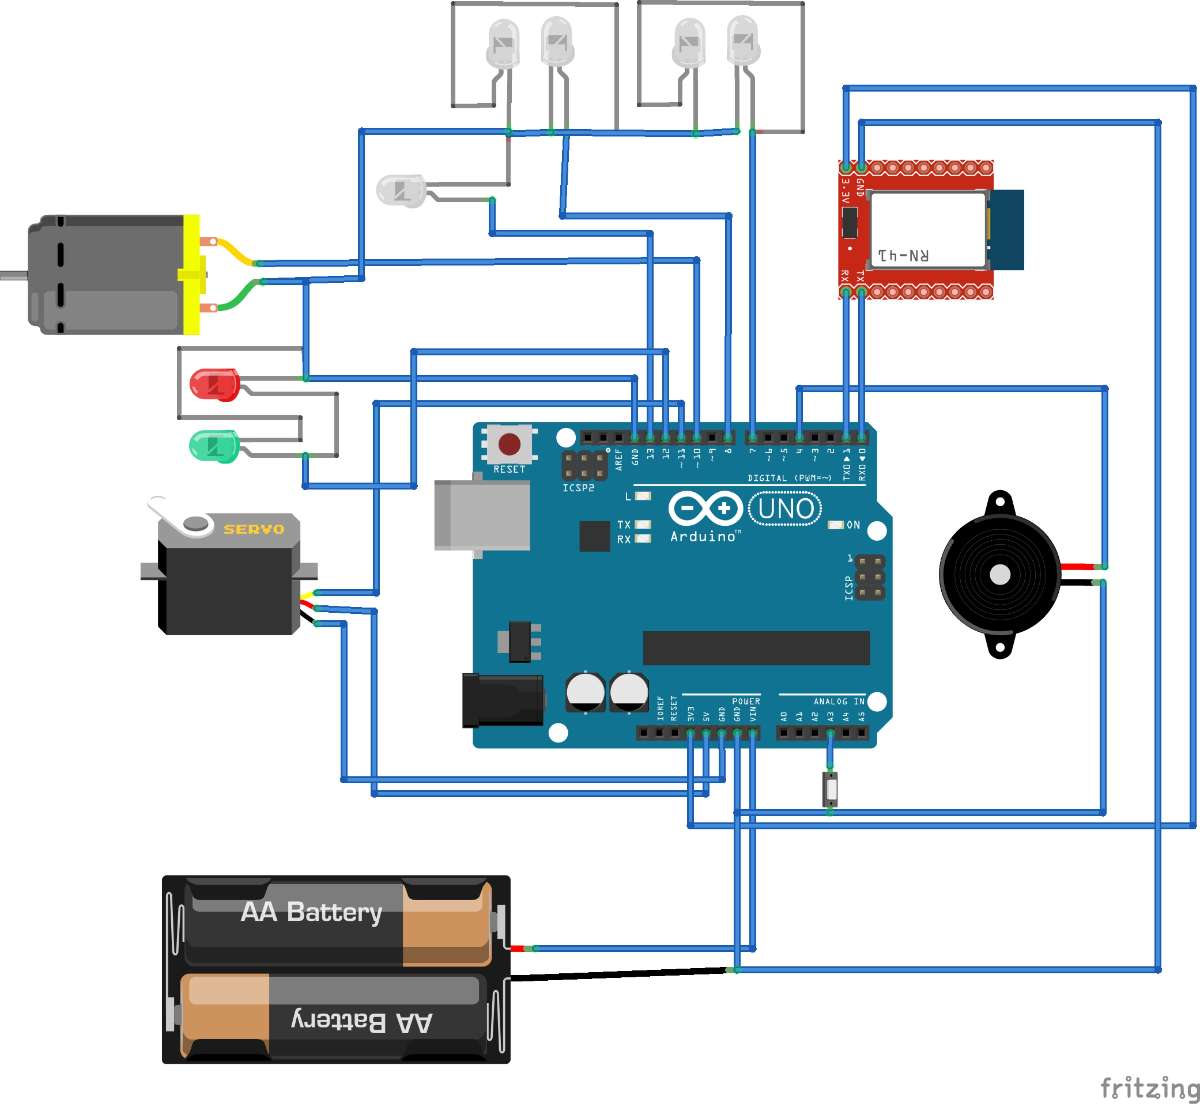
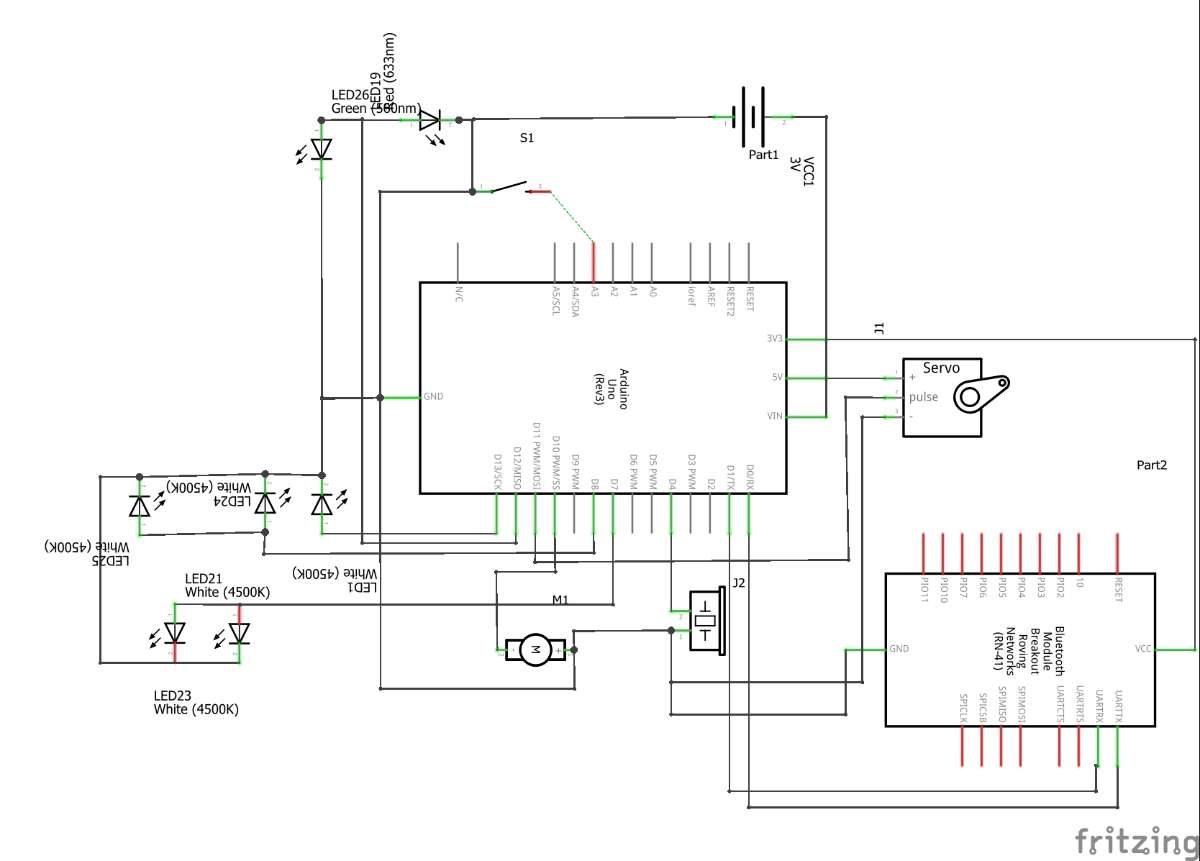
Programming of the Arduino UNO:
#include <Servo.h>

#define SittingledPin 7 // LEDs for living room
#define BedroomledPin 8 //LEDs for Bedroom
#define SecurityledPin 13 // LED for security light
#define DoorPin 11 //servo_motor
#define Passcodecorrectled 12 //greenLed for correct passcode
#define Passcodeincorrectled 9 //redled for incorrect passcode
#define ACPin 10 //DC_motor
#define buzzerpin 4 // buzzzer for alarm
#define windowalert A3 //contact_for_window
#define intruderled 2 //redled_for_window

Servo myServo;

int state = 0;

void setup() {

  pinMode(windowalert, OUTPUT); //making window pressure sensor input
  digitalWrite(windowalert, HIGH);

  pinMode(SittingledPin, OUTPUT); // making living room LEDs ouput
  digitalWrite(SittingledPin, LOW);

  pinMode(BedroomledPin, OUTPUT); // making Bedroom LEDs ouput
  digitalWrite(BedroomledPin, LOW);

  pinMode(SecurityledPin, OUTPUT); // making Securitylight LEDs ouput
  digitalWrite(SecurityledPin, LOW);

  pinMode(DoorPin, OUTPUT); // making servo motor connected to door ouput
  digitalWrite(DoorPin, LOW);

  pinMode(buzzerpin, OUTPUT); // making buzzer pin ouput
  digitalWrite(buzzerpin, LOW);

  pinMode(intruderled, OUTPUT); // making LED for window trigger alert ouput
  digitalWrite(intruderled, LOW);

  pinMode(Passcodecorrectled, OUTPUT); // making correct password LED ouput
  digitalWrite(Passcodecorrectled, LOW);

  pinMode(Passcodeincorrectled, OUTPUT);// making incorrect password LED ouput
  digitalWrite(Passcodeincorrectled, LOW);

  pinMode(ACPin, OUTPUT); // making air conditioner(DC motor) pin ouput
  digitalWrite(ACPin, LOW);

  Serial.begin(9600);
  myServo.attach(DoorPin);
}

void loop() {

  if(Serial.available() > 0){
    state = Serial.read();
  }

   if (state == '0'){ //if bluetooth module receives number 0
    digitalWrite(SittingledPin, LOW);   //turn OFF living room LEDs
    Serial.println("LED: OFF");
    state = 0;
   }
   else if(state == '1'){   //if bluetooth module receives number 1
    digitalWrite(SittingledPin, HIGH);  //turn ON livingroom LEDS
    Serial.println("LED: ON");
    state = 0;
   }

   else if (state == '2'){   //if bluetooth module receives number 2
    digitalWrite(BedroomledPin, LOW);//turn OFF BEDroom LEDS
    Serial.println("LED: OFF");
    state = 0;
   }
   else if(state == '3'){   //if bluetooth module receives number 3
    digitalWrite(BedroomledPin, HIGH);//turn ON BEDroom LEDS
    Serial.println("LED: ON");
    state = 0;
   }

   else if(state == '5'){   //if bluetooth module receives number 5
    digitalWrite(SecurityledPin, HIGH); //turn ON Security light LEDS
    Serial.println("LED: ON");
    state = 0;
   }

   else if(state =='6'){
    myServo.write(135); //make servo motor rotate anticlockwise
    delay(200);

    myServo.write(90); //make servo motor stop rotating
    state = 0;
   }

   else if(state == '7'){   //if bluetooth module receives number 7
    digitalWrite(Passcodecorrectled, HIGH); //turn ON correct passcode LED
    digitalWrite(buzzerpin, HIGH); //turn ON buzzer
    delay(700);
    digitalWrite(Passcodecorrectled, LOW); //turn ON correct passcode LED
    digitalWrite(buzzerpin, LOW); //turn OFF buzzer
    delay(200);

    myServo.write(45); //make servo motor rotate clockwise
    delay(200);

    myServo.write(90); //make servo motor stop rotating
    state = 0;
   }

   else if (state == '8'){  //if bluetooth module receives number 8
    digitalWrite(ACPin, LOW); //turn off DC motor
    Serial.println("AC: OFF");
    state = 0;

   }
   else if(state == '9'){   //if bluetooth module receives number 9
    digitalWrite(ACPin, HIGH);   // turn ON DC  motor
    Serial.println("AC: ON");
    state = 0;
   }

   else if(state == '4'){   //if bluetooth module receives number 10
    for(int x=0; x<3; x++){
    digitalWrite(Passcodeincorrectled, HIGH); //turn ON incorrect passcode LED
    digitalWrite(buzzerpin, HIGH);
      delay(250);
    digitalWrite(Passcodeincorrectled, LOW); //turn OFF incorrect passcode LED
    digitalWrite(buzzerpin, LOW);
    }
    state = 0;
   }
}
How the device works
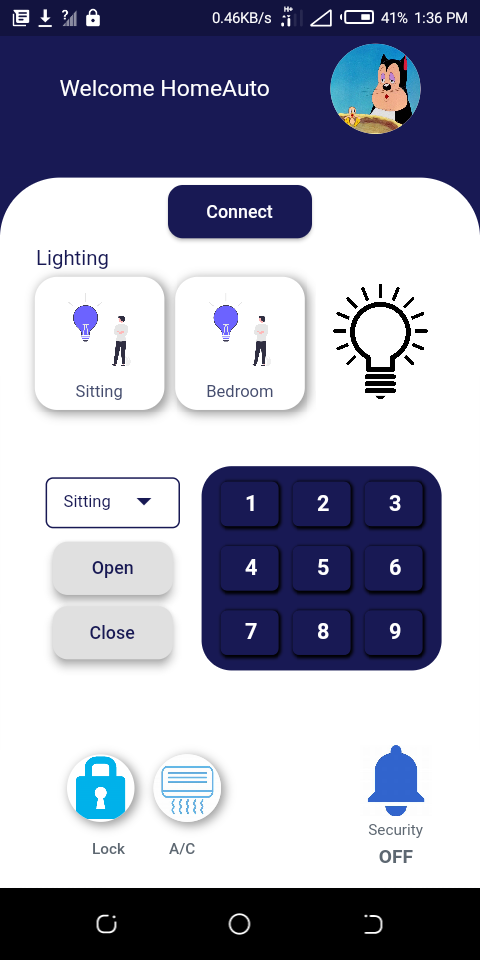
By clicking the Connect icon, I connect my device to my system via my blue-tooth module.
Sitting button - this, when clicked, send a command to my Arduino to light the LEDs connected to the sitting room area.
Bedroom button - this, when clicked, send a command to my Arduino to light the LEDs connected to the Bedroom area.
Keypad - this allows the user to input a password to open the door
Open icon -this, when clicked, send a command to my Arduino to open the door (turn servo motor counterclockwise) and light the green LED and also activate the buzzer simultaneously only after the correct password has been put, otherwise the door won't open and the red LED will blink three times with 250ms delay, also the buzzer will buzz three times simulataneously..png)
.png)
A/C - this, when clicked, send a command to my Arduino to rotate the DC motor.
Here's a demonstration of the project (YouTube link):
Credits
Built by 2 contributors
Comments0
Join the discussion — share a question or tip.
Be the first to share your thoughts on this project.